Showing posts with label squirrels nest. Show all posts

Cabin Progress - Interior edition

I made some HUGE progress inside the cabin over the past few weeks despite having to drag all my materials and tools in on a toboggan. I dragged in over 100 six-feet long cedar fence boards on my toboggan in order to finish the walls but they're [almost] done!! There are a few little spots here and there that need rip-cuts that I wasn't able to accurately do with my saw on site so I'll cut them at home and take the pieces out to install in the next week or so.

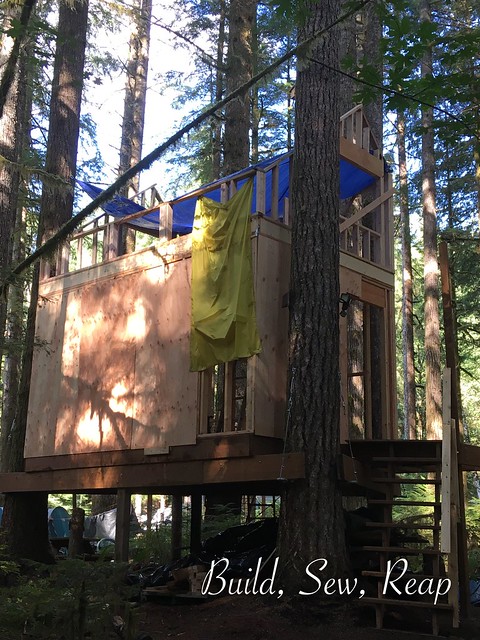
So, without further ado, here's the interior of the cabin as well as my current plans for finish work in each picture.

As you walk through the door, this is the first thing you see. Behind this mirror is a medicine cabinet of sorts where we keep everything from toothbrushes to keys to bear spray and sunscreen (don't mix up those last two please). I recently installed a clothesline across this tiny space (that's what the light bulb is hanging from here) so we have an out-of-view spot to hang wet rags and such.


Facing the bench and mirror is a chalkboard. You're going to have to trust me that the height of the chalkboard works in this space. The door is immediately to the left of that. I still need to trim out the window and also want to hang a 2'-3' long coat rack below the chalkboard so my kids can hang up their jackets and hiking daypacks.

There's storage here too. It won't be closed off, I'm getting tired of making (and then having to open) little doors.


Next, moving on to the main gathering space. This is the living room and kitchen rolled into one 10' x 10' space. I need to trim out the windows and will probably put a shelf above each window so it almost looks like I framed them out upside down with the sill on top. I'd like a place for books and treasures. This is kind of low on my priority list at the moment though.


Looking to the left, I have a cedar blanket ladder, hammock swing, and the heater. Of these items, likely the blanket ladder will be the only one to stay in place. I'm going to move the heater to sit just to the right as you enter this room. Above that will be a rack to set/hang things on when they need to dry out fast. I'd like to create a built-in couch or a modular system of some sort. I measured and can create seating that's up to 72" long to put under the window. I'm eager to get started on that project but need to make up my mind what I want it to look like first.


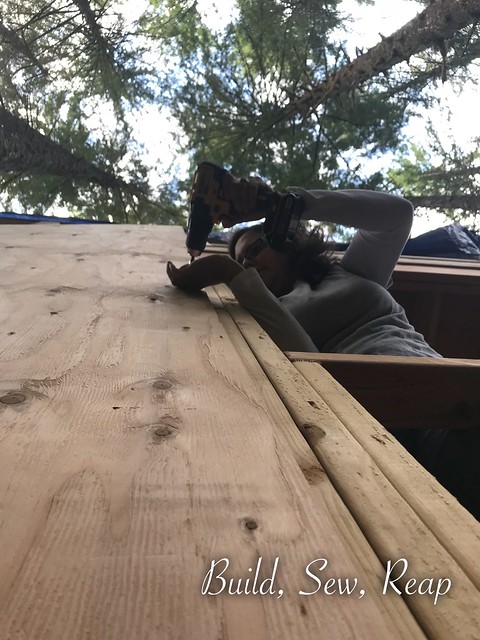
Continuing to pan around the room, here are the stairs and the kids' sleeping cubby. Only one kid fits in there at a time while the other kid sleeps on the floor, or the dog bed, or on the dog. Once I can have the windows open and things dry out a bit outside, I will be painting the rise of those top stairs white and will either paint or stain the drawer fronts. The kids and I made those three drawers today as a little learn and build session. They thoroughly enjoyed the project and now they each have a drawer they can call their own. I'd also like to crate a door of some sort for the sleeping cubby but I can't quite figure out what to do. I'm going to hold off on figuring that out until I've created the seating that will be on the wall on the right side of the picture.

I also see that I'm missing one row of wall board under the window at the top of the photo.


Here's a better look in the sleeping cubby. It's plenty long for my almost 11 year old now but as he grows, we can pull out a storage bin from below, put a pillow or some foam on top of it, and it'll become an extend-a-bed. We will adapt as we need to.


And now, the upstairs. There's another hammock swing upstairs, directly in front of the stairs but not making it difficult to move around. I installed a mosquito net canopy that looks beautiful now but will be super useful when the buggy season really hits. On the wall between the two windows there are two Ikea spice racks to hold books and necessities for those of us who sleep upstairs.


Isn't it dreamy?!?!? We just couldn't get enough of this space once I hung up the canopy.

We will eventually have a low bed frame, short headboard (to keep the pillows from sliding off the bed), and a real mattress but for now, the double height air mattress with a slow leak will have to do the trick. There's some finish work here and there but the upstairs is in pretty good shape overall. 


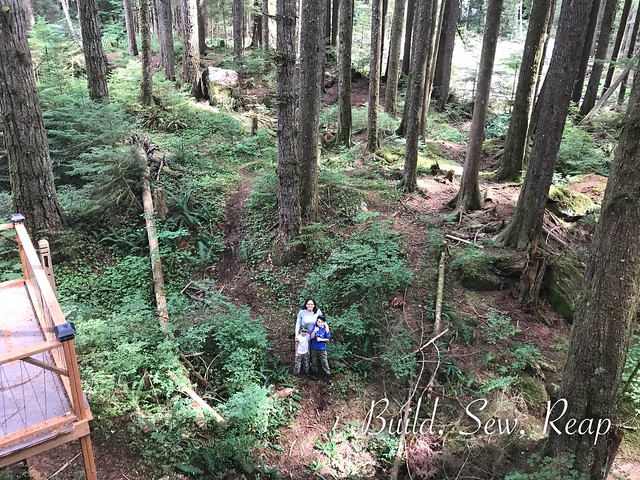
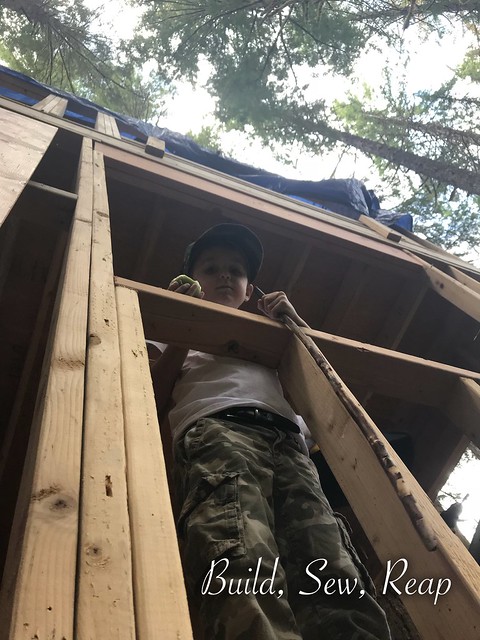
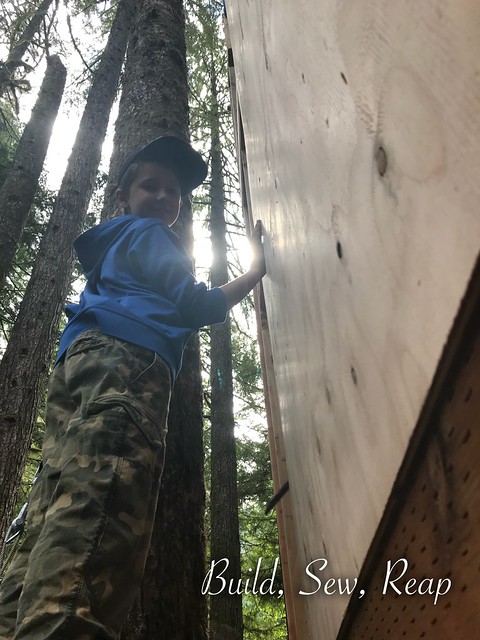
I'll leave you with one final picture from my trip out there with the kids. They are Sasquatch spotting.


Thank you for reading,
Julie


Squirrel's Nest Update - End of August

Hello from the forest! Ok, not really, we don't have internet out there (thank heavens) so I have to bring back my thoughts and post from the chaos of my living room. At any rate, I'm bringing you an update on the cabin build today. As you'll recall, here's where I left off with my last update:

7/13/2018 update

I haven't had nearly as much time to build out there as I was hoping I would this summer. Life just seems to keep getting in the way. That's OK, the kids are about to go back to school and I'll have 3-hour chunks of time to work my tail off while they're in school most days. I did squeeze in some solo time out there on the weekends. Just this past weekend, I had three full days to work and I hit it hard.

Among other property tasks, I framed the 1st floor ceiling/2nd floor joists one weekend. That wasn't too tough ... slow going, but not technically all that difficult. Then, because the 7/8 t&g plywood I like for the sub-floor is super heavy, I recruited hubs to help me deliver a stack out to the property a couple of weeks ago. We set two in place on the 2nd floor, parked one unsecured one on the 2nd floor, and left the other two on the 1st floor knowing I'd need to measure those and cut them smaller before installing them. We also took some sheathing out and secured a couple panels in place to begin the process of stabilizing the framing a bit more. Boy does that stuff ever make a HUGE difference in how tight the structure feels.

That brings us to this past weekend. I spend 3 days out there working my tail off. I'm still sore 3 days later! I finished installing the sub-floor which included adding some joists to frame out the hole for the stairs. I also framed out the 2nd floor. I had cut the pieces at home but found out that my calculations had been incorrect so I had a lot of reconfiguring to do on the spot. I was NOT at all happy about that but I pushed through the frustration. Here's a time-lapse video from Monday, August 27 as I battled my way through the bad calculations.


In the end, while it looks super messy because I have giant window openings blocked by scrap wood and a blue tarp stretched over the top to minimize water damage from predicted rains, I got a ton done. We delivered some more sheathing to the property yesterday so I'll secure those panels up as soon as I can get out there again. Once those are in place, I'll start putting on the roof. Woot!!

Hubs was nice enough to take some pictures yesterday so, for what it's worth, you get some rare still shots of me working. I like to call myself "The Awkward Carpenter" because I often have to dangle over the top of walls or twist out windows to get my work done.

So, here's the structure from "the gulch side":

Squirrels Nest Update -August 30

And for perspective, Mr BSR took pictures of me with the 2 boys from the big window on the 1st floor (just above the "B" in the watermark here)

Squirrels Nest Update -August 30

as well as the window above it on the 2nd floor.

Squirrels Nest Update -August 30

Then he went down into the gulch and took a picture of me standing under the structure.

Squirrels Nest Update -August 30

Here's a view of the parking spot end as well as the trail side. There's a window hiding under the sheathing but I haven't taken a chance to cut it out just yet.

Squirrels Nest Update -August 30

The 2nd floor wall is only about 2 feet tall at this side but the gulch side is about 5 feet tall. At the peak of the roof, the interior will be about 7 feet tall on the 2nd floor. I designed it this way based on our heights, making sure we could stand up as we reached the top of the stairs, and an attempt to make putting the roof on a tiny bit easier than if it was out of reach like the 1st floor ceiling was.

And now some action shots:

Squirrels Nest Update -August 30

Squirrels Nest Update -August 30

Squirrels Nest Update -August 30

Squirrels Nest Update -August 30

Squirrels Nest Update -August 30

Squirrels Nest Update -August 30

And here it is, a cabin-in-the-making.

Squirrels Nest Update -August 30

Boy do I hope I can get a roof on this thing and get it wrapped in a waterproof membrane before our rains set in. Gah! The pressure!!

Thank you for reading,
Julie


The Squirrel's Nest

Hi there! I've returned from the forest with news of huge progress. It has come to my attention that I've missed a whole lot of the story here so I'm going to back up to the beginning of things and lay it all out.

Once upon a time, there was a family who loved to drive off into the mountains when they needed to reconnect. This family tried lots of different roads into the mountains but one road in particular always felt like home. They went on many drives into those mountains, hiked, explored, played in the river that ran along that road, camped, and found great serenity among those beautiful rolling mountains and stunning evergreen trees.

This lead them to begin to talk about buying a piece of land in the area. After considering all the different angles and deciding it was indeed a fantastic idea, they began poking around side roads  until one chilly day in November, they stumbled upon a "for sale by owner" sign screwed to a tree deep in a small community off the beaten path in the middle of the national forest. They contacted the seller, did all their due diligence, researched the heck out of it, got their ducks in a row, made an offer, filed all the paperwork, and officially purchased just under 1/2 acre of forested land an hour and fifteen minutes from their suburban home in mid January.

Thus began a new chapter in their lives.

Clearly this is my family so now I'll switch to first person.

The first thing I knew we needed was a picnic table.

I had to add a leg to the picnic table to make it more stable on the spongy uneven forest ground. #buildsewreap #silvertonwa #build #maker #makersgonnamake #pyrography #wood #cedar

Once that was complete and set up, I really wanted to build us a shed or a small cabin but I was intimidated by the space. I knew we'd need some sort of really strong footings for anything we set on the forest floor or I'd need to get a full grasp on how to properly build a treehouse. That felt huge and scary and overwhelming so I opted to start with a tree platform. Naturally that grew into a whole big camp thing but that's just how my brain works. The really funny thing is it started as an idea to build a dog house but the dog still has no house out there and yet we have a cool platform with a kitchen area and fire wood storage.

Untitled

I'm pretty sure I never officially posted when that was complete. It now features a cool climbing net thing, a disc swing off the back side, a trap door, a ladder that can be navigated by even fearful climbers like me, a basket and pulley system for moving things up and down, and great views of the whole property.

Once I felt comfortable building high, digging low, and everything in between, it was time to face my real fears and start what I originally called "the tree shed" but which is now called "The Squirrel's Nest."

It all began with some big-ass-bolts in the trees.

It’s a shed ... in a tree? Come see what mountains I moved today. Sure they were all in my head but I faced my fears and made big progress. https://ift.tt/2JkFl9C . . . . . . #silvertonwa #diy #build #treehouse #buildsewreap

Then I moved on up from there. I installed the beams:

6/8/2018 work

Then I put some joists on those:

The floor joists are in!! Next up: insulation. Progress might slow down a bit though as the kids will be out of school in a few days so I’ll have to wear the entertainer hat as often as the builder hat. Maybe they’ll help me. Eh, a girl can dream, right?

Tucked in some insulation:

June progress

Fastened down some sub flooring:

We finished installing the floor last weekend and today I get to start framing the walls. I’m so excited! #buildsewreap #diy #build #maker #treehouse #squirrelsnest

And then I started putting up walls!!


And then some more walls:


7/13/2018 update

One window will look out through our property:

7/13/2018 update

Another will have a view of camp but if you look up, you'll see some mountains through the trees.

7/13/2018 update

In case you're wondering where The Squirrel's Nest is in comparison to the platform and camp, here's a view from across the property:

7/13/2018 update

Then I ran out of nails. That's OK though, I was pretty thrilled to have four walls up.

Now it's time for about a week off but I'll get back to it shortly. I need to reconnect with the family and take some down time, rest my muscles, allow my smashed thumb and pinky to heal, let the bruises disperse, treat the bug bites until they stop being angry red welts, and just generally take a load off. The kids are so excited to see what I've been dreaming off. They saw the blueprints but couldn't visualize what I was drawing so now that they can, they want to go out to the property to build with me as much as possible.

I hope you'll follow along here on the blog, on instagram, or on Facebook to see what happens next!

Thank you for reading,
Julie


Related Posts Plugin for WordPress, Blogger...