I hadn't taken the time to put away our holiday cards until today but boy am I glad I put that off. A friend of mine recently posted on Facebook that she had hole punched all her cards, added a cover, and connected them using binder rings. I loved the idea but then put my own spins on the project.
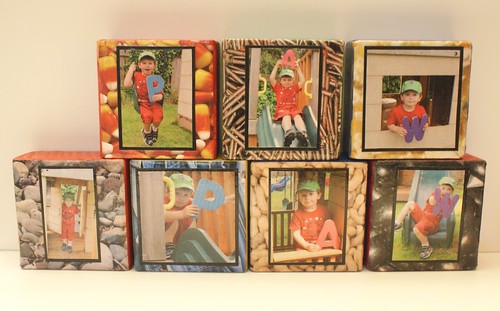
I started by finding the longest and widest cards in our collection and cut two pieces of cardboard to about 1/4 inch larger (height and width) than those measurements. Then I covered the front in this pretty brown scrapbooking paper and the back in some metallic tan colored paper that coordinated nicely with the printed stitching on the cover. I also laminated two copies of our Christmas card from this year and attached one using foam tape to the front of the book. I didn't stick it in the very center so that I'd have ample space for the binding holes.
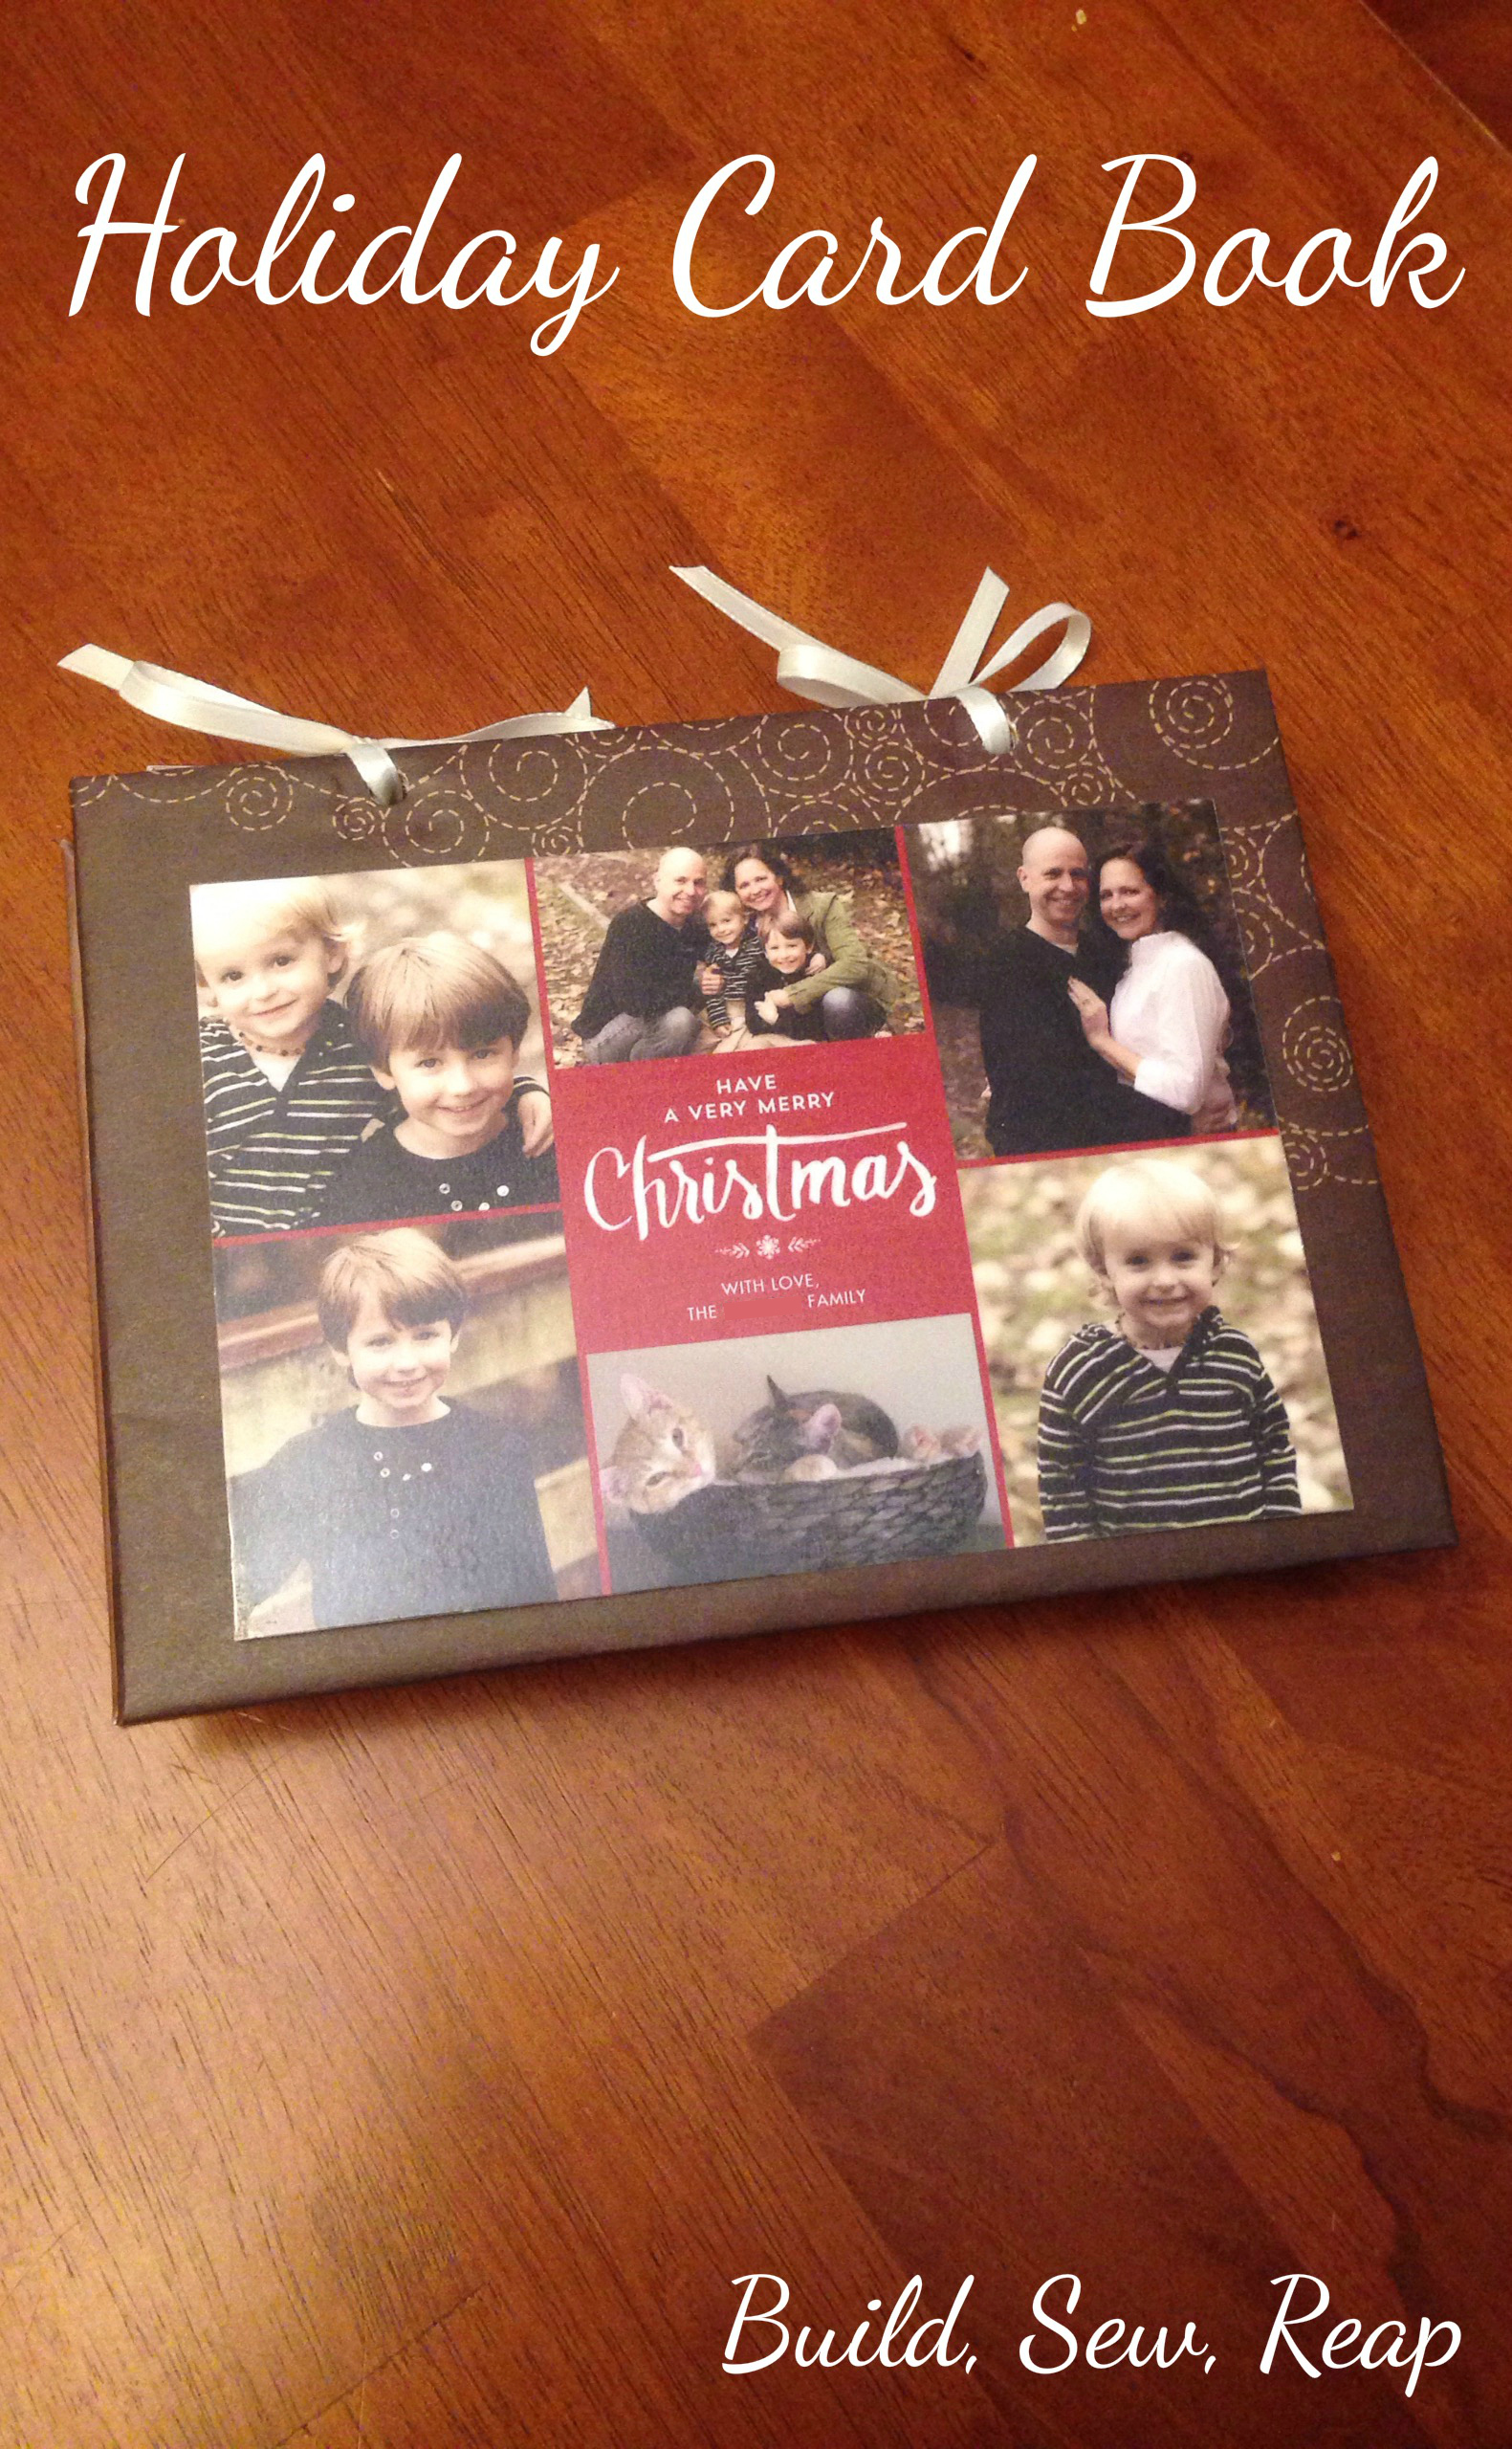
Next I attached the flip side of our Christmas card to the inside of the front cover. If you didn't do a 2-sided card, you can just cut out a rectangle of coordinating paper to cover the seams of the paper from the front.
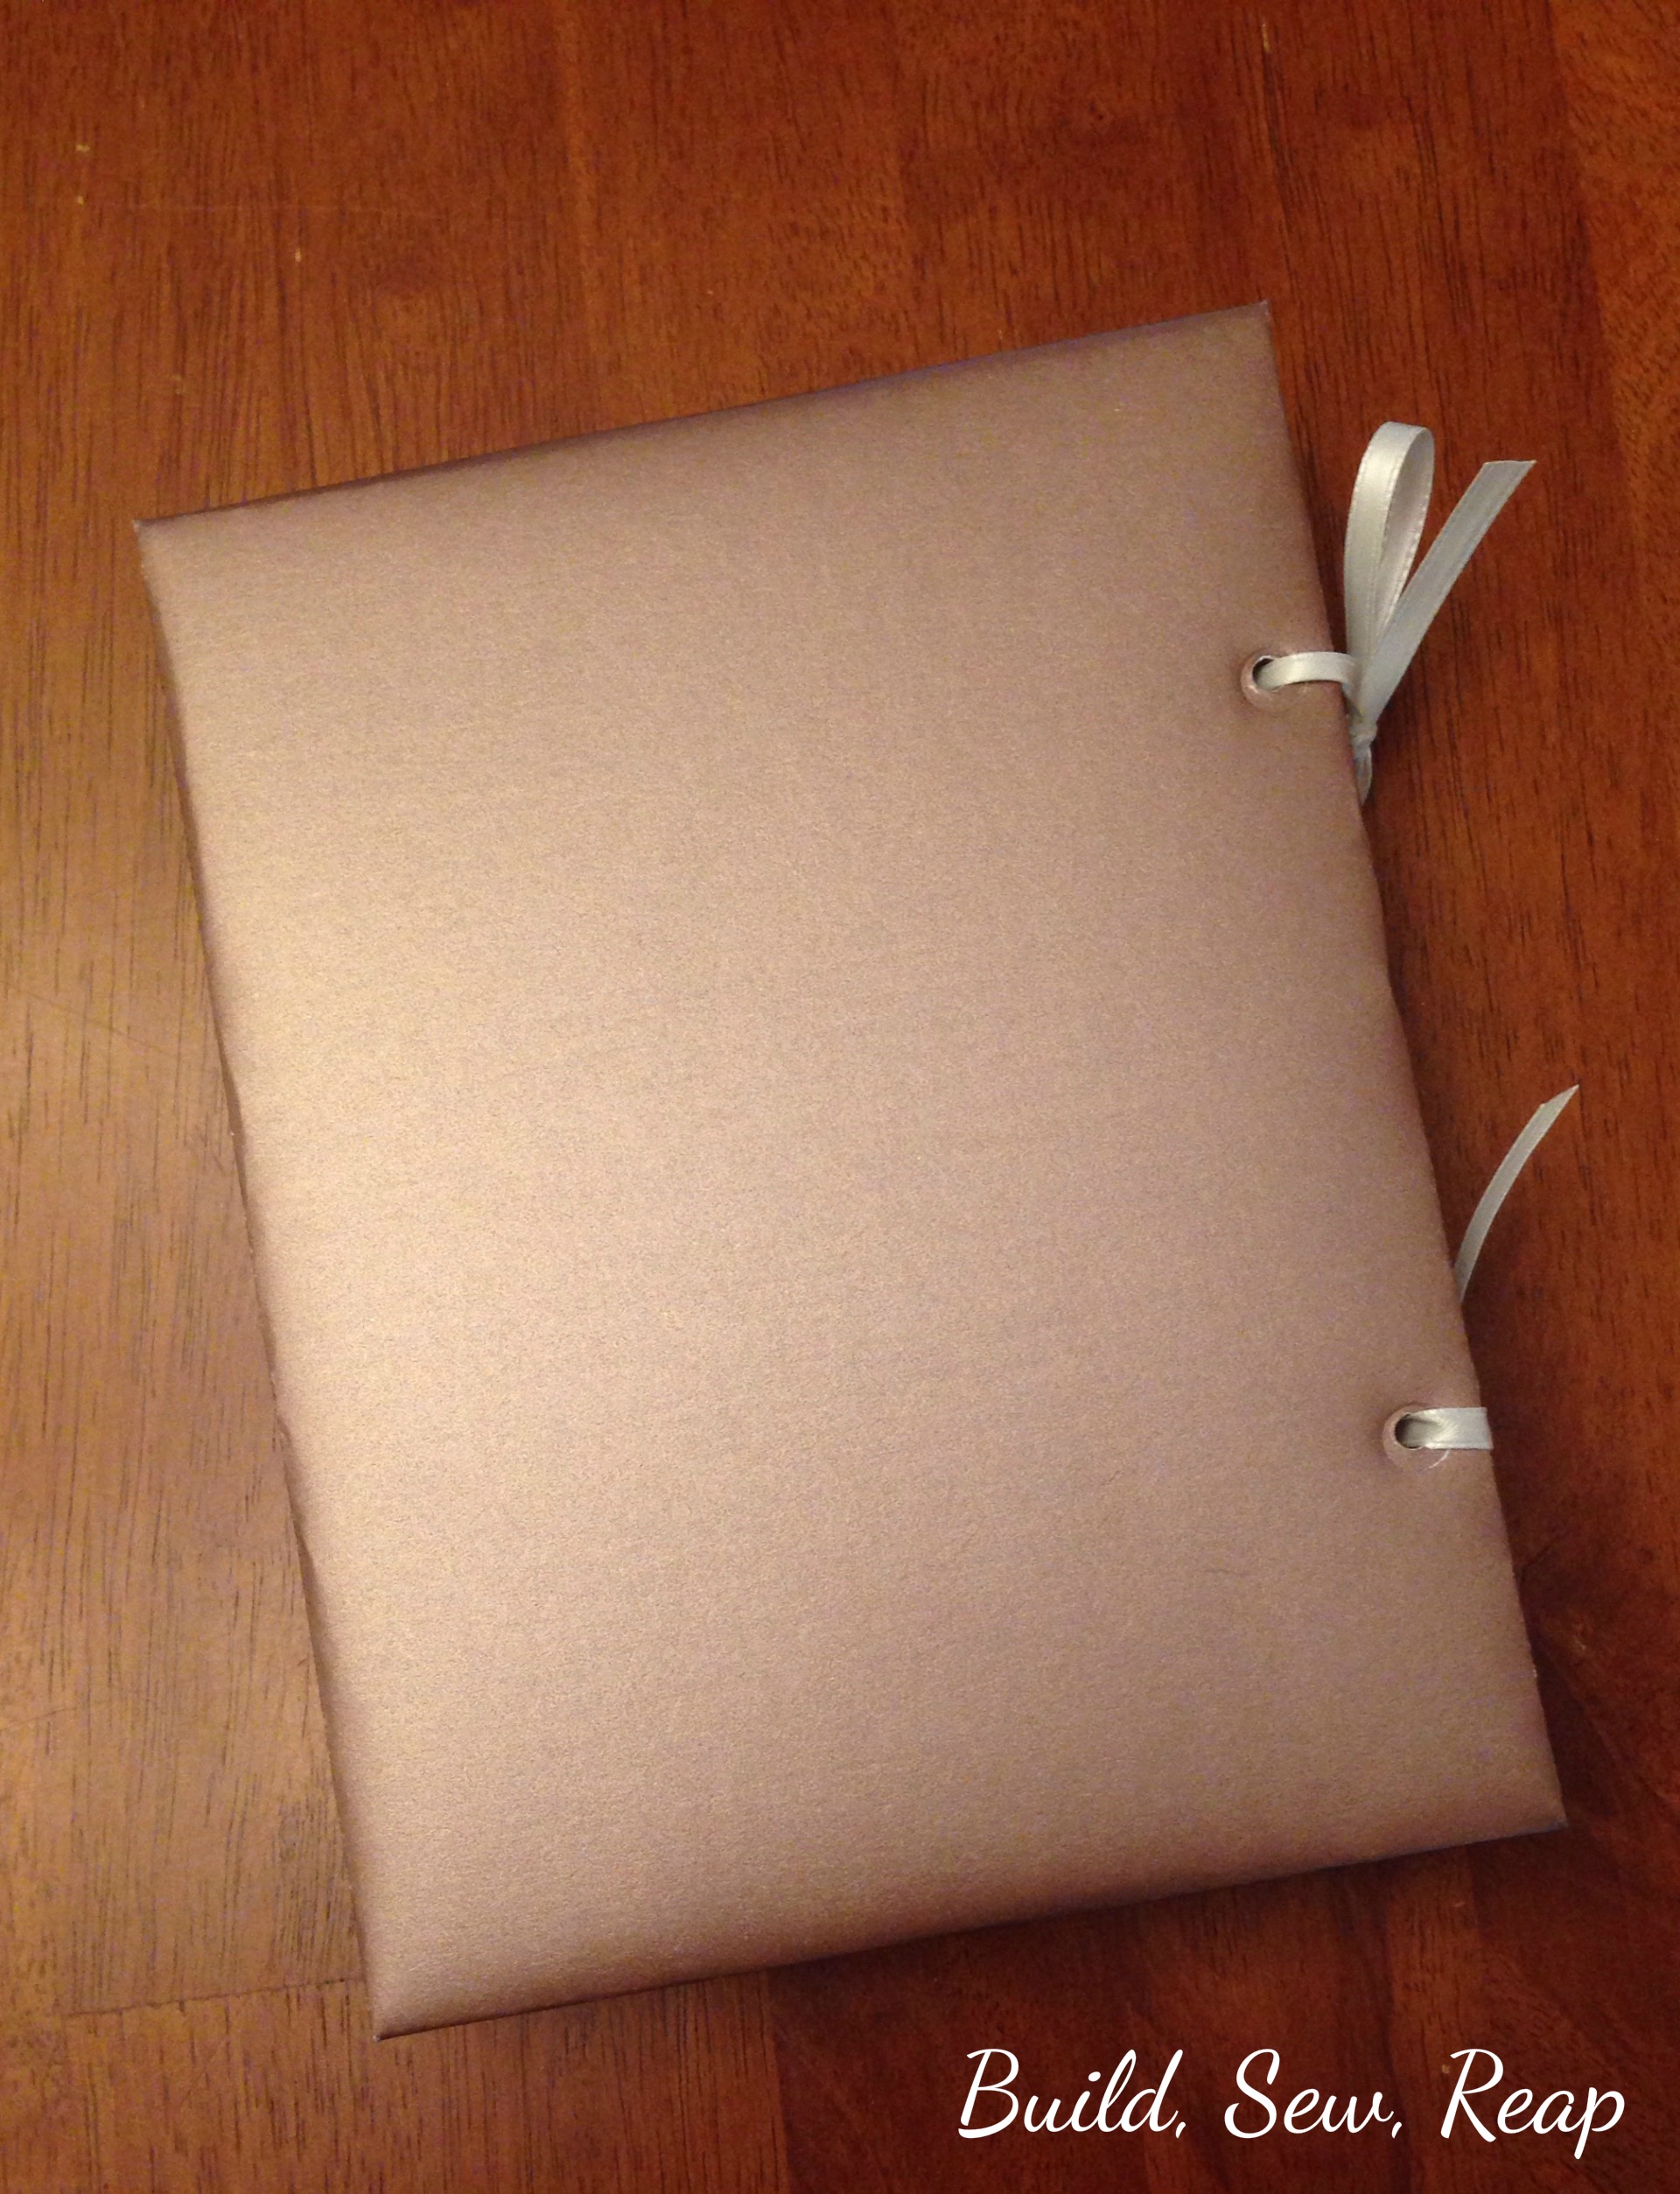
You can now also see that the book can lay flat with the ribbon binding I added.
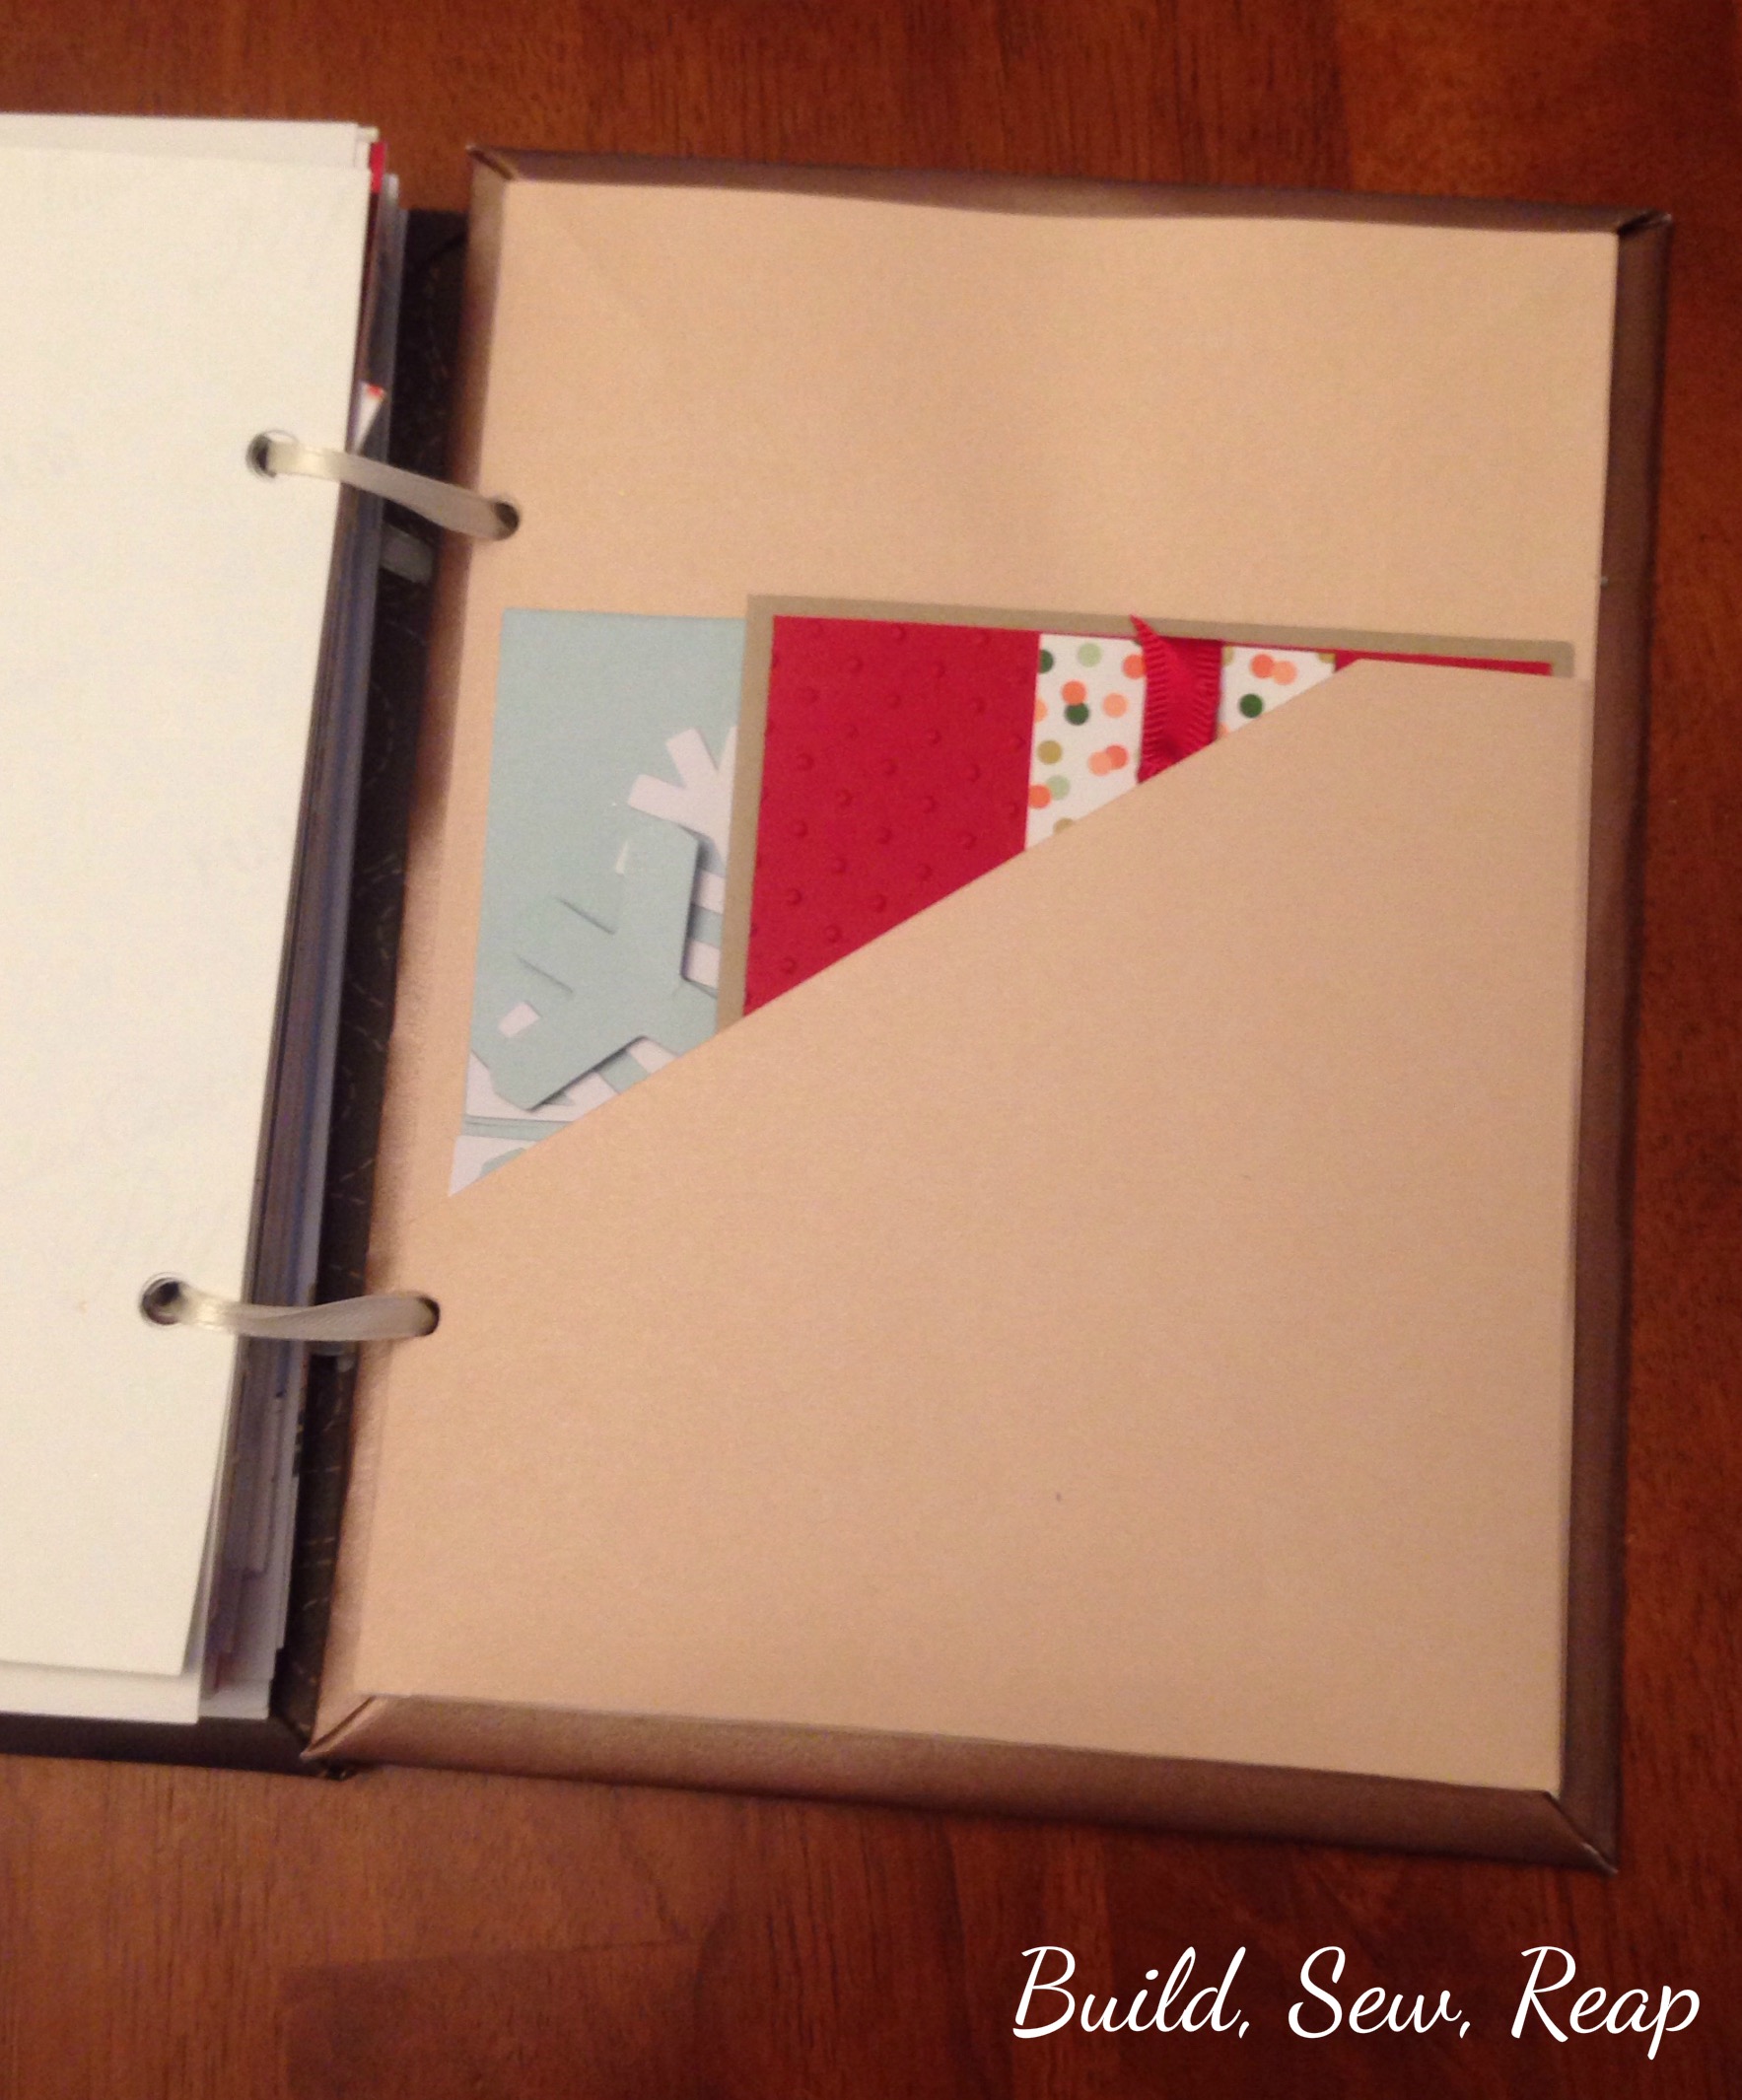
A couple of our friends made beautiful handmade cards so I added a pocket to the back. There was no way I was going to hole punch these treasures.
The back cover on mine is plain but I like it this way.
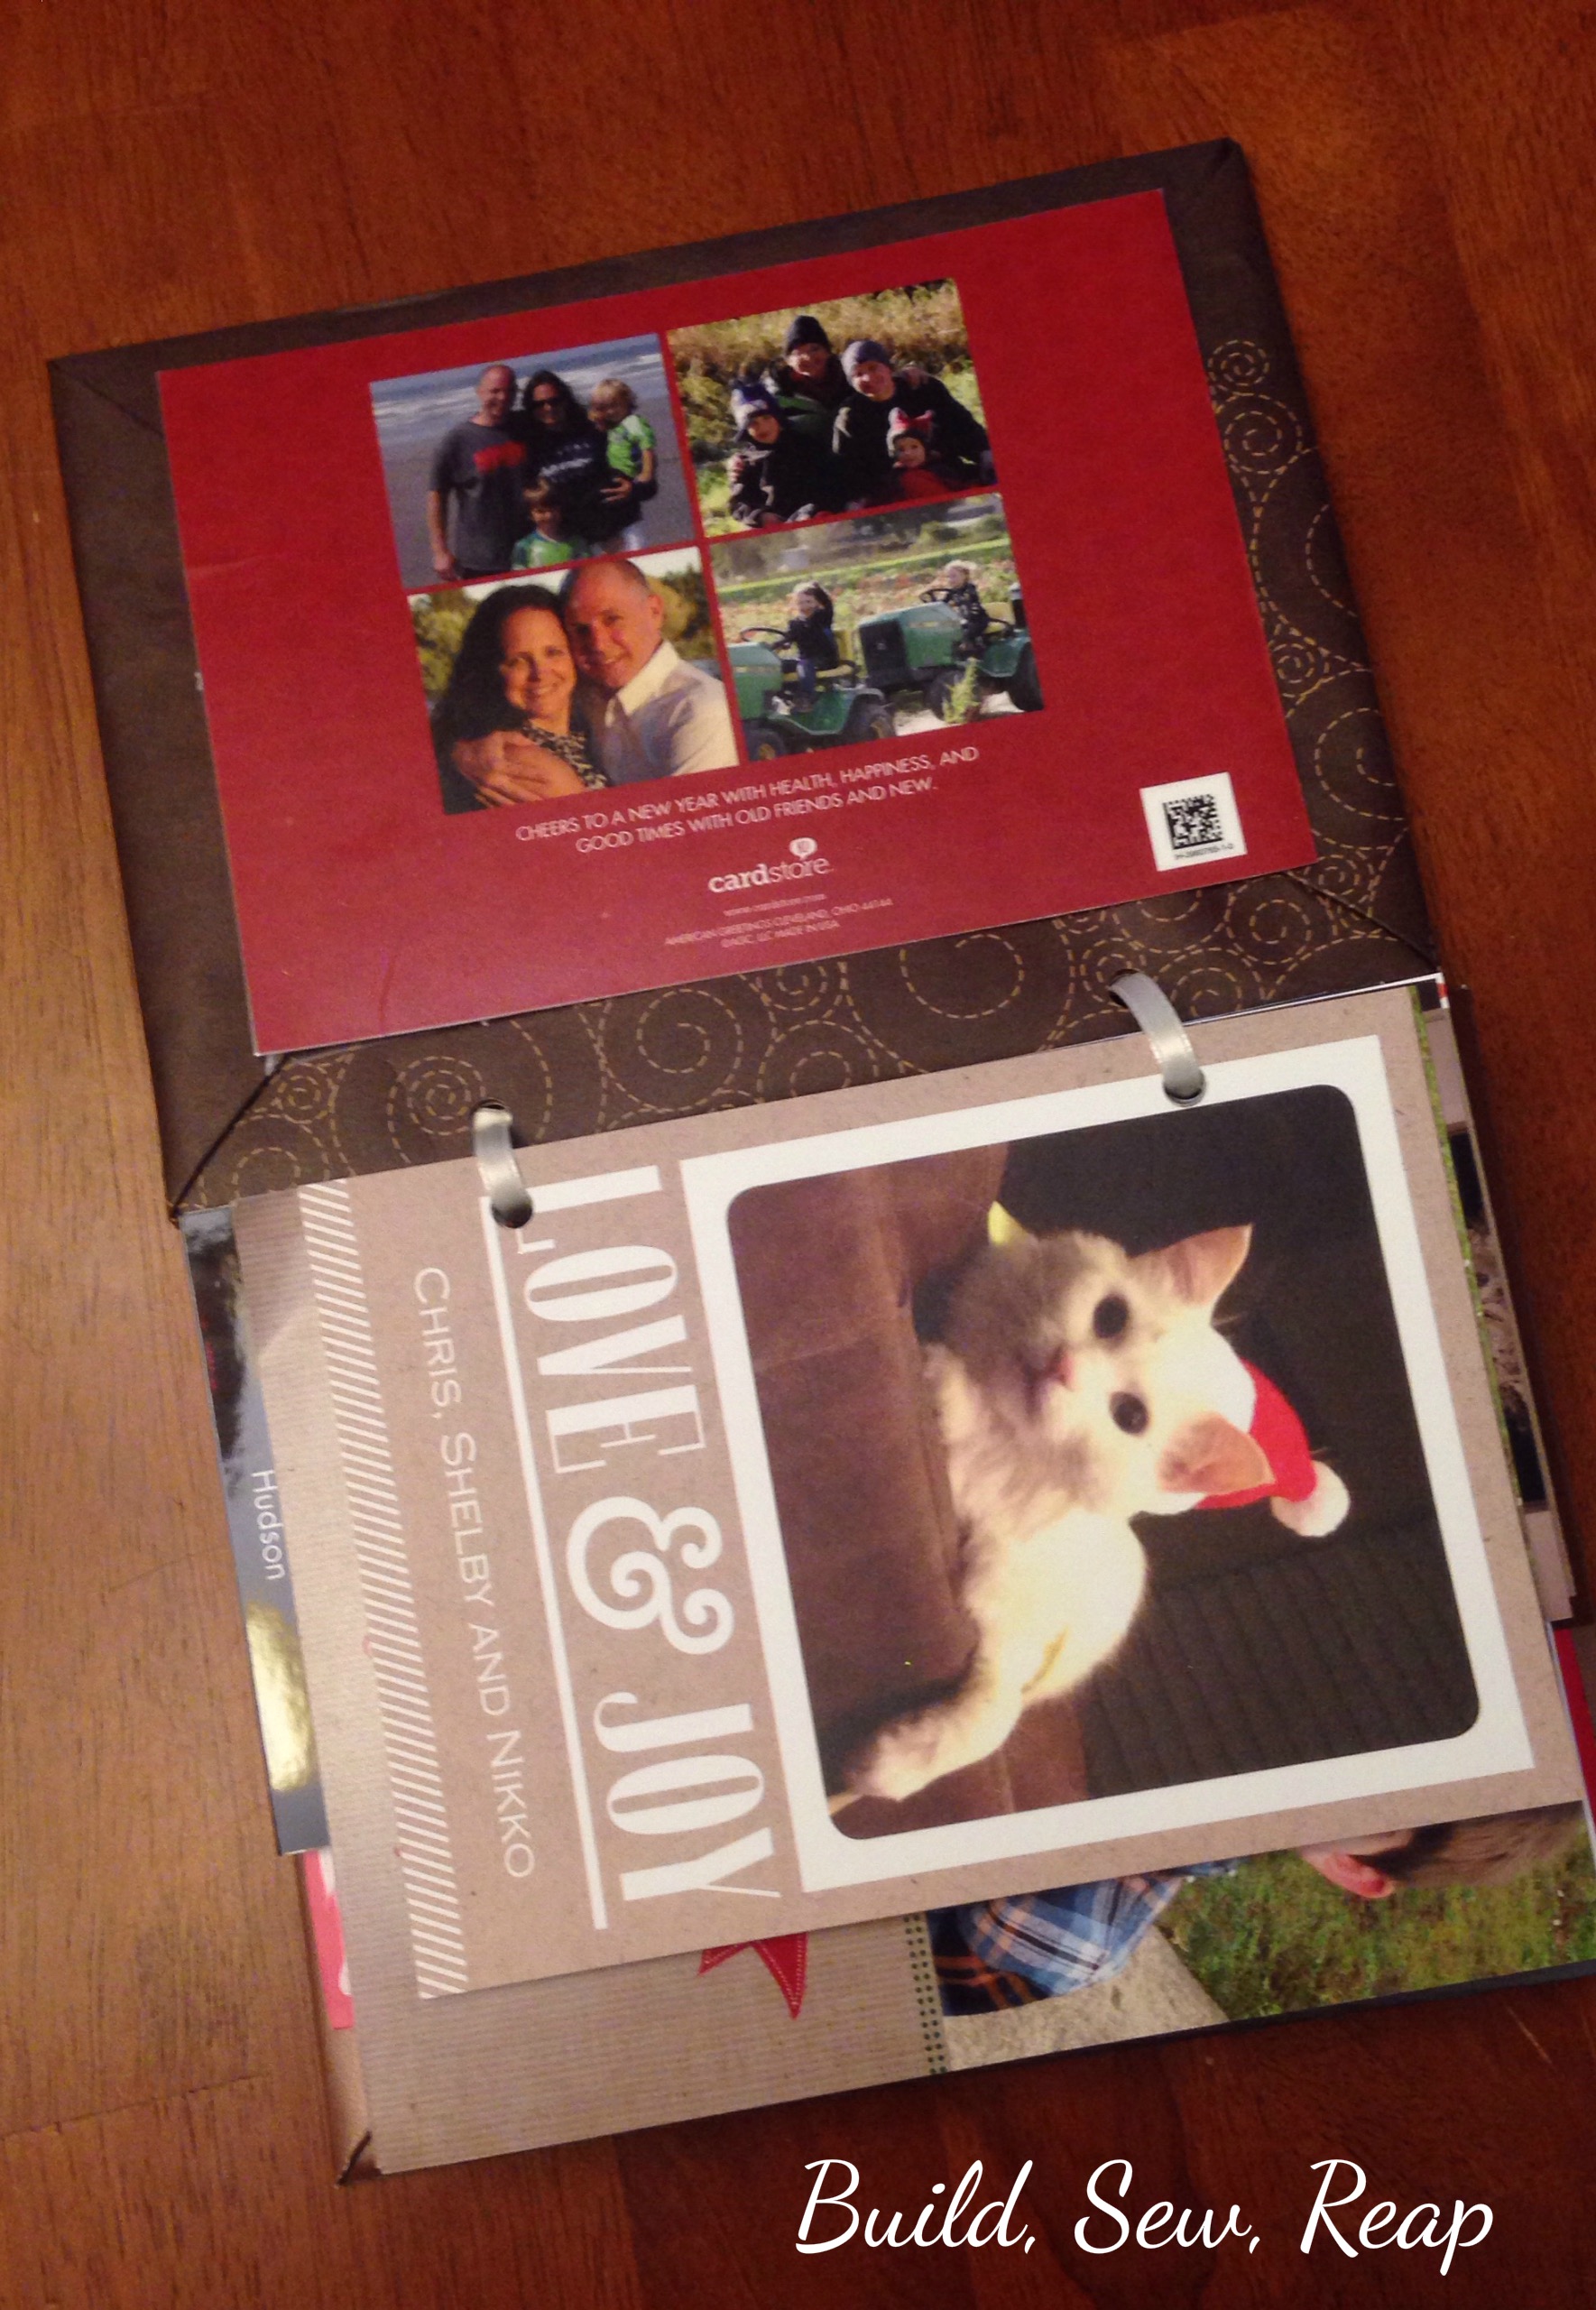
I used my 3-hole puncher to make holes in each card, being careful to center the card in the the top two slots. I was able to shove my front cover into the hole puncher but the back cover was too thick with the pocket added in. I actually used my leather punch tool to get through all those layers.
I love how it turned out and will enjoy looking through the cards year-round. In the past we have left the cards out for a long time to let the kids revisit them. We have a lot of friends and family who aren't in our area so we like to look at their pictures and talk about who they are. I love that my kids are growing up knowing the faces of some of my grade school and high school friends' kids.
I think I'm going to go find the heap of last year's cards that I never took care of. Sometimes it pays to push stuff to the side instead of dealing with it in a timely manner.
Do you save holiday cards? In the past, I've also used the non-photo ones to make bookmarks.
Thank you for reading,
Julie
Showing posts with label Holidays. Show all posts
Burned Out Bulb Holiday Decor
We've put the big size (C9) Christmas lights on our house the past few years but we always have a problem with the filaments disconnecting while in storage because when we pull those strands out each year, many of the bulbs no longer work. This year I couldn't just toss the bulbs, it was just too wasteful. Sooooo, I recruited the big kid and he and I did a little project.
Want to know how to make your own glitter bulbs? Here's what you'll need:
Coat them in white glue or Mod Podge
Roll them in glitter
Watch how when they dry, they change color
Load them into a vase with some white battery operated lights
And enjoy!!
Warning: Despite appearances, glitter is not a child friendly craft material if you don't want to find it on everything you own for years to come.
Thank you for reading,
Julie
I'm sharing here this week:
Want to know how to make your own glitter bulbs? Here's what you'll need:
- Burned out christmas light bulbs (the big ones)
- White glue or Mod Podge
- Glitter
Optional
- Glass vase
- Battery operated lights
- Ribbon to tie on the vase
Here's what to do:
Gather your bulbs
Roll them in glitter
Watch how when they dry, they change color
(they don't really change color, the red ones were the ones I did)
Load them into a vase with some white battery operated lights
And enjoy!!
Warning: Despite appearances, glitter is not a child friendly craft material if you don't want to find it on everything you own for years to come.
Happy Holidays!!
Thank you for reading,
Julie
I'm sharing here this week:

Halloween 2013 - The Incredibles
I know I haven't posted in forever but I feel like projects are happening so fast that I've barely stopped to take pictures much less blog about them. The end of the summer brought with it many evenings processing mainly tomatoes and beans from our garden as well as other wonderful produce I picked up through farmers markets and suppliers looking to sell their organic harvests at a great price. I've filled the pantry with an impressive bounty of our favorite foods.
One project I snuck in while in the middle of about 12 others was our family Halloween costume. The Snickerdoodle originally wanted to be a cheetah and he wanted Mr. Mischief to be a deer so he could chase him and try to tackle and eat him. While this made me laugh, I couldn't do that to the little guy so I had to think fast and come up with a better costume idea. All at once, we introduced him to The Incredibles and convinced him the whole family could dress up.
He was all for it and immediately started calling himself Dash and running around at high speeds everywhere he want.
I created each of our costumes out of fleece to keep us all warm on what I expected to be a typical cool Halloween night. I rarely sew with patterns anymore so I just winged it to make each outfit fit nice and snug. My husband borrowed a muscle suit from a friend and we all sported our favorite boots. I'll try to write up a post on making costume gloves. It was quick and easy!
So, without further ado, here we are, The Incredibles:
Of course, I took about 30 photos of each member of the family in order to put that image together but everyone enjoyed trying out their costume for a bit and posing for the camera (my kids are hams).
On Halloween, we were joined by my husband's mom who dressed up as Edna from the movie. We had such a blast trick-or-treating in our little downtown area but after loading up the kids with sugary treats, we headed to Chipotle to enjoy $3 meals (for wearing our costumes). Here we were at the very end of the night:
While everyone was surely tuckered out, even the little dude managed to muster up a cool super-guy pose.
I hope your Halloween as as enjoyable as ours. I know we sure made some great family memories with this one.
Thank you for reading,
Julie
One project I snuck in while in the middle of about 12 others was our family Halloween costume. The Snickerdoodle originally wanted to be a cheetah and he wanted Mr. Mischief to be a deer so he could chase him and try to tackle and eat him. While this made me laugh, I couldn't do that to the little guy so I had to think fast and come up with a better costume idea. All at once, we introduced him to The Incredibles and convinced him the whole family could dress up.
He was all for it and immediately started calling himself Dash and running around at high speeds everywhere he want.
I created each of our costumes out of fleece to keep us all warm on what I expected to be a typical cool Halloween night. I rarely sew with patterns anymore so I just winged it to make each outfit fit nice and snug. My husband borrowed a muscle suit from a friend and we all sported our favorite boots. I'll try to write up a post on making costume gloves. It was quick and easy!
So, without further ado, here we are, The Incredibles:
Of course, I took about 30 photos of each member of the family in order to put that image together but everyone enjoyed trying out their costume for a bit and posing for the camera (my kids are hams).
On Halloween, we were joined by my husband's mom who dressed up as Edna from the movie. We had such a blast trick-or-treating in our little downtown area but after loading up the kids with sugary treats, we headed to Chipotle to enjoy $3 meals (for wearing our costumes). Here we were at the very end of the night:
(I'm not really that tall, I was wearing boots and my husband was
crouching down a bit, normally I'm shorter than him)
While everyone was surely tuckered out, even the little dude managed to muster up a cool super-guy pose.
I hope your Halloween as as enjoyable as ours. I know we sure made some great family memories with this one.
Thank you for reading,
Julie
Santa Bread
Santa in February? OK, major post fail going on here. I took the pictures then discovered I never wrote a post about the Santa bread I made for Christmas! It was fun to do and tasted good too. Just in case this gives you some ideas for next year, here's the Santa bread I made:
Now, I do wish this was an original concept but it wasn't. I found a tutorial on Taste of Home but I used our favorite bread recipe which is the easiest recipe EVER. I first learned about it from Marie at Make and Takes but it appears to be all over the web. Here's the Make and Takes version.
I didn't want to do an egg wash on my Santa because I wanted to keep it vegan plus I really don't like the smell of cooking eggs. I brushed my Santa's beard and the ball on the top of his hat with salt water. To get the red for his hat, nose and lips, I just painted the dough with vegan butter substitute mixed with red gel food coloring. Finally, I used two raisins for his eyes. The project was fun and I liked how he turned out.
Thank you for reading,
Julie
Valentine's Day Wreath
I saw this wreath on Pinterest which was originally from Etsy but I can't figure out who made it to give appropriate credit:
I may or may not have an obsession with argyle so I totally loved it but didn't have any grey yarn. I also DID have a couple of packs of red hearts I had grabbed out of the dollar bins at JoAnn awhile back. So, I cut up an old grey t-shirt (note, this is NOT t-shirt yarn in mine, it wasn't the right kind of t-shirt but it turned out alright).
I wrapped a basic foam wreath with one looooooong strip of grey t-shirt then hot glued the hearts on. Once those had cooled, I wrapped the wreath with medium black satin ribbon then medium pink ribbon then finally skinny black ribbon. It took very little time and I'm quite happy with the results.
Are you making a wreath for Valentine's day? If you've blogged about it, please feel free to drop a link to your creation in the comments.
Thank you for reading,
Julie
Happy Halloween
I haven't posted in awhile because I've been busy making some changes in the kitchen, working on the side yard, having a garage sale and best of all . . . making costumes!!
And a hint about a post coming soon to a blog near you:
Thank you for reading,
Julie
Happy Halloween!
And a hint about a post coming soon to a blog near you:
Thank you for reading,
Julie
Peppermint Meringues
I just love meringues but since I can't be trusted with a batch of them, I save my meringue baking for the holiday season. I think they're so pretty and elegant and of course, they taste really really good too. For the past couple of years I've made peppermint meringues to have on hand for parties and to give to friends as gifts. Here's my recipe:
Ingredients:
A fancy addition to this that I did last year was to then dip half of each one in melted milk chocolate chips. I found it was a bit easier to melt the chocolate using the double boiler method on the stove rather than the microwave because then the chocolate remained nice and melty as I worked through a rather large batch of meringues. I allowed the chocolate covered versions to cool on a parchment paper covered cookie sheet in the refrigerator.
Thank you for reading,
Julie
Ingredients:
- 4 egg whites
- 1/4 tsp salt
- 1/4 tsp cream of tartar
- 1 cup white sugar
- 3-4 peppermint candy canes - crushed
Directions:
Preheat oven to 225 degrees. Line 2 large baking sheets with foil (I think parchment paper works alright too).
Using an electric mixer, beat egg whites, salt and cream of tarter to soft peaks. Add the sugar and continue to beat until the whites form stiff peaks. Stiff peaks are when you take the beaters out and the mixture doesn't settle back down again but rather holds its shape.
Using a spatula, transfer the mixture into a large ziploc style bag. Press out as much air as possible and seal the bag. Now cut off just a little bit of one lower (non zipper) corner of the bag. Carefully squeeze out some of the mixture in small swirls (think Dairy Queen soft serve) on the prepared baking sheets. They shouldn't spread out at all and will not expand when baking so feel free to put them relatively close together. Sprinkle the tops with the crushed candy canes.
Bake for 1.5 hours. They should be completely dry on the inside when they're done. The only way I've found to test this is to eat one - it's a tough job but you'll have to take one for the team. Once they're done, turn off the oven and allow them to cool in the oven with the door propped a bit open. When they're completely cooled, you should be able to pop them right off the foil with your fingers.
Store covered in a cool dry place for up to 2 months.
A fancy addition to this that I did last year was to then dip half of each one in melted milk chocolate chips. I found it was a bit easier to melt the chocolate using the double boiler method on the stove rather than the microwave because then the chocolate remained nice and melty as I worked through a rather large batch of meringues. I allowed the chocolate covered versions to cool on a parchment paper covered cookie sheet in the refrigerator.
Thank you for reading,
Julie
Eggless Eggnog
I love this season, everything about it. I especially love the special seasonal treats. It also turns out the Snickerdoodle loves eggnog as much as I do (hard to believe, I could drink it by the gallon) so last year, before we went broke pounding through the Silk Soymilk Eggnog, I went in search of a cheaper alternative. I'm going to share with you the original recipe as well as my adapted version (for soymilk). I'd love to hear if you make any of your own changes:
Original recipe from Food.com
Ingredients:
Warning - this does NOT dissolve well in coffee (you can do it but don't leave your spoon behind, it'll likely need a re-stir).
UPDATE: In case you're interested in the cost, I'd estimate the milk version of it can cost as little as $2 for 1/2 gallon if you shop sales. The soy milk version is more like $3 based on the Kirkland soy milk price and pudding mix purchased on sale at the drug store.
Thank you for reading,
Julie
I'm sharing on:
Original recipe from Food.com
Ingredients:
- 8 cups milk
- 1 (3 ounce) package jello instant vanilla pudding
- 1/2 cup sugar
- 2 tsp vanilla
- 1/2 tsp nutmet
Directions:
In large bowl (actually I just use the pitcher it'll stay in), mix pudding with 1 cup of milk
When pudding is thick, add remaining ingredients, mix very well.
Chill (you and the beverage). If you're super eager and you used cold milk, this really should be ready in less than 10 minutes.
*For vegetarian, use a vegetarian instant vanilla pudding mix.
________________________
As I mentioned above, I've made some of my own changes based on the products we always seem to have on hand. The directions are the same but my ingredients are a little different.
Ingredients:
- 2 boxes (8 cups) of Organic Vanilla Soy Milk (I buy the Kirkland brand by the case at Costco)
- 1 (5.5 ounce - the bigger box) box of Jello instant vanilla pudding
- 1/2 tsp nutmeg
So as you can see, I don't add vanilla since I'm already using vanilla soy milk and the box of pudding I use is bigger because I like it super thick and rich.
Warning - this does NOT dissolve well in coffee (you can do it but don't leave your spoon behind, it'll likely need a re-stir).
UPDATE: In case you're interested in the cost, I'd estimate the milk version of it can cost as little as $2 for 1/2 gallon if you shop sales. The soy milk version is more like $3 based on the Kirkland soy milk price and pudding mix purchased on sale at the drug store.
Thank you for reading,
Julie
I'm sharing on:

Happy Halloween 2011
Happy Halloween!!
We love Halloween around here but this year I'd say the scariest part of it all might just be the pictures I have to include in this post. The dismal weather outside and lack of natural light is challenging my budding photography skills. BUT, without further ado, I bring you...
I customized the jumpsuit pattern from Butterick (3244) that I had also used last year for his astronaut costume. Snickerdoodle has a long torso and I like the added belt with elastic around the back as well as cuffs to keep everything in place. I also created the custom iron-ons using MS Word for the back and the lightning bolts down his arms and just used Google to find the images for the sponsors on the front as well as the checkerboard pattern down each leg. I LOVE printable iron on paper. I always use the stuff for dark t-shirts as I like that the colors come out bolder than they do with the traditional iron-on paper.
And now my costume:
Disclaimer: Although I had the concept before seeing others, when I Googled for the images to base the bones off of, I found someone else had beaten me to the idea. Being extremely short on time, I opted to use their design rather than reinventing it. Similar shirts are available for sale but I did this with a basic Target maternity shirt, a few pages of printable iron-on paper, a pair of scissors and a whole lot of swearing. At any rate, it was a huge hit when we went trick-or-treating at a friend's office on Friday.
It was easy enough to make. I just scaled the images I wanted to use to fit my body and printed them on regular white paper to use as a template. Then I stacked my un-printed iron-on paper with the printed images and cut out the bones. I followed the directions with the iron-on paper to stick them down. For the arm bones, I was actually able to use a file I found in the Silhouette marketplace and let my machine do the work on those.
FYI I started out trying to use contact paper so I wouldn't have to sacrifice the shirt but thankfully didn't get all that far before I realized the paper just wouldn't stick to my curves (the belly really is ginormous) so if you're thinking the same thing . . . well, don't bother.
Thank you for reading,
Julie
We love Halloween around here but this year I'd say the scariest part of it all might just be the pictures I have to include in this post. The dismal weather outside and lack of natural light is challenging my budding photography skills. BUT, without further ado, I bring you...
LIGHTNING MCQUEEN!!!
I customized the jumpsuit pattern from Butterick (3244) that I had also used last year for his astronaut costume. Snickerdoodle has a long torso and I like the added belt with elastic around the back as well as cuffs to keep everything in place. I also created the custom iron-ons using MS Word for the back and the lightning bolts down his arms and just used Google to find the images for the sponsors on the front as well as the checkerboard pattern down each leg. I LOVE printable iron on paper. I always use the stuff for dark t-shirts as I like that the colors come out bolder than they do with the traditional iron-on paper.
And now my costume:
Disclaimer: Although I had the concept before seeing others, when I Googled for the images to base the bones off of, I found someone else had beaten me to the idea. Being extremely short on time, I opted to use their design rather than reinventing it. Similar shirts are available for sale but I did this with a basic Target maternity shirt, a few pages of printable iron-on paper, a pair of scissors and a whole lot of swearing. At any rate, it was a huge hit when we went trick-or-treating at a friend's office on Friday.
It was easy enough to make. I just scaled the images I wanted to use to fit my body and printed them on regular white paper to use as a template. Then I stacked my un-printed iron-on paper with the printed images and cut out the bones. I followed the directions with the iron-on paper to stick them down. For the arm bones, I was actually able to use a file I found in the Silhouette marketplace and let my machine do the work on those.
FYI I started out trying to use contact paper so I wouldn't have to sacrifice the shirt but thankfully didn't get all that far before I realized the paper just wouldn't stick to my curves (the belly really is ginormous) so if you're thinking the same thing . . . well, don't bother.
HAPPY HALLOWEEN!!
Thank you for reading,
Julie
Bat Invasion
I knew as soon as I saw a Pin of a bat invasion on pinterest that I'd be using my Silhouette to create my own flock of bats. Of course, in true Julie fashion, I couldn't stop at one wall though, I had to create some sort of hellish bat explosion all over our living and dining rooms (which make up one big space). My husband loves them and once Snickerdoodle got over that I wanted him to play by himself a bit this morning so I could decorate, he too decided they were pretty fun.
I used a Silhouette bat pattern but I did add a dashed line down the center so they'd fold easily. Then I added a roll of tape to each of 160 bats ...
and I got to work sticking them in what I believed was a realistic bat formation.
I stuck a few on, then some more and some more and some more. Then I grabbed my favorite little model and took some pictures.
Snickerdoodle and I also made a little centerpiece for the dining room table (using a wood kit from JoAnns and some water colors):
And I busted out some decorations from last year as well:
I've gotta say though - my favorite time to look at Halloween decorations is at night and my bats didn't disappoint me one bit:
Thank you for reading,
Julie
PS Watch out kitty!

I'm sharing this post at the following link parties:
I used a Silhouette bat pattern but I did add a dashed line down the center so they'd fold easily. Then I added a roll of tape to each of 160 bats ...
and I got to work sticking them in what I believed was a realistic bat formation.
I stuck a few on, then some more and some more and some more. Then I grabbed my favorite little model and took some pictures.
(strike a pose kid!)
Snickerdoodle and I also made a little centerpiece for the dining room table (using a wood kit from JoAnns and some water colors):
And I busted out some decorations from last year as well:
I've gotta say though - my favorite time to look at Halloween decorations is at night and my bats didn't disappoint me one bit:
Thank you for reading,
Julie
PS Watch out kitty!

I'm sharing this post at the following link parties:

Labels:
crafting,
Decorating,
Holidays,
home,
Papercrafts,
Silhouette
T-Shirt Yarn Halloween Wreath
We've lived in our house for 2 1/2 years now and the only time I've bothered to hang a wreath was for Christmas so I wanted to add a Halloween one to our decorations box this year. I set out to create it using materials on hand so this is what I came up with:
I had tucked last year's live Christmas wreath in the back of our carport thinking I'd take it apart and, well, I guess taking 9 months to do that isn't awful, right? Anyway, I took it apart to find this metal wreath inside:
I then pulled out my ball of purple t-shirt yarn and cut it to about 6 inch lengths . . . many many many pieces. I also created some black as well as some white t-shirt yarn. I started out by tying one small strip on to the outside ring:
and continued to tie one after another after another after another ...
until I had tied pieces on all around both rings
Then I set the project aside until inspiration hit while at the grocery store. My store carries lots of non-grocery items as well and all their Halloween stuff is already marked down so I picked up a pack of glittery spiders. I used the same twist-ties that held them onto their packaging to hold them onto my wreath. Finally, I found a "Happy Halloween" I liked in the Silhouette store and created that in orange.
I'm happy with how my $2.99 (for the spiders) wreath turned out and as always, glad to have destashed a little in the process.
Thank you for reading,
Julie
I'm sharing this post on:
I had tucked last year's live Christmas wreath in the back of our carport thinking I'd take it apart and, well, I guess taking 9 months to do that isn't awful, right? Anyway, I took it apart to find this metal wreath inside:
I then pulled out my ball of purple t-shirt yarn and cut it to about 6 inch lengths . . . many many many pieces. I also created some black as well as some white t-shirt yarn. I started out by tying one small strip on to the outside ring:
and continued to tie one after another after another after another ...
until I had tied pieces on all around both rings
Then I set the project aside until inspiration hit while at the grocery store. My store carries lots of non-grocery items as well and all their Halloween stuff is already marked down so I picked up a pack of glittery spiders. I used the same twist-ties that held them onto their packaging to hold them onto my wreath. Finally, I found a "Happy Halloween" I liked in the Silhouette store and created that in orange.
Thank you for reading,
Julie
I'm sharing this post on:


Labels:
crafting,
Decorating,
Holidays,
Papercrafts,
Silhouette,
tutorials
Blocks for Father's Day
At the risk of my dad reading this blog post and it blowing the surprise of his gift, I'm going to post about this anyway. You see, I hate it when I see gifts too late to actually create them so I thought I'd post this with hopes that maybe it'll spark some creativity if you're still struggling to figure out what to make for the special fathers in your life.
This one is for my dad and it's from me and O. O calls his grandpa Paw Paw so we made some cool photo blocks for him. I'll show you what we did here with a tutorial.
Materials:
Scrap wood cut to squares - I cut some scrap 2x4s into 7 squares
Sand paper
Paint / paint brushes
Photos of your child holding appropriate letters
Background papers
I took O out to the playset my dad put together for him with the letters "P", "A", and "W" from his foam puzzle mat and took a bunch of pictures of him goofin' around. If you don't have letters like this, you could also print them on cardstock.
These are my 7 favorite photos:
Then while the hubs treated O to a fantastic swing ride to thank him for his modeling talents, I cut the squares out of scrap 2x4s from our wood pile. I also sanded all the edges to round them out a bit and to make sure there wouldn't be any splinters.
As you can see, I didn't sand out all the imperfections, I think that's part of the charm of this project.
I set O to work painting the blocks on all but one side (where the picture would go). He opted to paint each one a solid color. We just used regular poster paints for this part.
He's a pretty thorough painter who uses a lot of paint so we left these out to dry for a few hours.
Once they were dry enough to handle, I brought them inside and began embellishing the side you can't see in the above picture (the side with no paint on it). I didn't take pictures throughout this part because it was really just basic Mod Podge with some custom paper.
I printed out 7 pictures of things that remind me of my dad (popcorn, peanuts, nails, overalls, black jelly beans, river rocks and candy corn). I found the pictures through google images and printed them on regular paper using the best quality setting on my printer. I made sure each picture was at least 4x4 so I had room to trim them to the right size. I cut them to fit the fronts of the blocks then used Mod Podge to stick them down ensuring the edges were really well secured.
Next I printed out the pictures of O so that each picture was no larger than 2.8 x 2.8, trimmed them down and mounted them on black paper to give each picture a small border of black. I glued this down to the special paper from the last step (if this isn't making sense, scroll down for the final product pictures).
I let everything dry over night then this morning I covered all sides with a coat of glossy Mod Podge. Then throughout the day I added at least 4 more layers of it to the front to ensure the picture was well coated. The end product looks great and O said he can't wait to play with these with his Paw Paw.
Just think, you could spell out anything you want with your blocks. This project wasn't overly time consuming, in fact, it felt just right to me. It wasn't rushed but there was no point that I was cursing that I took it on (like so many projects I get myself into). I'm so excited for him to open these on Father's Day, I just know he's going to love having 7 new photos of his grandson and I'm sure he'll also look forward to playing with them with O next time we visit.
Thank you for reading,
Julie
Other posts you might be interested in:
Mini Alphabet Blocks
The Quiet Book
Jar Lanterns
Subscribe to:
Posts (Atom)