There are few things I like more than a good challenge. You might recall the
fire truck bed I made for the little dude a few months ago. The challenge there was to use materials I already had on hand or that I could acquire for free. I did have to buy paint and lights but all the wood, the bed springs, and the mattress came from either my wood shed, the garden, or the local
buy nothing site. When I realized I'd have to buy paint and wanted to buy lights, I found some old clothes I could sell to raise money for those supplies so I still broke even.
I dream about participating in a show similar to Project Runway but for woodworking. They'd give weird materials and strange parameters and tell the contestants to create. YES PLEASE!!! I think there was something similar but we gave up cable so I'm all kinds of out of the loop now.
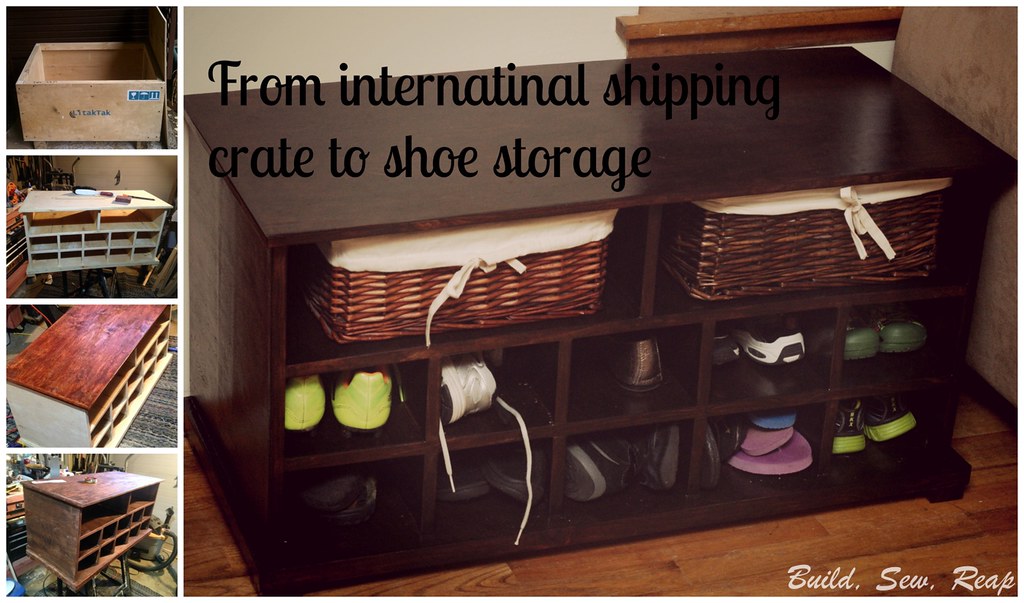
Anyway, without further ado, here's the latest project:
So here's the story ....
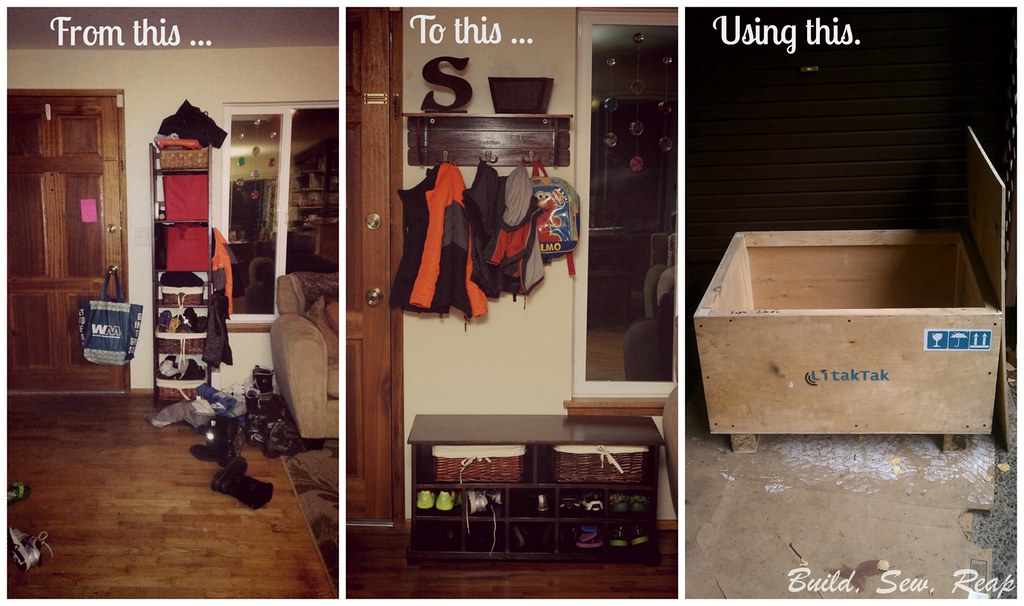
I hated this:
Yes, that's our front door and yes, that's our living room. When you walk into our home, there you are, right in our living room and right where the kids play. In an attempt to contain the shoes, gloves, hats, coats, etc, I put this tall shelving unit with baskets next to the door. The kids and I each had baskets for our stuff and you can see how well that was working. This picture wasn't even taken on a particularly bad day, the shoe explosion was awful. I started dreaming of a better solution, a piece of furniture that could contain the mess. I drew out plans but then scrapped the idea because I didn't want to spend the money on the lumber I'd need.
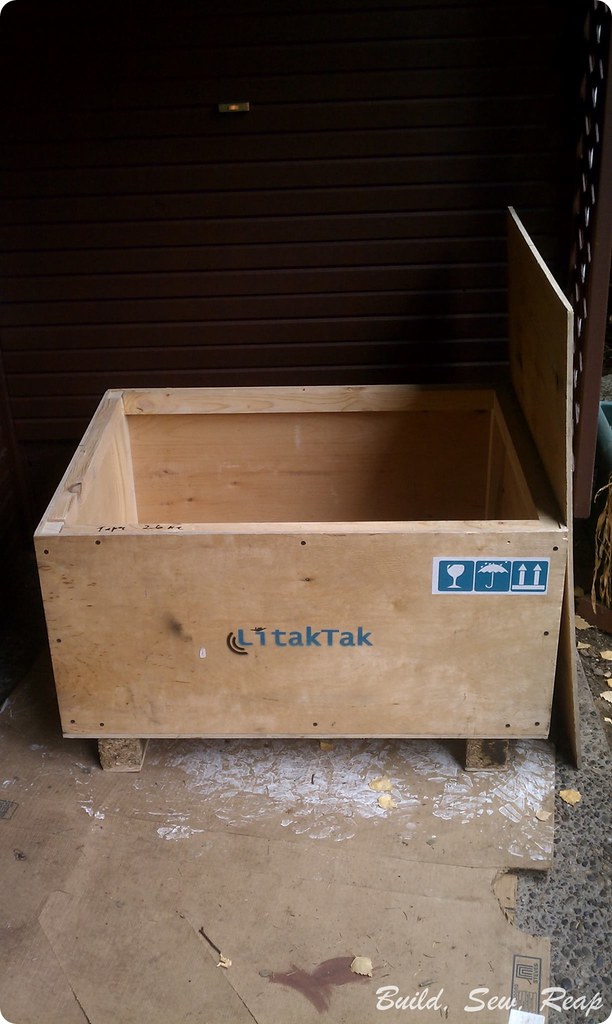
Then someone listed this on our local Buy Nothing group page:
The owner of the box had ordered something from Russia that was shipped within this box so it was strong but had endured a bit of abuse along the way. The weird thing though, was that it was exactly the width I had determined my shoe storage bench should be. She asked us each to post what we would do with the box if she gifted it to us and while there were lots of great projects to consider, I think she appreciated that the dimensions were really close to what I was going to do and she picked me.
I decided I wanted to build my entire shoe storage bench using wood from this box only.
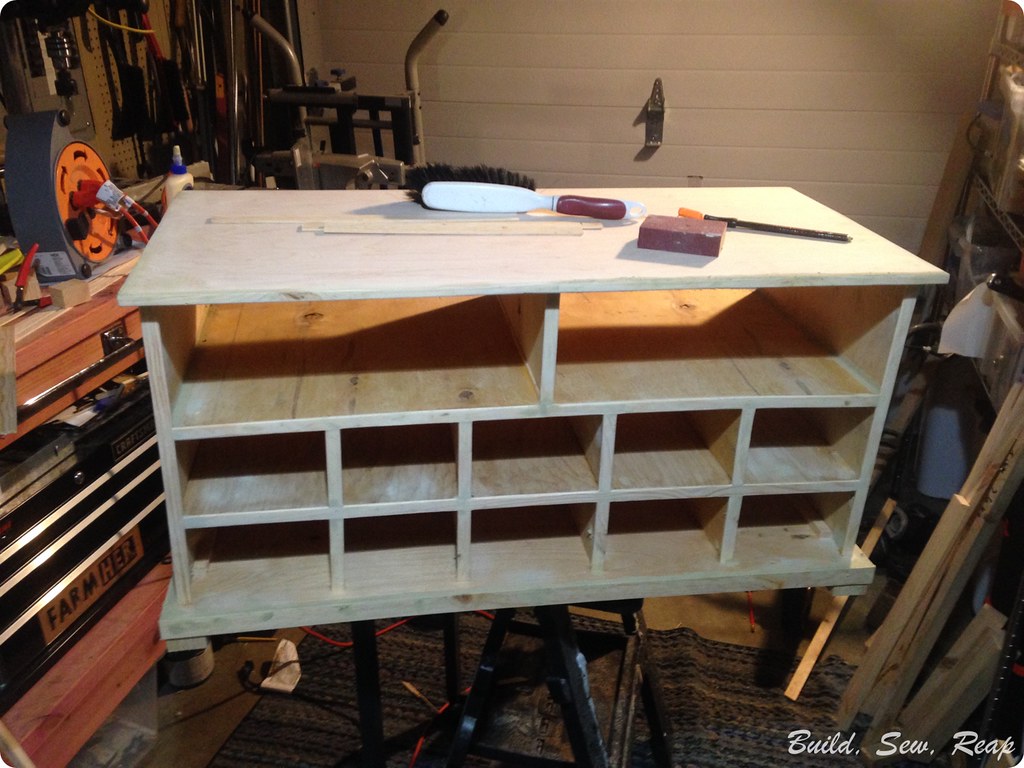
I took the whole box apart, drew up new plans to work with the wood I now had and started building.
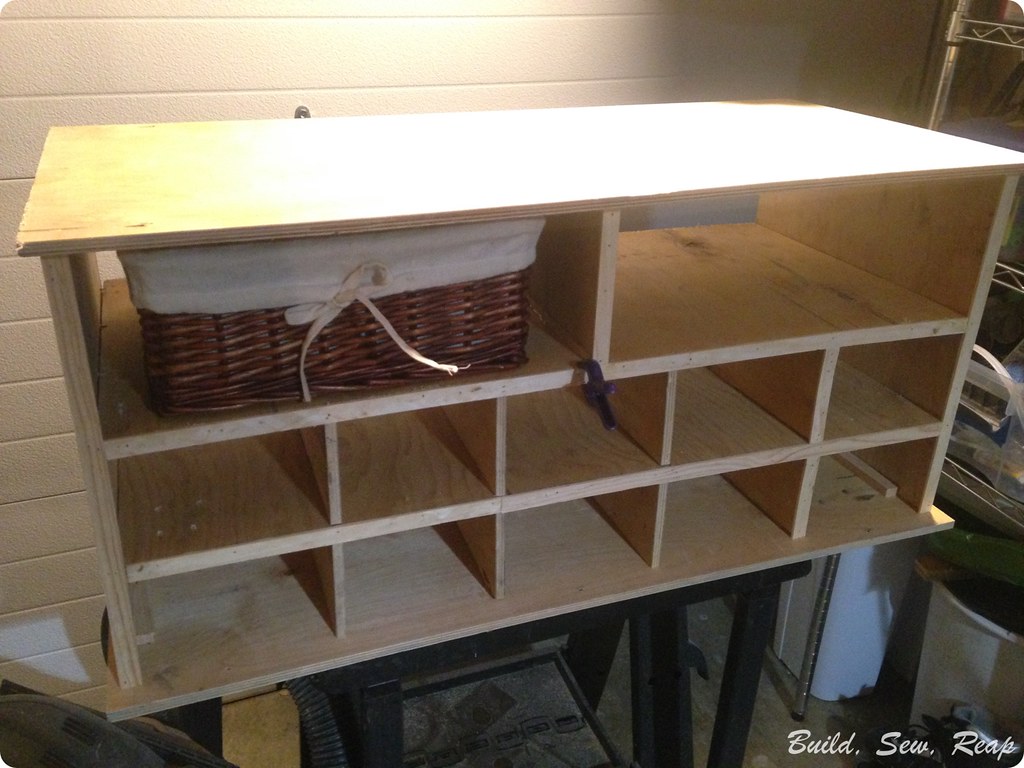
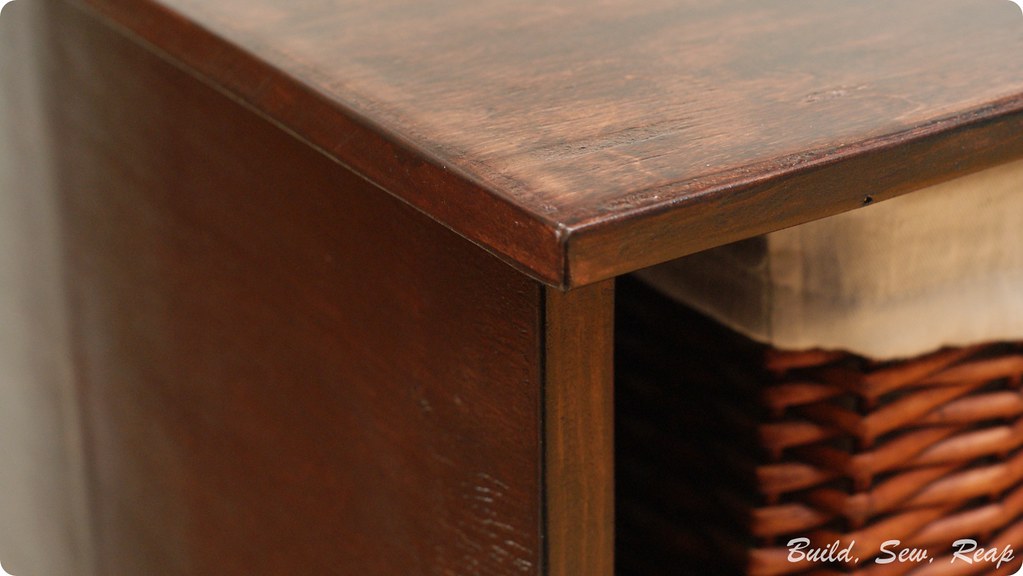
The box had pine 1.5" by 1.5" support posts in each corner and that wood was really in great shape so I ran it through my table saw to cut facing pieces to cover up the ends of the plywood. I also filled the bazillion holes the wood came with as well as the ones I created, with what was supposed to be stainable wood filler. I also added feet cut from the original corner support posts and a skirt around the bottom edge. Then I sanded the heck out of it all with the hand sander where I was able to and by hand where I couldn't get the hand sander.
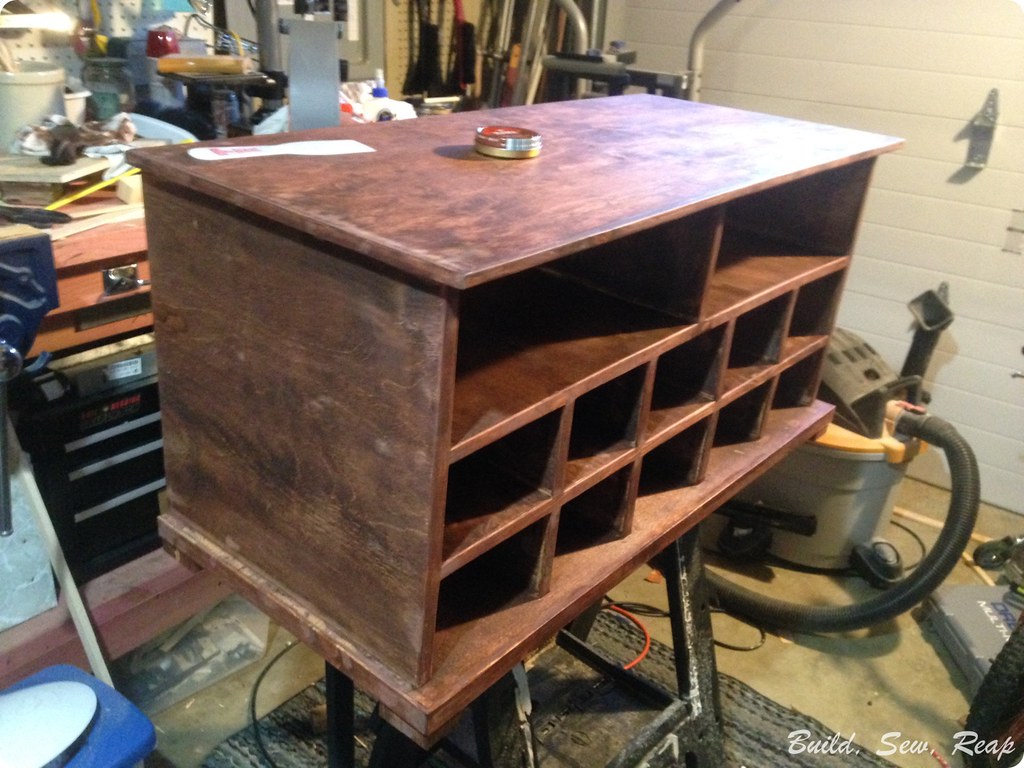
Then I stained it with an oil based stain. Brush on, wipe off.
Uh oh, the stain didn't stick to the wood filler. I tried not to panic.
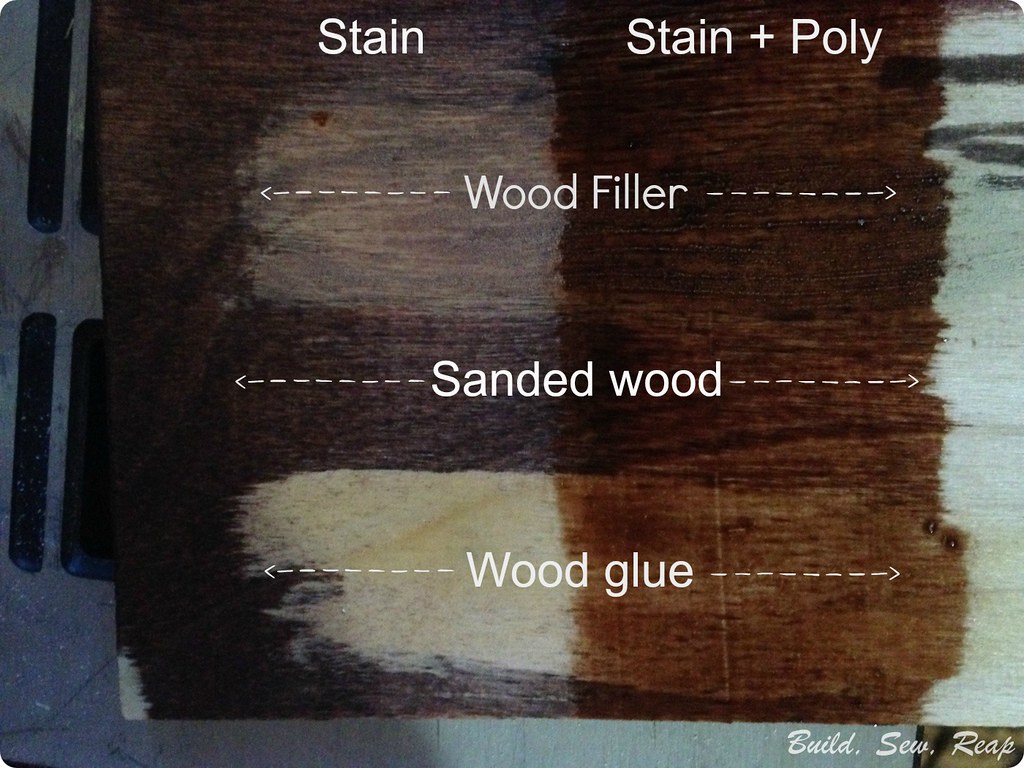
Now, normally I would not endorse the stain+poly products but in this case, I needed something that would sit on top of the wood, not sink in. I performed a test where I wiped wood glue (another area that was giving me trouble) and wood filler across a scrap of plywood. I stained a portion then used some stain + poly on another portion just to ensure it would perform as expected. This is with just one coat so I knew it would cover fine in the end.
Based on my test (above), I knew I would need 2+ layers of color to fully cover everything and create an even tone across sanded wood, wood filler, and glue. In the end, I did 2 layers of stain + poly and one layer of satin finish clear polyurethane to protect the piece.
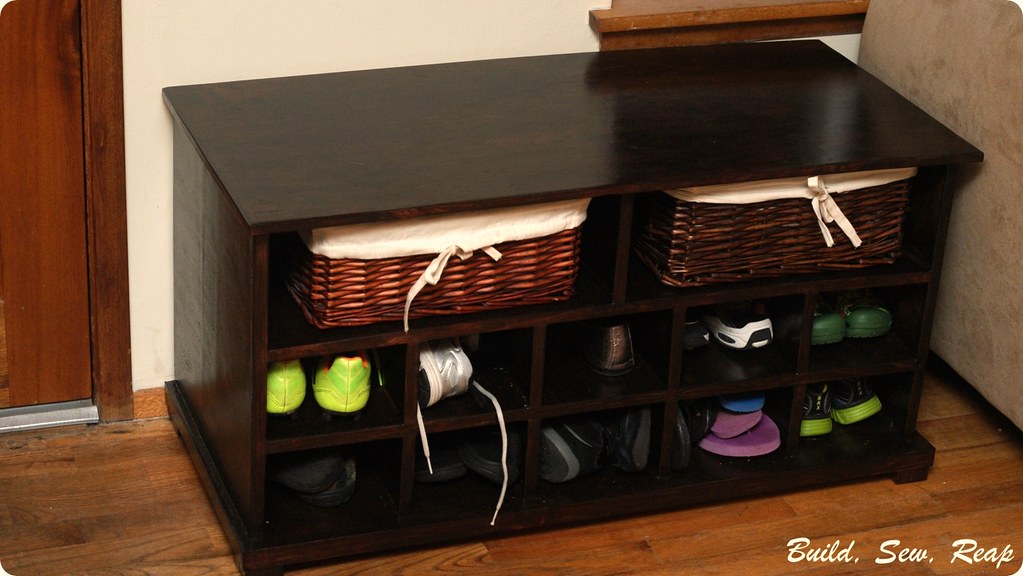
I love this piece. I even love that it isn't perfectly straight because the wood was just a tad warped in places. It has charm.
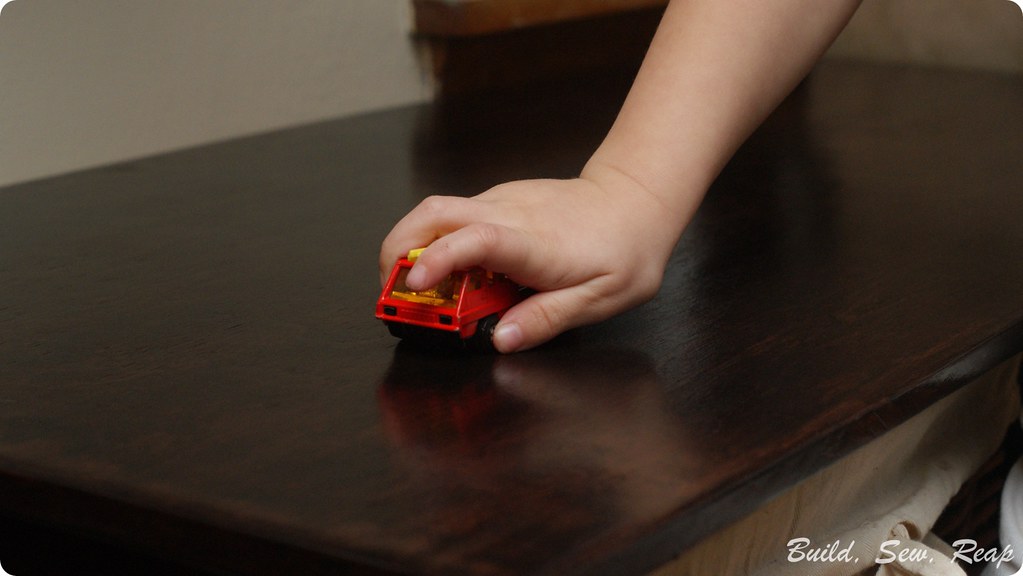
The kids like it too.
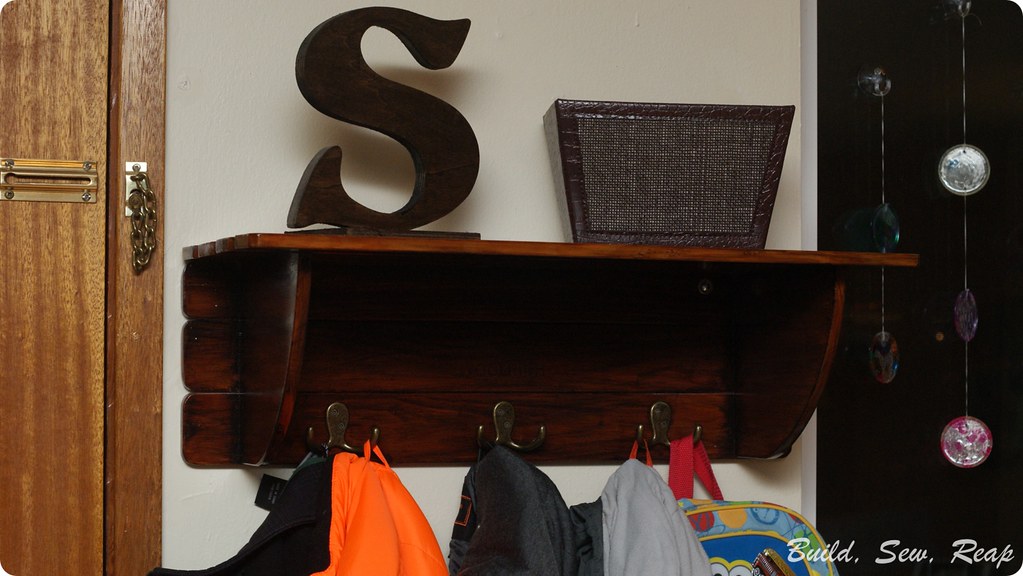
As I finished it up, I remembered we had a shelf with hooks that we had once used in the big dude's nursery way back when. I pulled it down and stained it a bit darker to coordinate with the shoe cubby piece. I also dug up an "S" (our last name starts with the letter S) in my craft supplies and stained that as well.
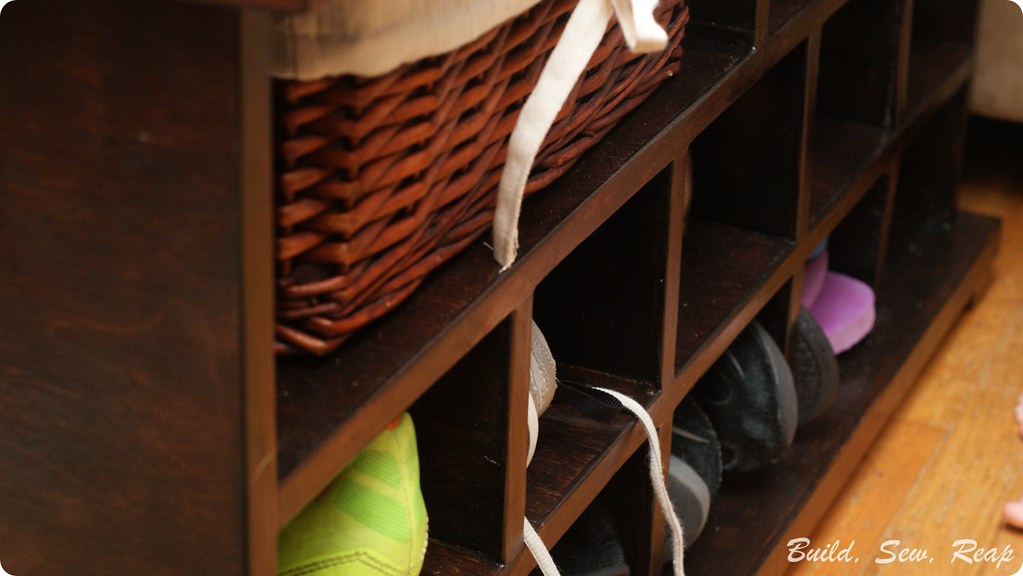
Here's what our shoe area looks like now:
Yep, that'll do.
Do you enjoy turning trash into treasures? Do you have a local Buy Nothing site? If you've blogged about projects like this, feel free to link up in the comments.
Thank you for reading,
Julie