Showing posts with label Chickens. Show all posts

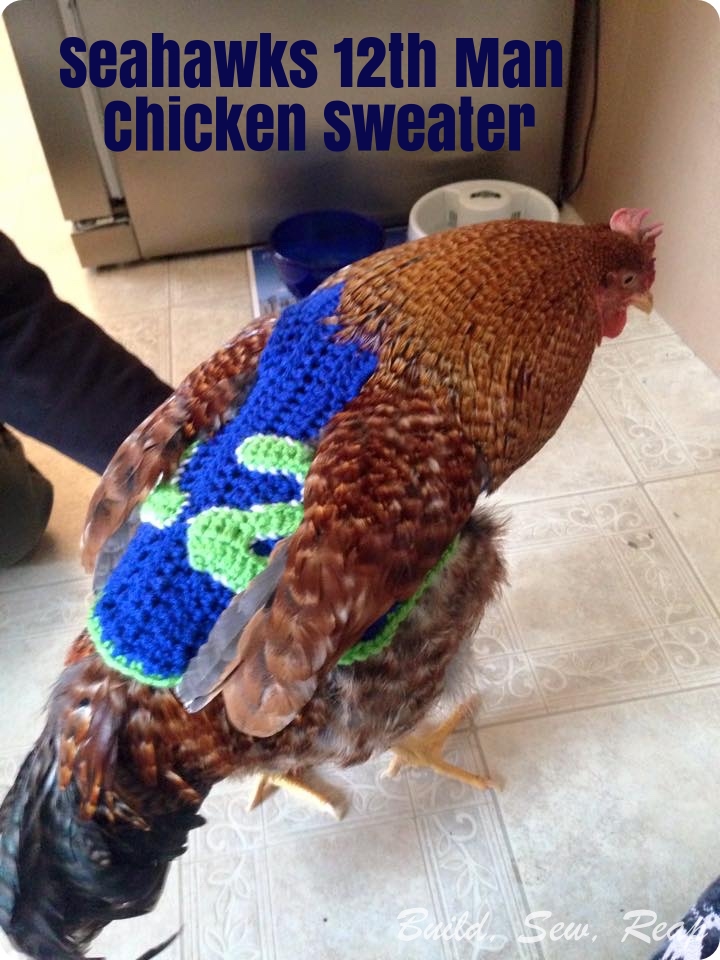
Seahawks 12th Man Chicken Sweater

I have a friend with a sick rooster who has lost a lot of weight. As a result, he can't spend much time outside because he gets cold. Naturally that means he needs a sweater.

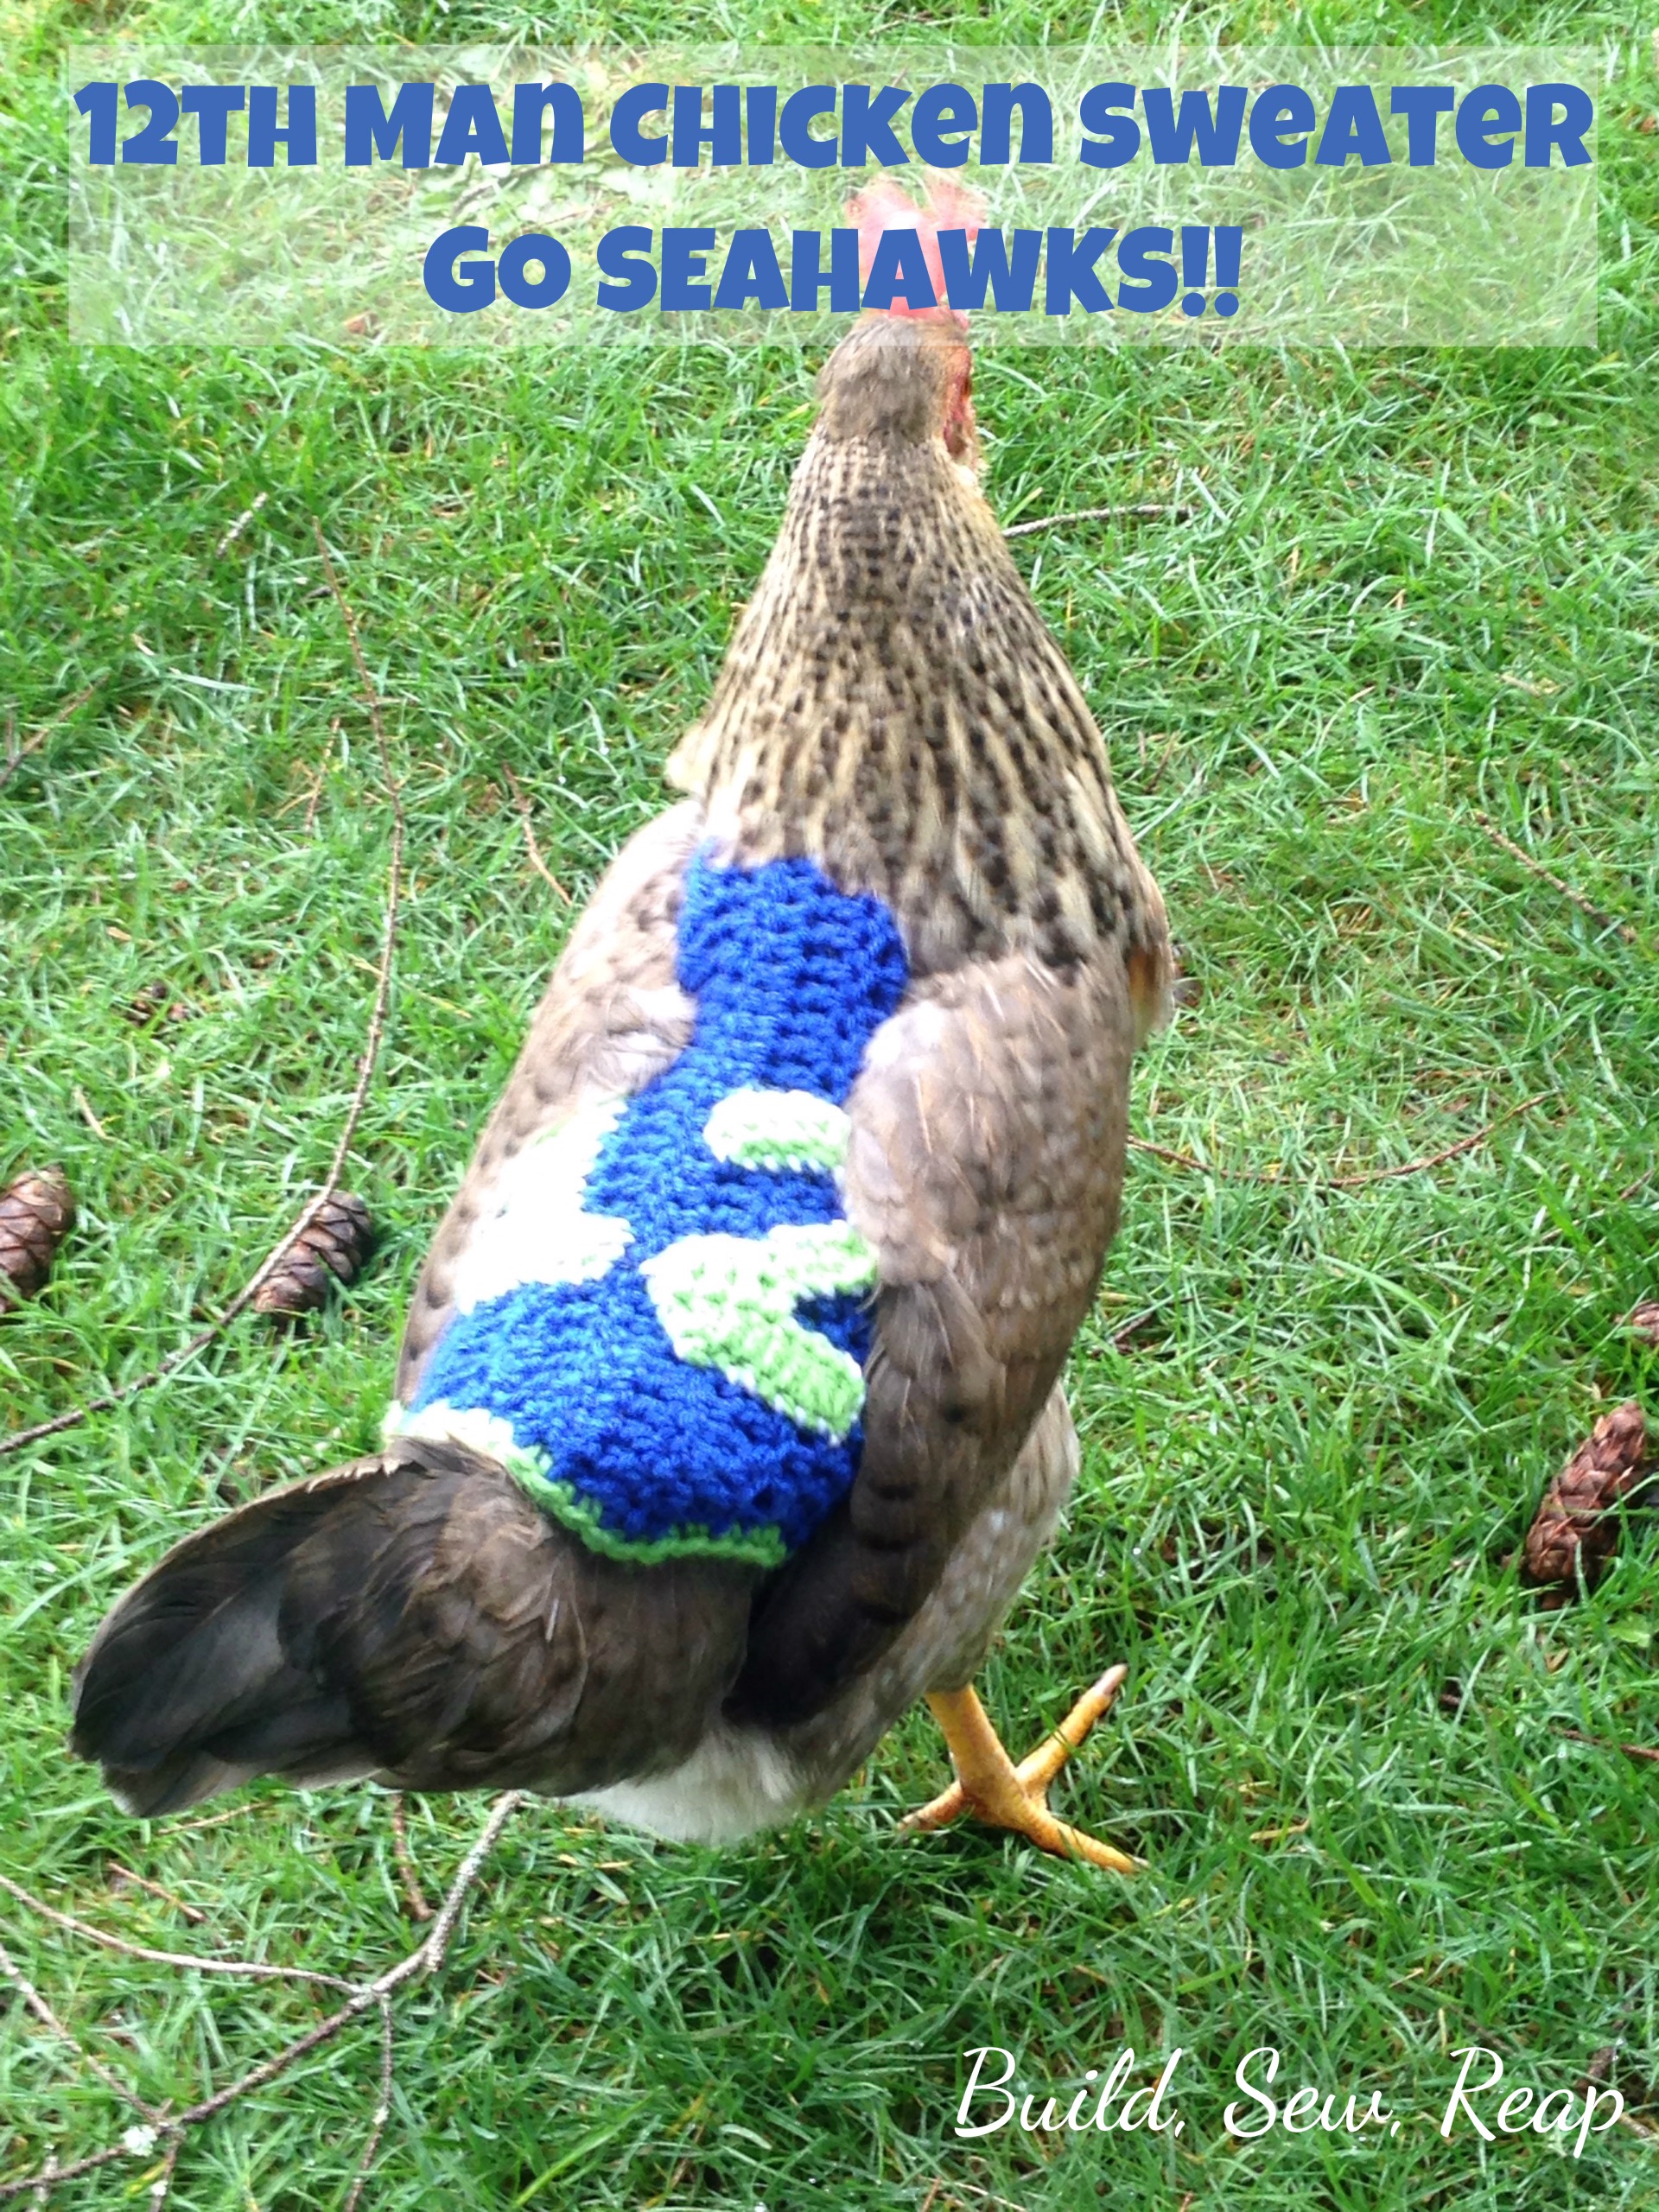
Seahawks 12th Man Chicken Sweater

He wasn't super thrilled with it as it was a bit snug but thankfully my friends with the sick roo also have a few smaller hens, one of which was super excited about her new stylish sweater.

Seahawks 12th Man Chicken Sweater

Here it is off the chicken although the color was way off in this picture which I didn't know until I had already handed it over so I couldn't retake.

Seahawks 12th Man Chicken Sweater

Here's the pattern I used from Adventures in Everyday Life, this was good for a medium sized hen. Not so good for giant Stan the rooster. It was a really easy pattern although I found it a tad difficult to get her wings through but once I did, she seemed quite comfortable with it.

I made up my own pattern for the numbers then whip stitched them in place.


Thank you for reading,
Julie

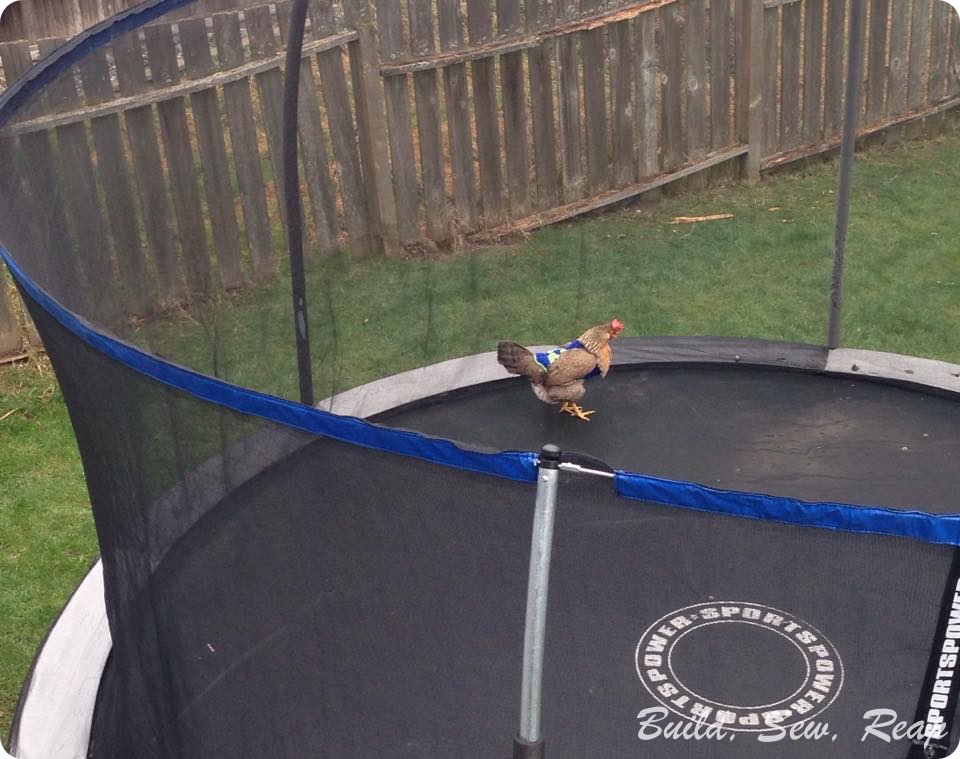
PS There's a 12th Man chicken on the trampoline

Seahawks 12th Man Chicken Sweater

_________________________________________________________________________________

I'm sharing this post on:

All Things Fee: Calling All Crafters

Crocheted Silkie Chicken Beanbags

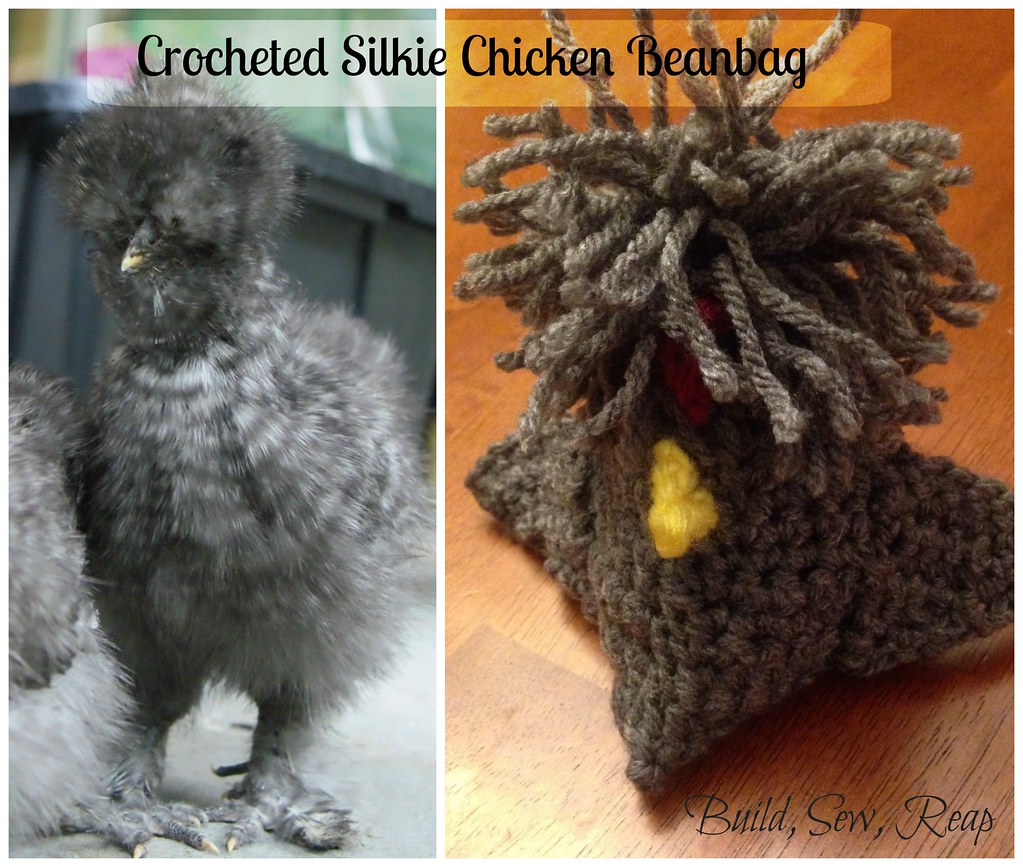
If you follow me on Facebook, you may have seen that my new obsession is crocheting. Well, I'm still loving my chickens so when I found a pattern for crocheted beanbag chickens on Petals to Picots, it was an obvious project to take on but of course, I had to make some changes to better fit my flock.

Crocheted Silkie Chicken Beanbag

These are quick and easy to make and super cute to boot.

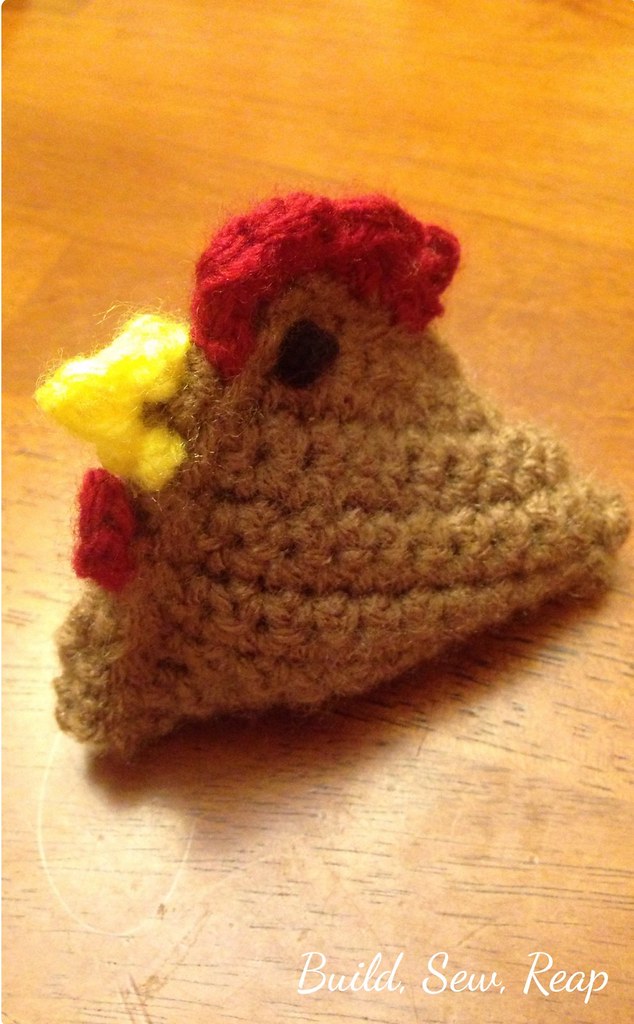
Let's back up the truck a little first. Here's what I made using the pattern exactly as written:

Crocheted chicken

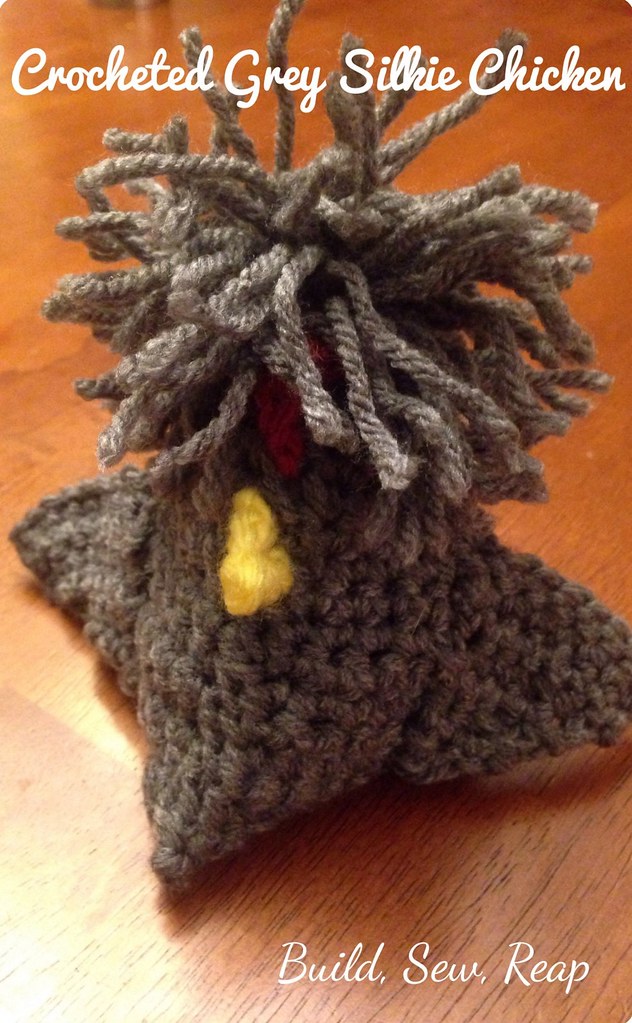
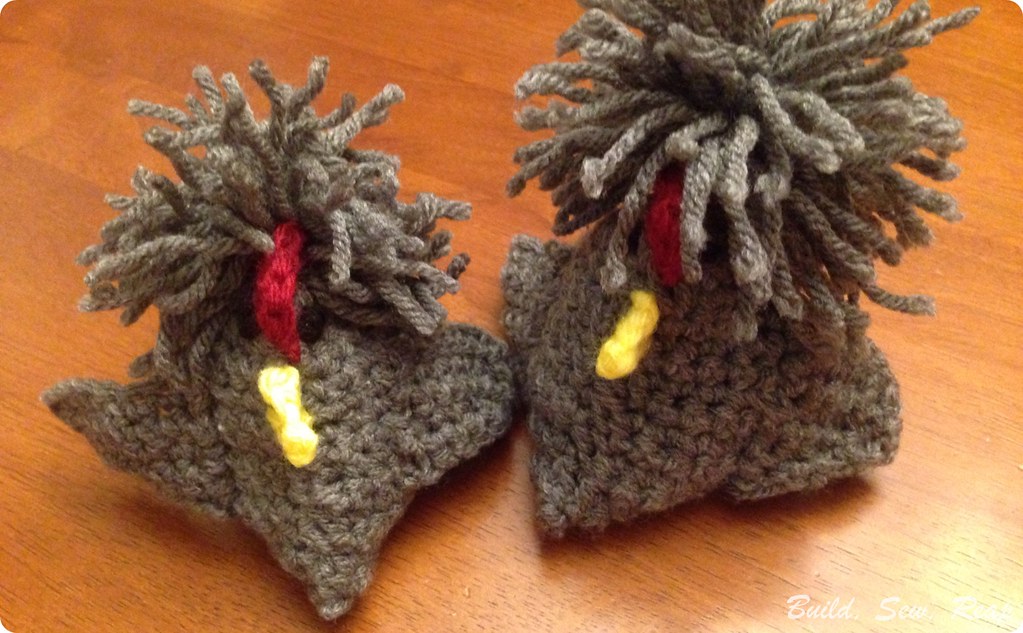
But we have two silkies so I had to alter the pattern to make a chicken beanbag to reflect the cutest members of our little flock. I present to you the grey silkie beanbag chicken:

Crocheted Silkie Chicken Http://buildsewreap.com


How to make your own Crocheted Beanbag Silkie Chicken

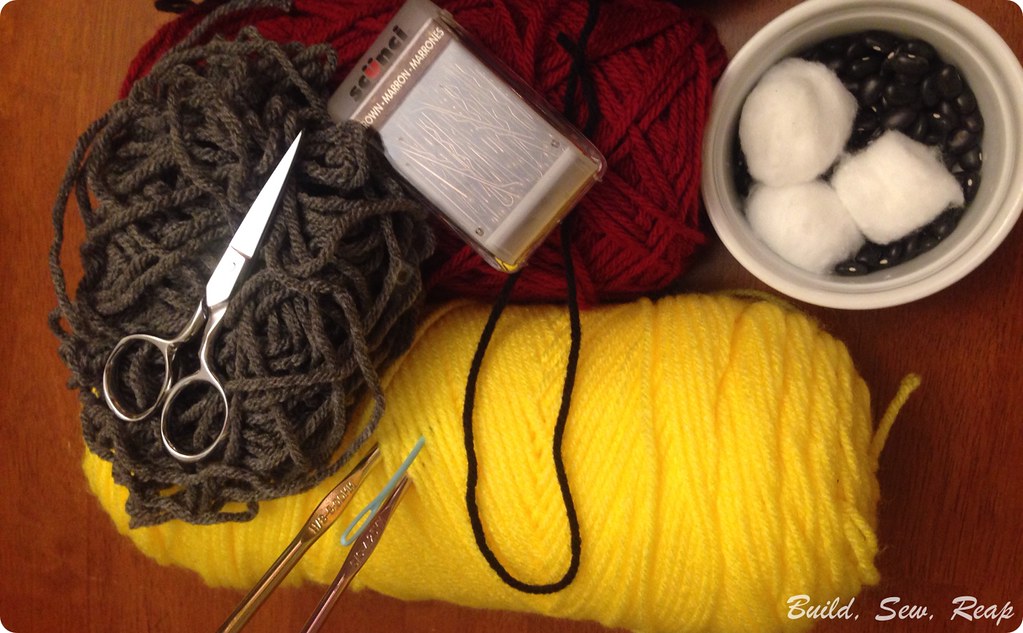
Here's what you'll need:

Crocheted Silkie Chicken

  • Main yarn color
  • Comb yarn color (red most likely)
  • Beak yarn color (yellow most likely)
  • A bit of black yarn for the eyes
  • Sizes G and H crochet hooks
  • Yarn needle
  • Cotton balls or batting
  • Beans
  • Scissors
  • Stitch markers (I use bobby pins)
Body:

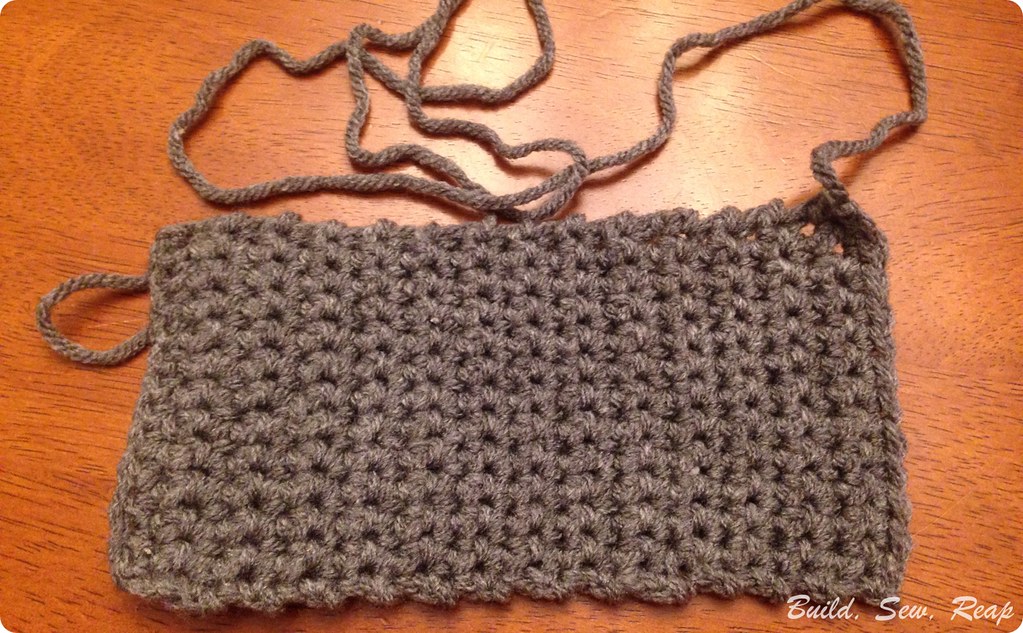
Petals to Picots did a wonderful job of outlining how to make the body. I'm going to let you refer to her post to see specific directions but for this sized chicken (she outlines how to make bigger ones too), the body should be 12 stitches by 28 rows using a size H hook and I left a really long tail.

Crocheted Silkie Chicken

After making the rectangle, I veered from her instructions a bit.

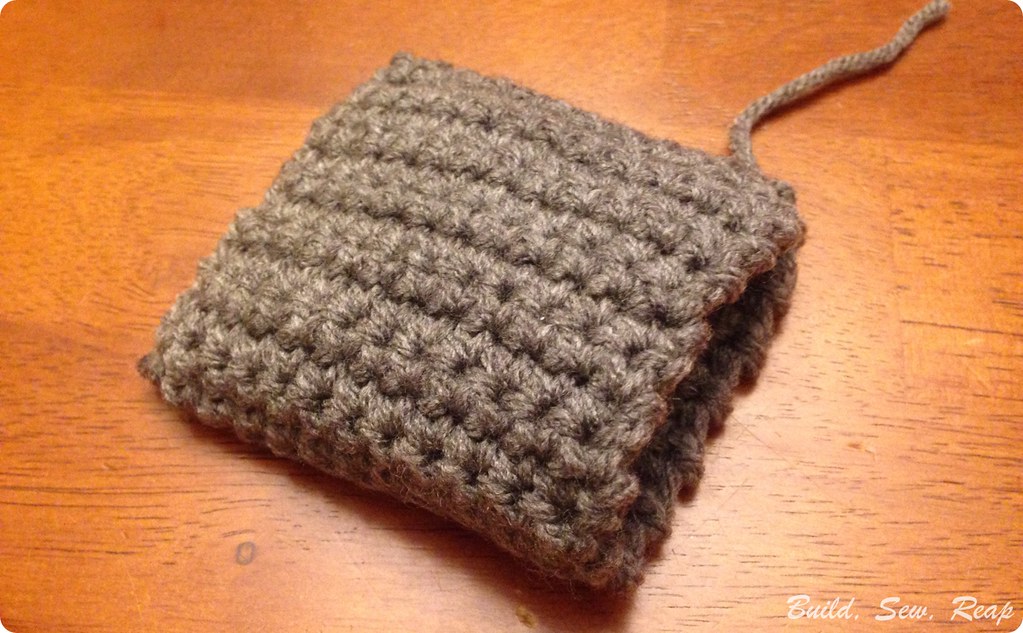
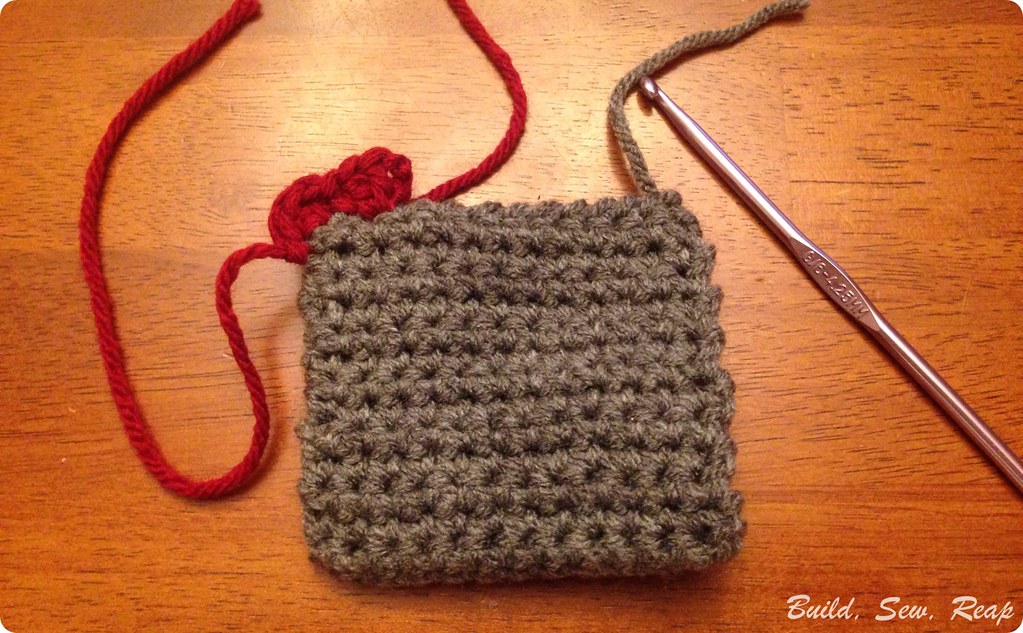
When I folded the body in half, I whip stitched the pieces together using the long tail I left on the rectangle when I finished off. If you didn't leave a long tail, just use a new piece of yarn.

Crocheted Silkie Chicken

Pull all tails to the inside of the body.

Comb:

Using red yarn and a size G hook

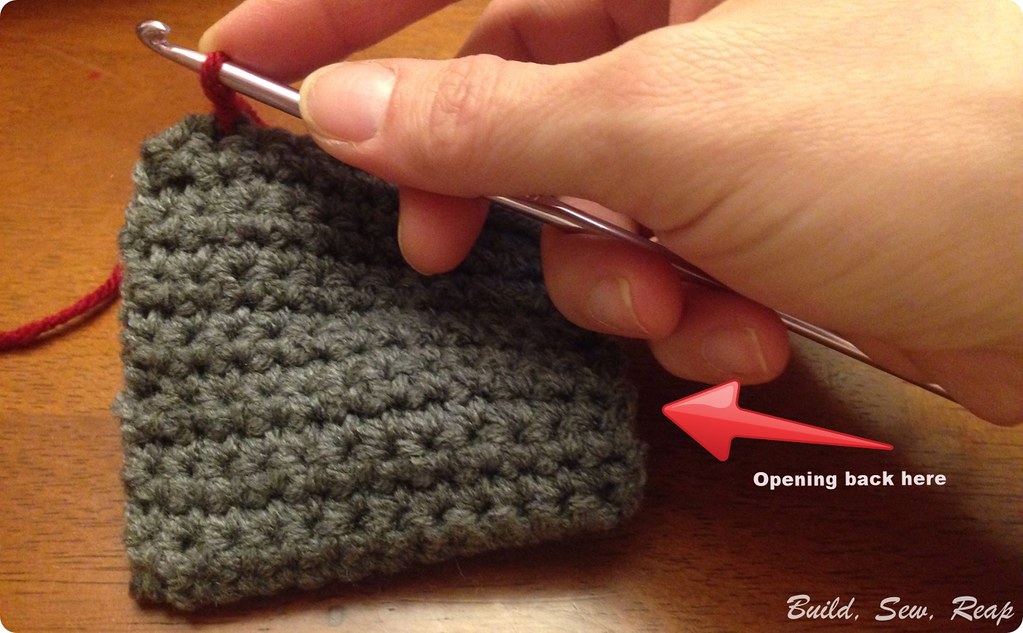
Join the red yarn in 2nd stitch from slip stitched corner. Make sure the opening is towards the back of your hook hand, not facing down.

Crocheted Silkie Chicken

Chain 3, work 2 double crochets (dc) in same stitch as join, 1 single crochet (sc) in next, dc 3 in next stitch (around the front of the square), slip stitch in next, fasten off.

Crocheted Silkie Chicken

Pull all tails to the inside of the chicken body.

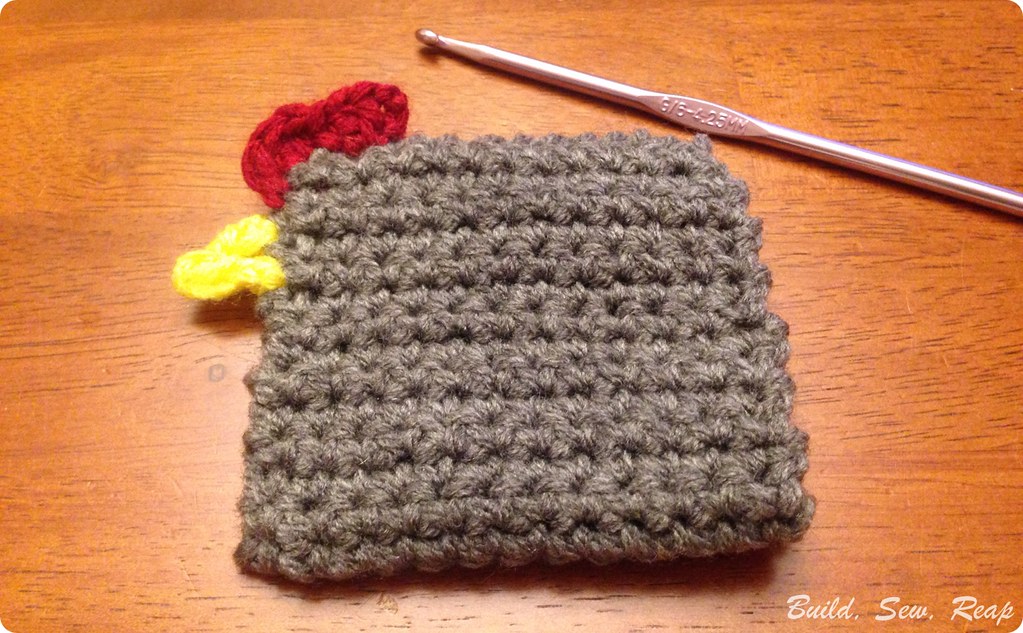
Beak:

This part is straight from Petals to Picots.

"Join yellow in next st, ch 1, work 1 sc in same st as join, ch 3, 1 sc in furthest ch from hook, 1 sc in next st, Sl st in same st, fasten off."

Pull in ends.

Crocheted Silkie Chicken

Eyes:

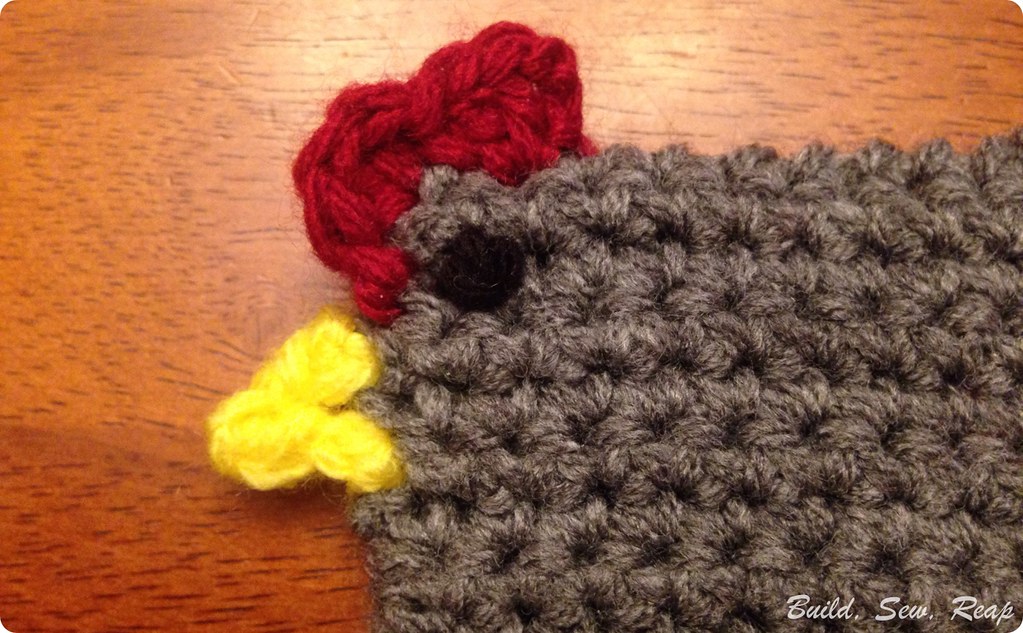
Using black yarn, make a french knot for each eye.

Crocheted Silkie Chicken

Wing: 
*Make 2, use H hook

Chain 9, turn
skip 1st stitch, sc 8, ch 1, turn
sc 6, sc2tog, ch 1, turn
sc 7, ch 1, turn
sc 3, sc2tog, sc2tog, turn
sc 5, ch 1
Finish off leaving a long tail.

Position as shown below and use the long tail to whip stitch in place. Poke the ends through to the inside.

Crocheted Silkie Chicken

Signature silkie hair

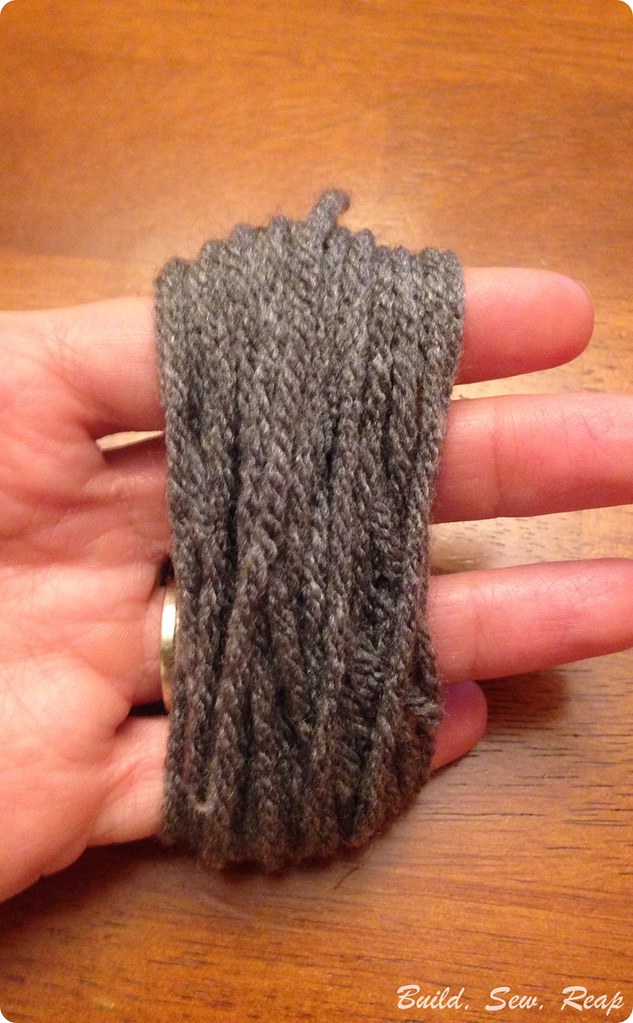
Create a lose pom pom in the same color as the body. Wrap the yarn around your fingers 40 times.

Crocheted Silkie Chicken

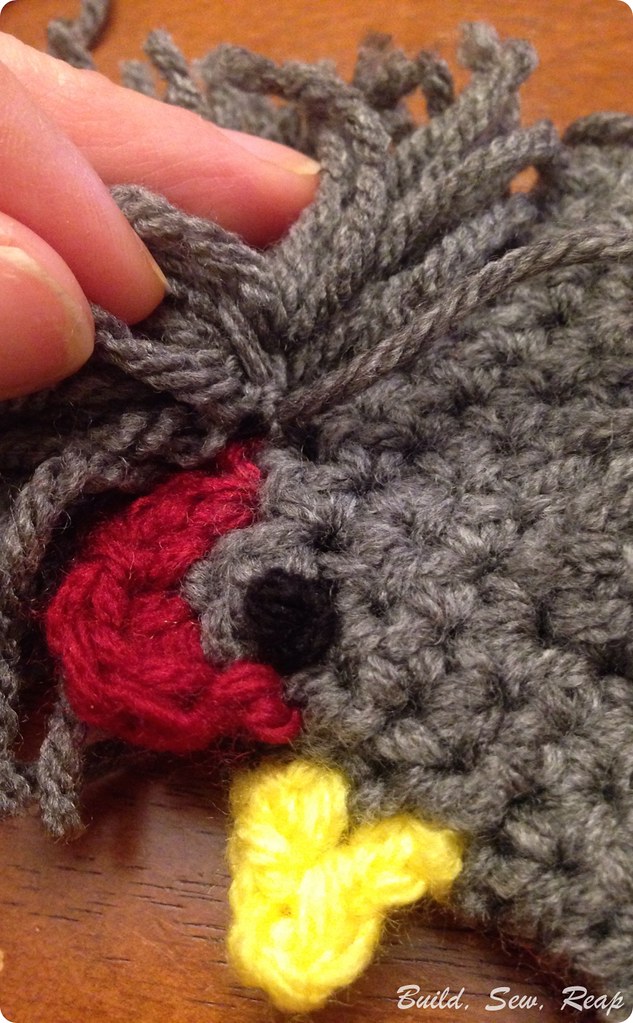
Tie off at the middle and snip the loops (snipping is optional but I prefer the look). Using the middle tie, secure it to the body of the chicken just behind the comb. I just threaded one half of the center tie through and tied it in a knot to the other side.

Crocheted Silkie Chicken

Finishing

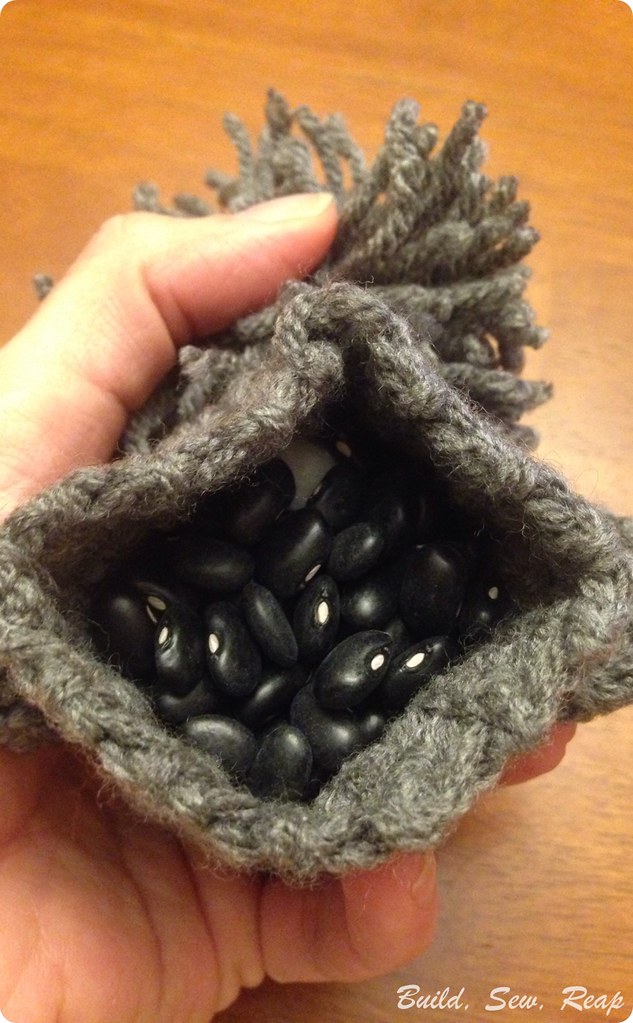
Open the back of the chicken, stuff some fiber fill or some cotton balls in at the face. Fill the rest with beans. Make sure your beans are bigger than the holes in your crochet stitches. Nobody wants a bean pooping chicken.

Crocheted Silkie Chicken

Fold top seam down to center of bottom fold. This back fold goes perpendicular to the front of the bird. Whip stitch closed the back of your chicken and enjoy!

Crocheted Silkie Chicken


Thank you for reading,
Julie


Lessons from the Coop

Now that we've had chickens for a few months, I feel like I can finally write up some lessons I've learned about what does and doesn't work for us. Here's a post about our coop so you can see where we are starting from.

Below I've highlighted a handful of things that are lacking.

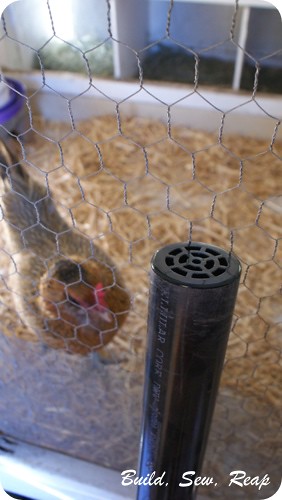
First, a big problem is what I call poop dust. I'm on the search for a plug in outdoor safe exhaust fan that would pull at least some of the dust out of the coop and send it elsewhere. It really builds up in there even though I scoop out the poop every other day. The dust still accumulates.

Lessons from the Coop 03

We need a drain in the floor of the coop for the big cleanings. I have the pieces for this project but haven't gotten around to it. I'm glad we didn't do peel-and-stick linoleum but instead I glued down one huge sheet but when I hose out the inside of the coop every few months, I find that I have to then bail out the water and dry everything off with a rag.

Lessons from the Coop 08

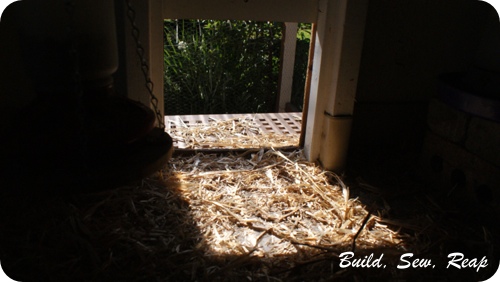
I wish I had put a scrap of 2x4 at the door to their yard so they couldn't kick quite so much of their straw out into the yard. We end up with a lot of straw out in their yard and while it doesn't really hurt anything, it seems like a waste of perfectly good bedding.

Lessons from the Coop 10

So, now on to the things that ARE working for us.

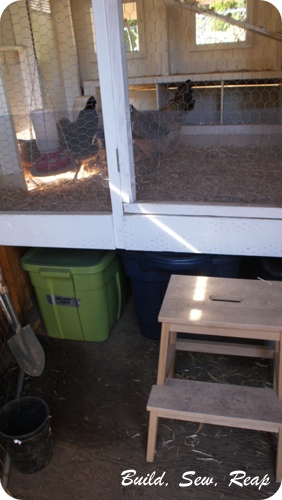
I love having storage underneath the coop and having the coop up high. It really makes it easy to change out food and water to have those a few feet up from the ground and to have the food in a big storage container just under the coop. I did have to add a step stool to make climbing in and out of the coop for cleanings just a little easier.

It also works well to have everything in big Rubbermaid containers so that critters aren't tempted to move into the shed to eat up all the food. The huge container I have for the extra straw is actually on wheels too so it slides in and out of the under-coop storage area really easily.

Lessons from the Coop 11

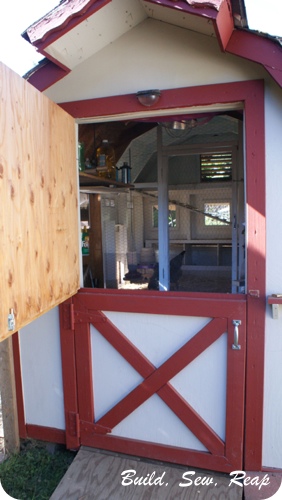
I read a lot about having ample ventilation and I feel like I added just enough. We have windows that open and close (although we've left them open since the weather turned nice) and vents that let a breeze flow through but that have screens to limit bug invasions. We also happened to have a dutch door already on the shed so during the nice weather, we open the small windows and the top of the dutch door and get a nice breeze moving through the coop.

Lessons from the Coop 13

Lessons from the Coop 14

Lessons from the Coop 15

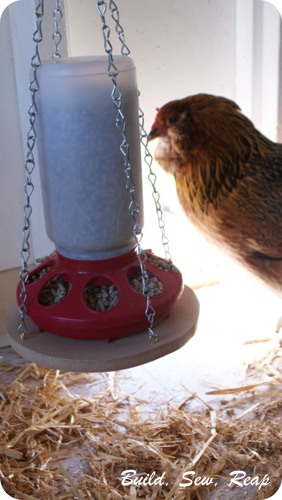
The hanging feeder I made has really cut down on wasted food from a tippy feeder. The design is holding up well too.

No Tip Chicken Feeder11


I'm glad I made the coop tall enough that I can stand inside to clean stuff. I'm only about 5'6" tall so I didn't need a ton of room but it is nice that I don't have to crawl around inside but can step in and stand up to scrape and scoop out the poop.

Lessons from the Coop 16

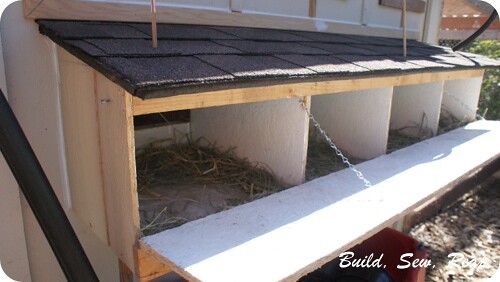
We talked about where to put the nesting boxes and although they're on the opposite side of the shed from our back door, it is wonderful to have easy access to them from outside their yard and coop. We've only had one incident where the Snickerdoodle left the nesting box door open and LaVerne escaped but she didn't get far before someone noticed and put her back.

Lessons from the Coop 17

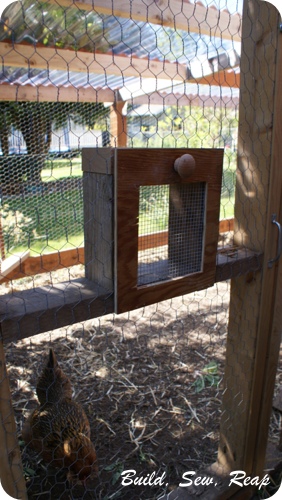
We love the treat door within the main door. It sure makes it easy to toss table scraps and weeds in for them to munch on.

Chicken Treat Door1

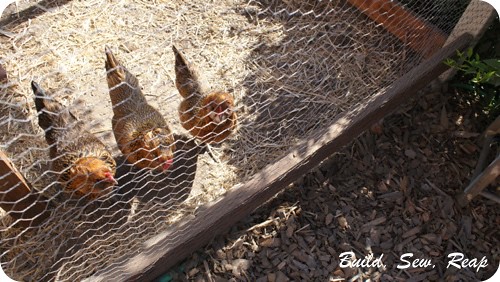
The girls like to dig holes in their yard so they can roll around in the dust so I'm really glad we buried the chicken wire walls nice and deep. We also piled rocks and scrap concrete at the base of the chicken wire before back filling with soil. I feel like they're safe from predators as well as from escape.

Lessons from the Coop 19

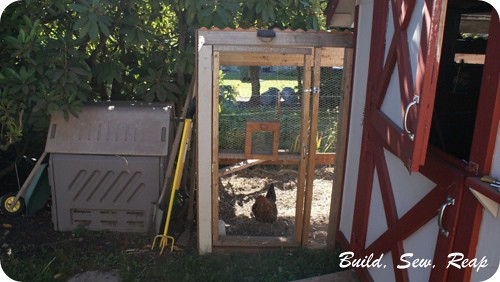
Having the compost bin nearby is a huge convenience. When I collect the poop, I put it in a small bucket then immediately empty the bucket into our compost bin which is right outside the shed door. This has been really handy.

Lessons from the Coop 21

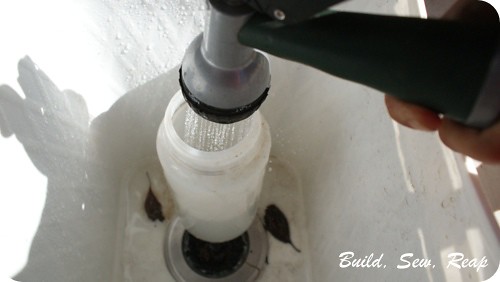
Every single time I refill their water bowl, I think how thankful I am for the outdoor sink that's just steps from the coop door. This has worked out really well. A hose would also suffice but the sink is even better.

Lessons from the Coop 25

We had talked about cutting back the branches on the tree that hangs over the coop yard but I'm really glad we didn't. The chickens really enjoy having a bit of shade on warm days. I often find them digging holes and taking cool dust baths under this tree.

Lessons from the Coop 26

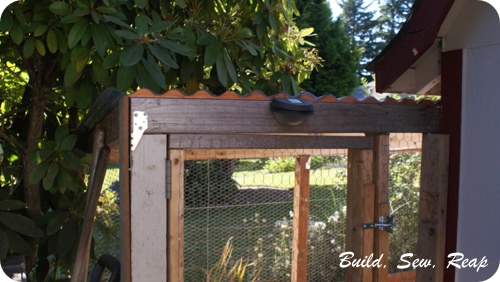
You can see a solar light above the door there too. While I wouldn't include that as a must-have, I do really like the welcoming glow it puts out when the sun goes down. It's just a simple fence post light I purchased at the local box store.

So there you have it, just a few things we do and don't like about our coop setup. Overall I'm thrilled with what I was able to learn from the internet in such a short time right before we adopted our girls. The advice I compiled was very helpful and our coop design has suited us very well.

Lessons from the Coop 01


Thank you for reading,
Julie


I'm sharing this post on the following blogs:

Little Homestead on the Hill

No Tip Chicken Feeder

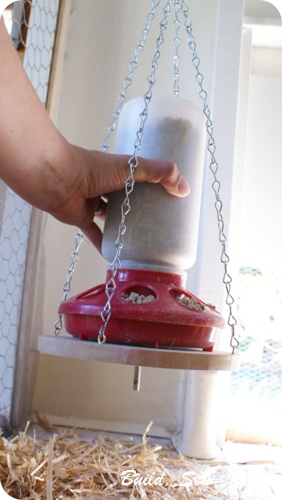
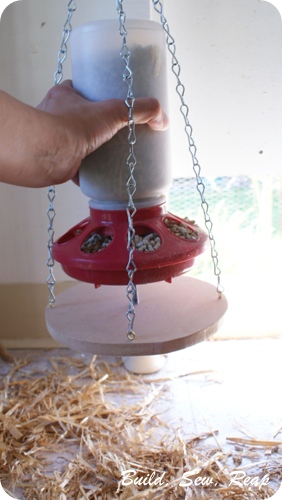
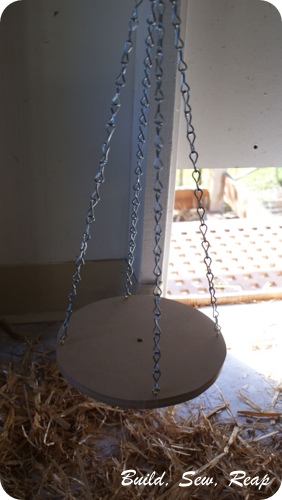
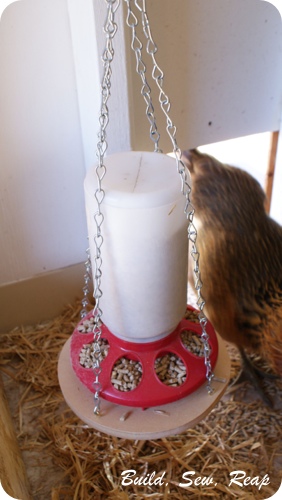
If you've ever had chickens, you know they're pretty determined to tip over their feeder or at least dump as much expensive organic layer pellet feed as they can. I decided that I am indeed smarter than a chicken so I devised this hanging feeder that they can't tip over. I'll let the pictures mostly just speak for themselves.

No Tip Chicken Feeder11

So, what you can see quickly is that there's a wooden disk hanging with four chains hooked to screw-in eyes. Here are the details of this contraption:

There's a long bolt that sticks through the hanging disk. This bolt does not screw in to the wood, it merely sticks through a drilled hole. This screw is what keeps the feeder from tipping over.

No Tip Chicken Feeder10

Loading it into place is as easy as lining up the bolt with the hole in the wood and setting the feeder into place.

No Tip Chicken Feeder08

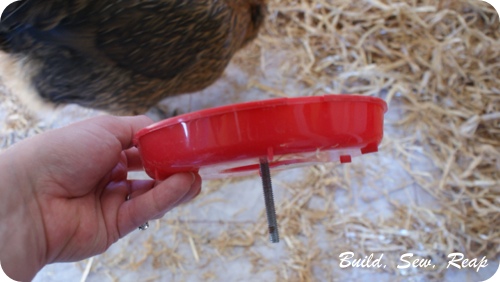
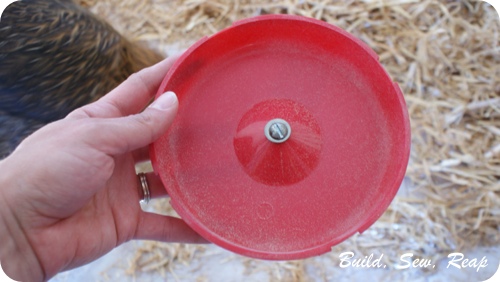
Here's what the base of the feeder looks like all by itself:

No Tip Chicken Feeder07


No Tip Chicken Feeder06

I pre drilled the appropriate size hole right in the center of the base of the feeder. I threaded the bolt through that hole with a washer to ensure it wouldn't pull through. I then threaded a nut up from the bottom and tightened it in place underneath.

Here's the hanging wood disk:

No Tip Chicken Feeder05

And here it is all put together again:

No Tip Chicken Feeder02

This has been in place for several days now and I'm seeing a lot fewer wasted pellets and I'm not constantly annoyed by all the hay they kick onto their feeder (it hangs several inches off the floor of the coop now). As an added bonus, it isn't as accessible to the rat that tried to get to the feeder through the chicken wire. We ran him out and made sure all feed and bedding was safely locked in bins but even if he comes back, he can't get to the feeder.

Thank you for reading,
Julie


Chicken Treat Door

Now that we've gotten to know the chickens a little better and they've definitely grown to expect treats from us every time we walk out the door, they've gotten a little bolder and tend to rush the chicken yard door when we try to step in to deliver those treats. We have let them wander the back yard a few times but I'm not quite ready to let them out every time we visit them so I added a little door inside the door so we can easily toss treats into their yard for them.

Chicken Treat Door1

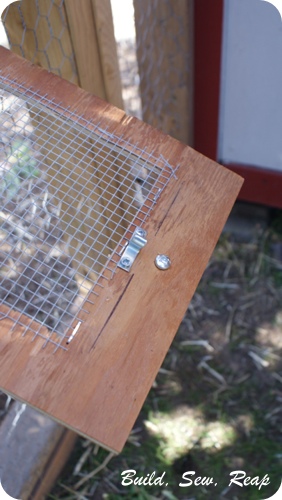
It is hinged at the bottom and then I put a little clasp at the top so the door won't drop open unexpectedly. I'm hoping that small animals won't figure out how to open it too although it is pretty close to our house so I don't think there's much of a danger during the day and the girls get locked in their coop at night. We also don't toss them more treats than they can eat within about 5 minutes so there isn't old food to attract rodents into their yard.

Chicken Treat Door2


Chicken Treat Door3

I would have liked to put chicken wire inside the little window but I didn't keep any scraps that small and I gave the larger pieces to a friend for a gardening project. The hardware cloth will do the job just fine.

Thank you for reading,
Julie


The Coop is Complete

I pushed really hard last week to get the coop finished so we could move the girls in on Sunday. I succeeded and we brought them home early Sunday evening. We were all so excited to add them to our family that despite my exhausted and sore body, I'm glad I got it all done.

I'll take you on a tour of their space (coop and yard photos taken just before we left to pick them up). Most of this project, inside and out, was created using scrap materials we had on hand. I did have to purchase the roofing for the yard, chicken wire, some brackets to secure the yard area and the hardware for the doors to both the coop (inside the shed) and the yard. All the lumber was from our stash, mostly from the crapport with one additional piece of wood from the neighbor. He also contributed the piano hinge we used for the nesting box door. I think we owe them a dozen eggs.

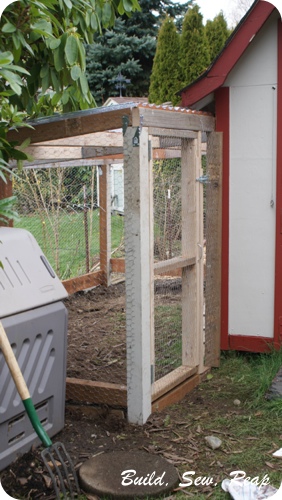
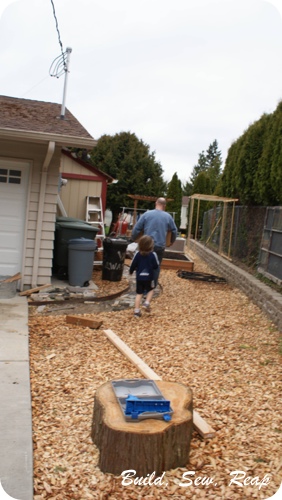
This is what it looks like as you approach the coop and their yard from the back of the house. The roof on the yard is slightly smoked shed roofing so it lets a lot of light in but shouldn't get too warm in the summer. We also did our best to wedge part of their yard up under the rhododendron tree there so they'll get some shade from that.

DSC03963

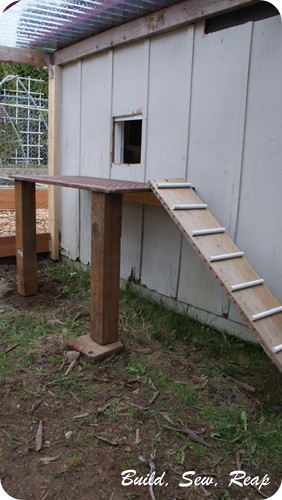
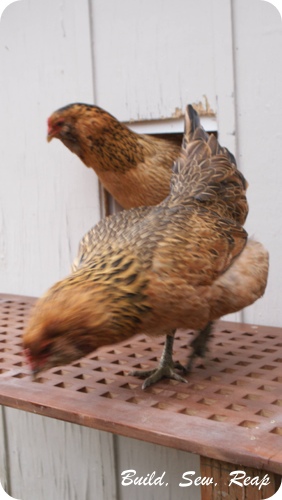
I'd like to make this a little more interesting eventually but for now, here's the chicken porch where they come and go from the coop. The porch floor is made out of an Ikea HOL table that we had to trash (but obviously salvaged the top). I mounted it on 4x4 posts left over from the old crapport that once stood where the garden is now.

DSC03970

I slapped that ladder together pretty fast but it seems to do the trick. I hope to make it better eventually though.

And now, moving on to the inside of the shed where the coop is.

DSC03974

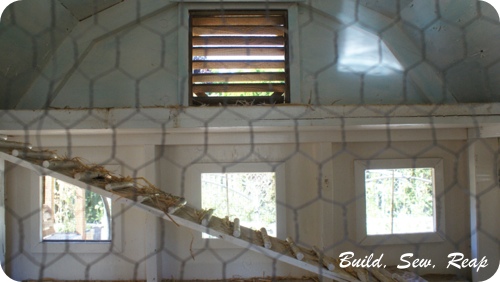
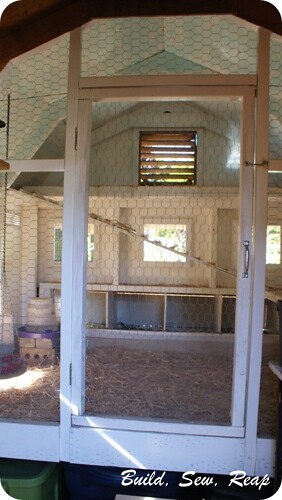
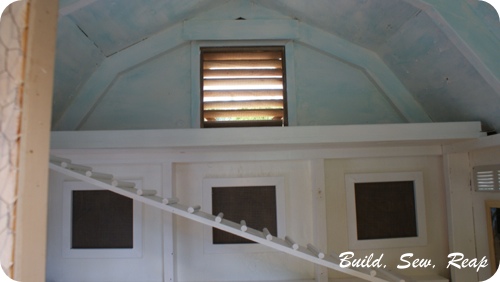
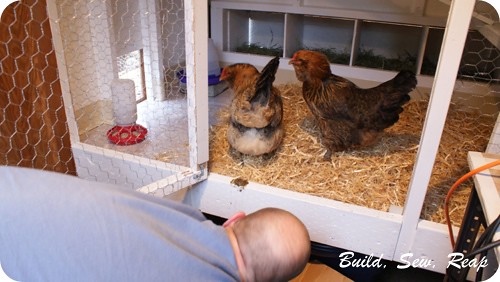
If you've been following along the progress, you already know that we had an 8 by 6 foot shed in our back yard. I created a floor for the coop about 2 1/2 feet up then covered it with vinyl flooring to make it easier to clean. I framed out the front using scrap lumber, built 4 nesting boxes with access from the other side of the shed and added a roosting bar and ladder to "the loft." The three squares you see above the nesting boxes are windows with hardware cloth and screens in them but I don't anticipate using those much until summer so they're closed and locked for now.
DSC03978

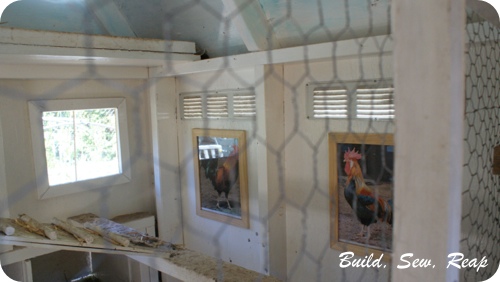
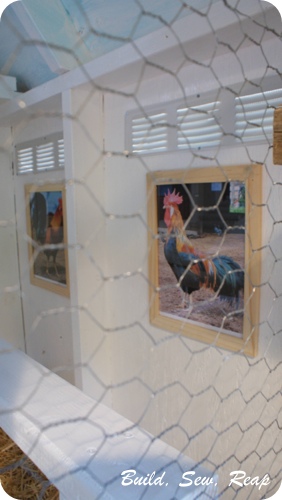
I thought the girls might like some artwork in their all white coop so I printed out some pictures of studly roosters, framed them in some cheapy Ikea frames I had on hand (plexiglass, not glass) and nail gunned them to the walls. There are also additional vents above the pictures as well as on the opposite wall to ensure proper ventilation. Through my research, I learned that chickens have sensitive respiratory systems so it is important to keep the coop well ventilated but not drafty.

Next, I'll show you the loft. This shelf was already here but I added the vent up top as well as a 2x4 across the front of the shelf so they'd have something to roost on if they want to hang out up top there. The ladder was just a piece of scrap plywood with wooden dowels nail gunned down every 3 inches. I also painted this white with low odor / low VOC white semi-gloss paint (that I had on hand) to make cleaning easy.

DSC03981

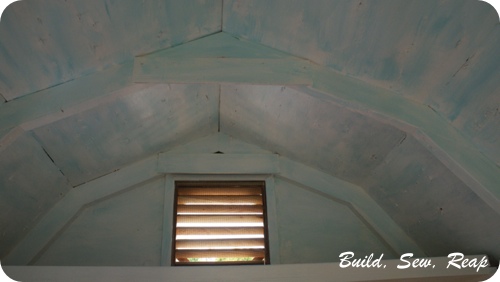
I did a sort of wash on the ceiling to give the girls a blue sky to look at all the time. This was somewhat of an accident but one I liked. I grabbed a can of the sample paint I picked up at a recent sale and painted part of the ceiling and hated it so I painted back over it with white and when it dried still needing another coat or two, I actually decided I liked it so I just did a sloppy coat of the blue on the other parts of the ceiling too.
DSC03984

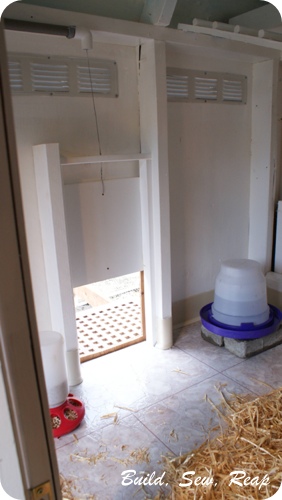
The door out to their yard is a piece of old melamine covered shelving set in a track made out of scrap wood with a cable that runs through some scrap PVC piping the length of the shed out to the outside of the shed where we can open and close the door without entering the coop. I've found this is actually super handy because I can glance out the back door of the house to see whether or not the door is open without having to go all the way out there. If the washer at the end of the cable is on the hook, I know the door is open, if not, they're still stuck inside.

DSC03987

A friend through the women's choir I belong to gave us the waterer and feeder (hooray!).

So, the coop and yard are move- in ready! It's time to pick up the girls.

DSC03992

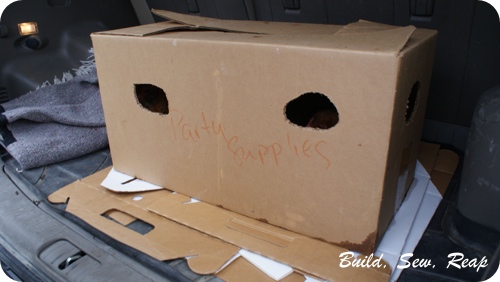
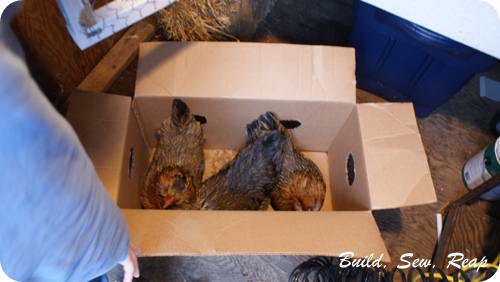
The woman who gave us the chickens provided us with this box. As a friend of mine commented, "Unique party supplies." We brought them home and my husband took them through the garden to the back shed and loaded them into the coop.

DSC03998

DSC04003

One of the girls wasted no time christening her new space.

DSC04013
(thanks for that Patty)

After looking around inside a little bit, they ventured outside.

DSC04034

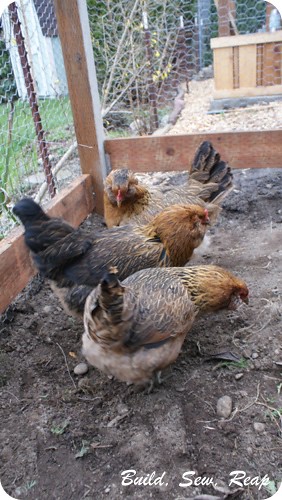
Here they are, meet Patty, LaVerne and Maxene (from back to front).

DSC04065

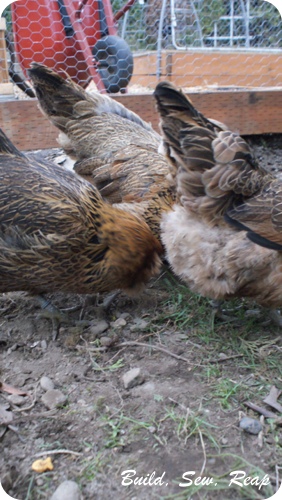
Chicken butts ...

DSC04074

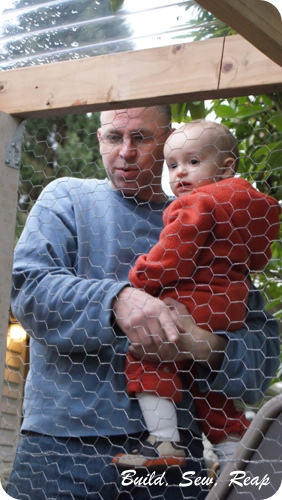
The baby toddler wasn't sure what to think about these strange animals.

DSC04077

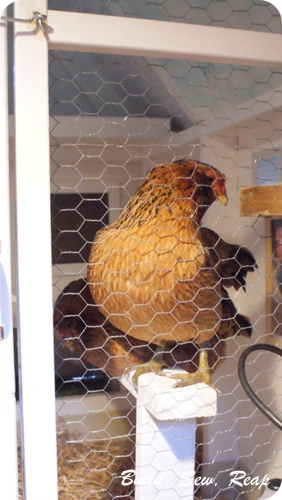
And finally, here they are roosting before going to sleep for the night.

DSC04093

There are some final details I'd still like to tend to but the coop and yard are safe and secure. The chicken wire walls around the yard are buried at least a foot in the ground then they curve out and are covered with rocks and chunks of concrete and back-filled with dirt. There really is no way for a predator to get in although we do lock the girls in the coop at night to ensure their safety.

We've already gotten two eggs out of them in just a few days. I'm hoping that will pick up even more but we've been excited to have any. I think both came from LaVerne, the darkest and biggest chicken in our little flock.

I'm finding it surprisingly therapeutic to go out to clean the coop each evening when the hubs gets home from work. I have a little bucket, a putty knife and a rubber glove and I collect up all their poop to add to our compost bin then I refresh their food and water. The Snickerdoodle loves taking them lots of treats so they've been feasting on our breakfast scraps as well as grains from the pantry. In just a few days, they've already learned to meet us at the door to the yard when he has his little plastic bowl of goodies.

This all happened so fast that I'm still a bit shocked we have chickens. If you had told me 10 years ago that I'd be creating a little urban farm with my family, I would have laughed. Life sure takes us in surprising directions and I couldn't be more content.

Thank you for reading,
Julie


Related Posts Plugin for WordPress, Blogger...