Showing posts with label home. Show all posts

Patio Storage Cabinets

Happy End of Summer!

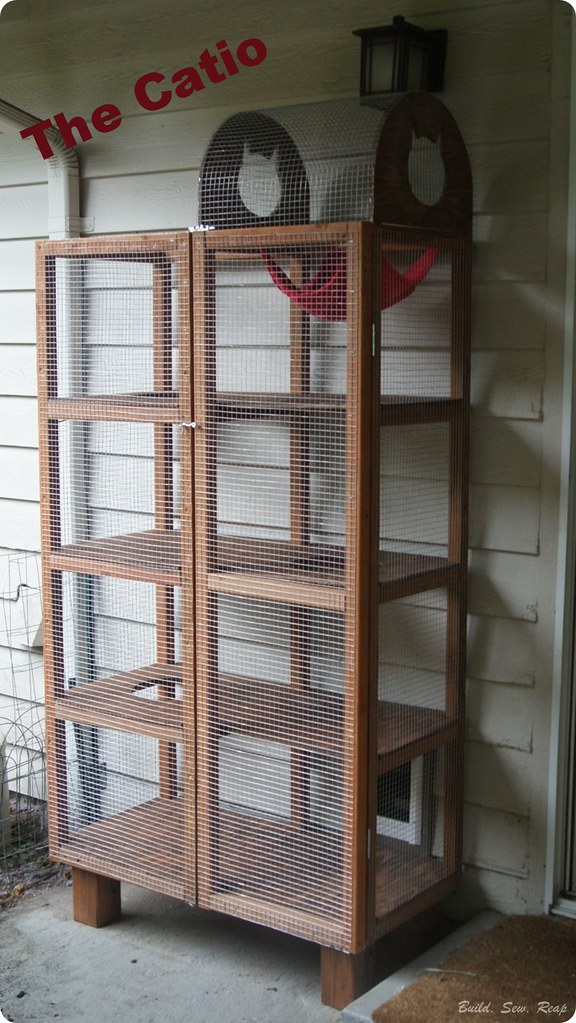
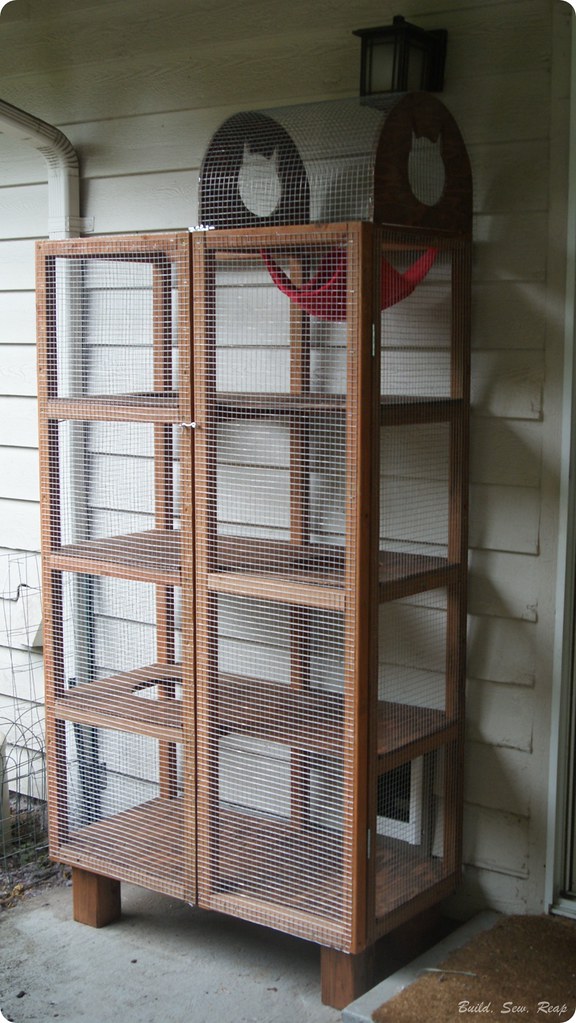
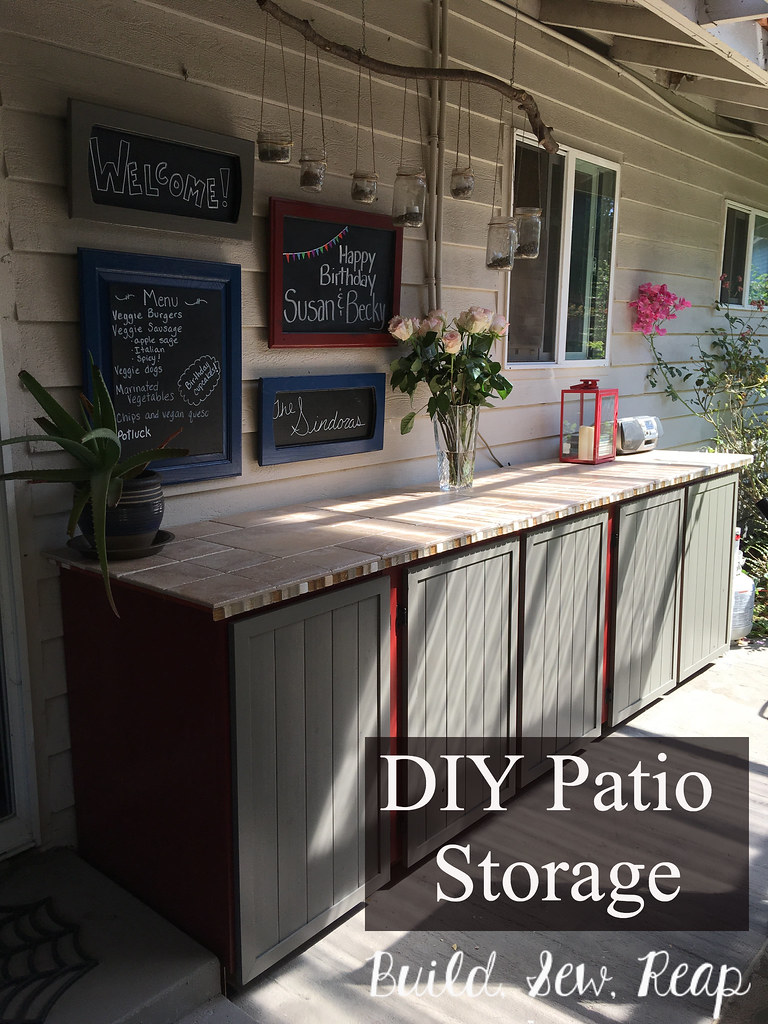
The kids are about to go back to school (here in the PNW, they still start after Labor Day) and summer is winding down. That said, we barely used our back porch this summer, mostly because it was always a mess. That bums me out because I love having the outdoor space and in the past, we've eaten quite a few dinners out there when it's dry. I finally decided to whip it in to shape last week as I struggled to make it look nice before my parents came for a visit. Here's what I created (and below, I'll share the journey):

Patio storage cabinets DIY by Julie at Build, Sew, Reap

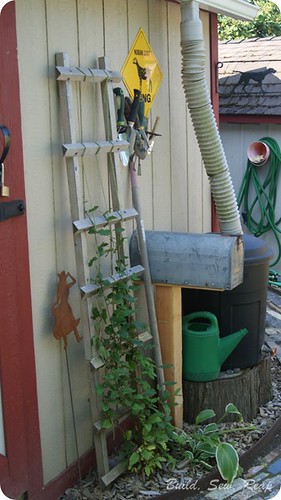
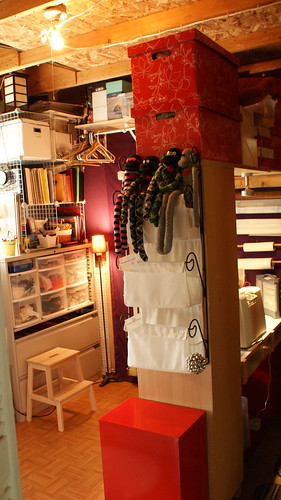
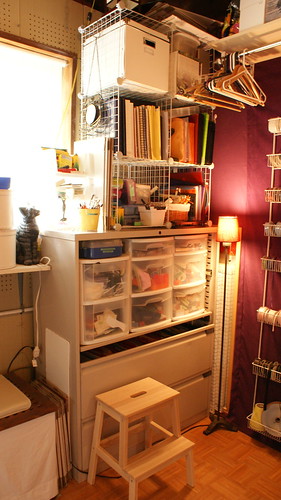
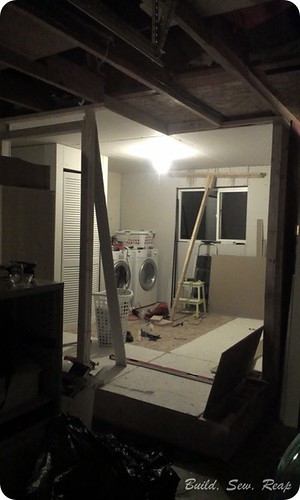
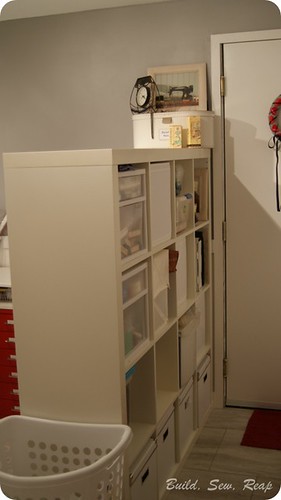
Now let's back up the truck a bit. It occurred to me to stop and take a picture about halfway through the process of clearing this wall. This is where backyard stuff gets stashed because no matter how much our patio roof leaks (and it does, sigh), this area stays pretty dry. So, bearing in mind this is halfway through tidying up, you can imagine how bad it always looked:

Patio storage cabinets DIY by Julie at Build, Sew, Reap

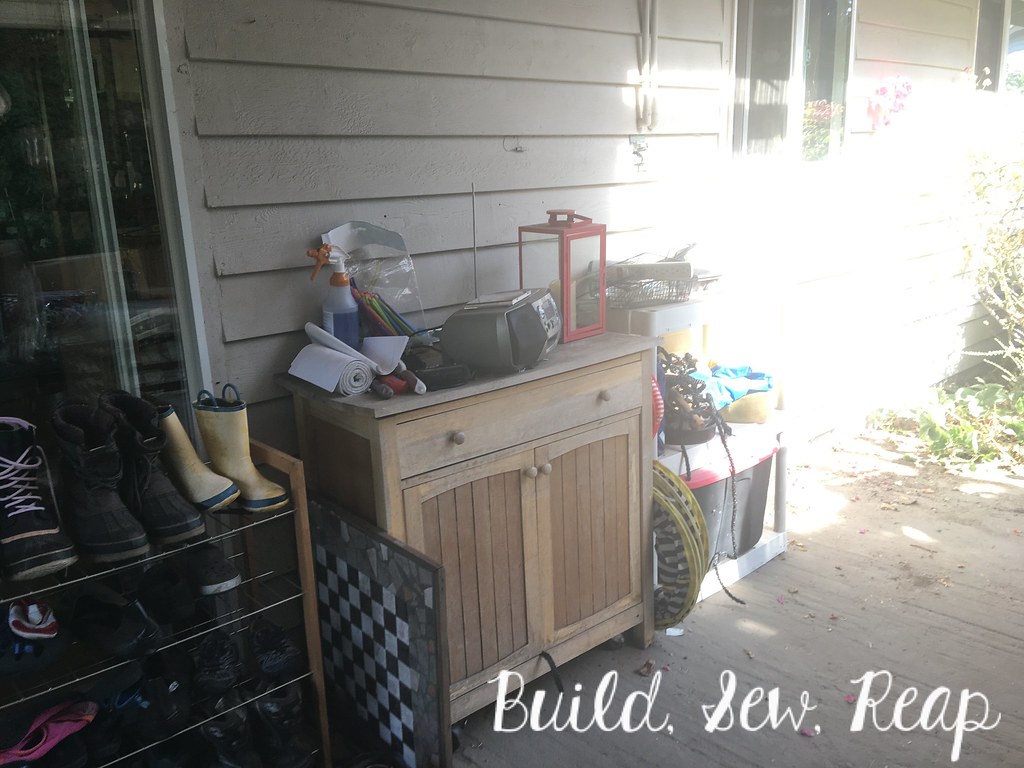
To make matters worse, that shoe holder there was visible from the dining and living areas so we were constantly looking at the backs of the pile of shoes. Yuck!!

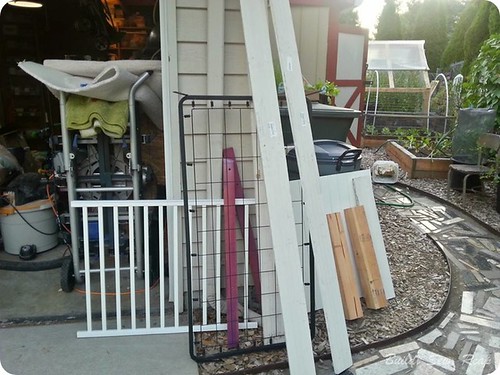
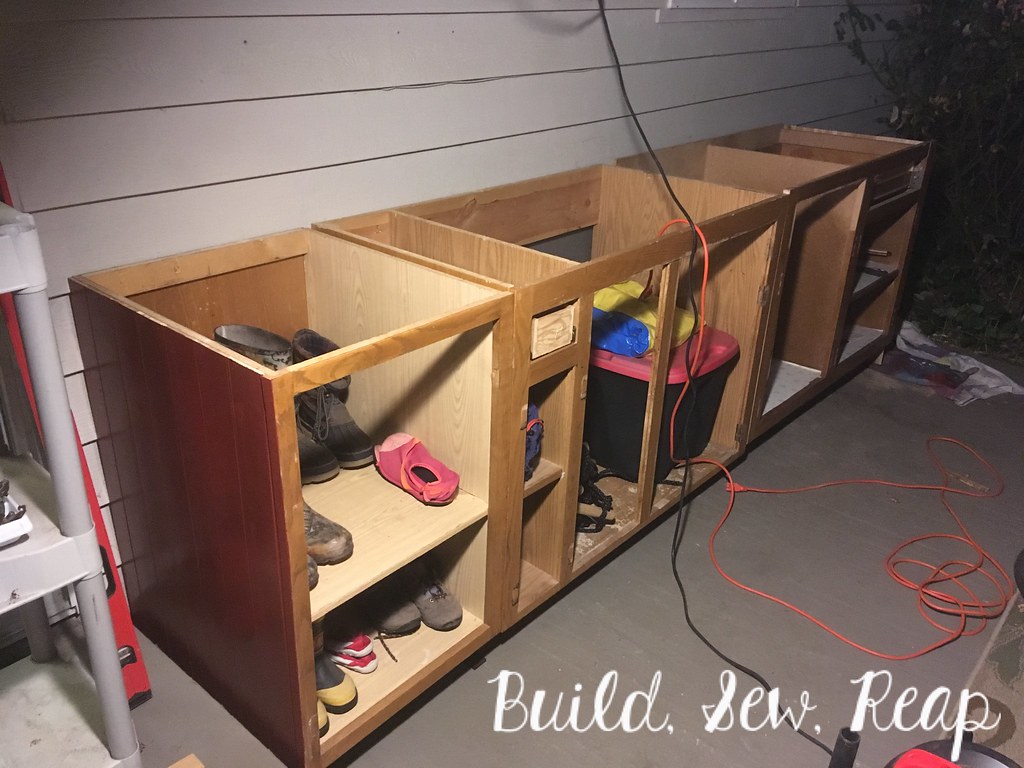
I measured the space and realized that I could custom build 10+ feet of cabinets along that wall. I was going to build 100% from scratch using scrap lumber and 2x3s for support but upon measuring, realized that standard base cabinets would fit great in the space. I wanted a really uniform, custom look across the front and knew I didn't want to spend the money on a set of custom cabinets so I headed to my local Habit for Humanity building materials reseller and picked out three base cabinets to suit the space. They were all different and not quite what I wanted but I saw their potential.

Patio storage cabinets DIY by Julie at Build, Sew, Reap

The 9 year old and I got right to taking off all the doors that evening.

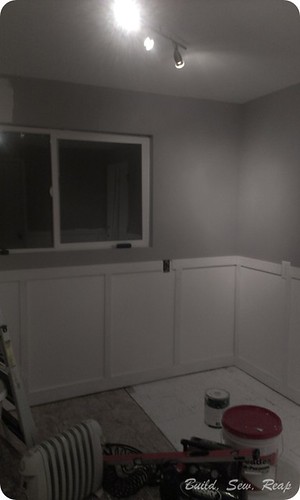
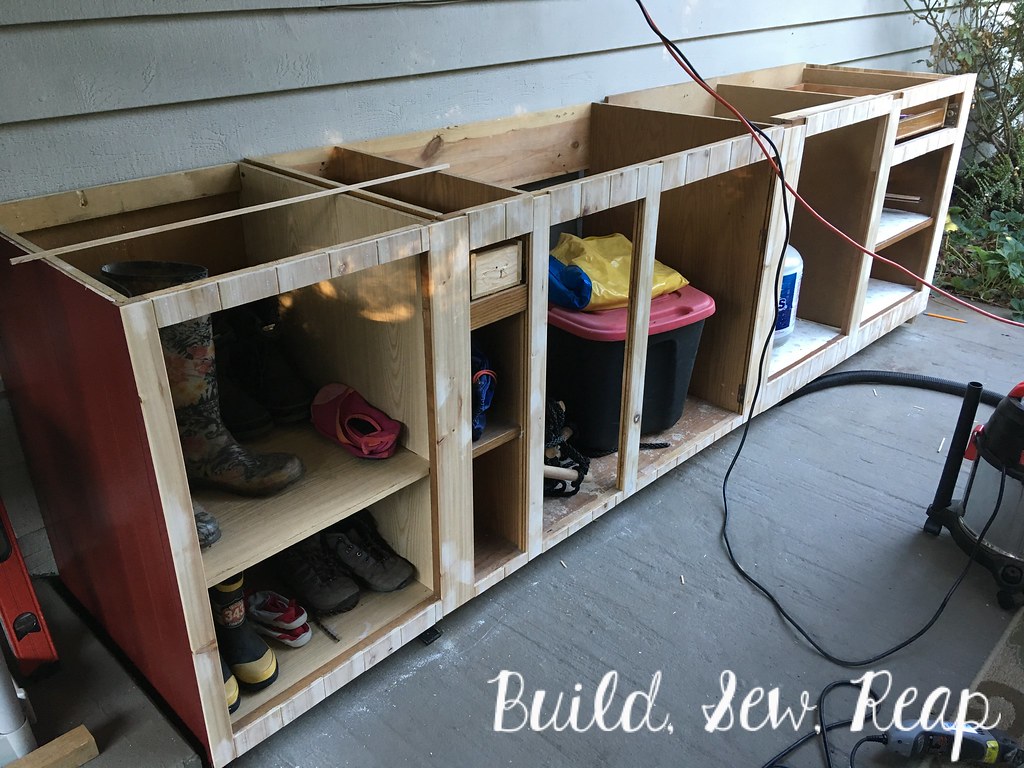
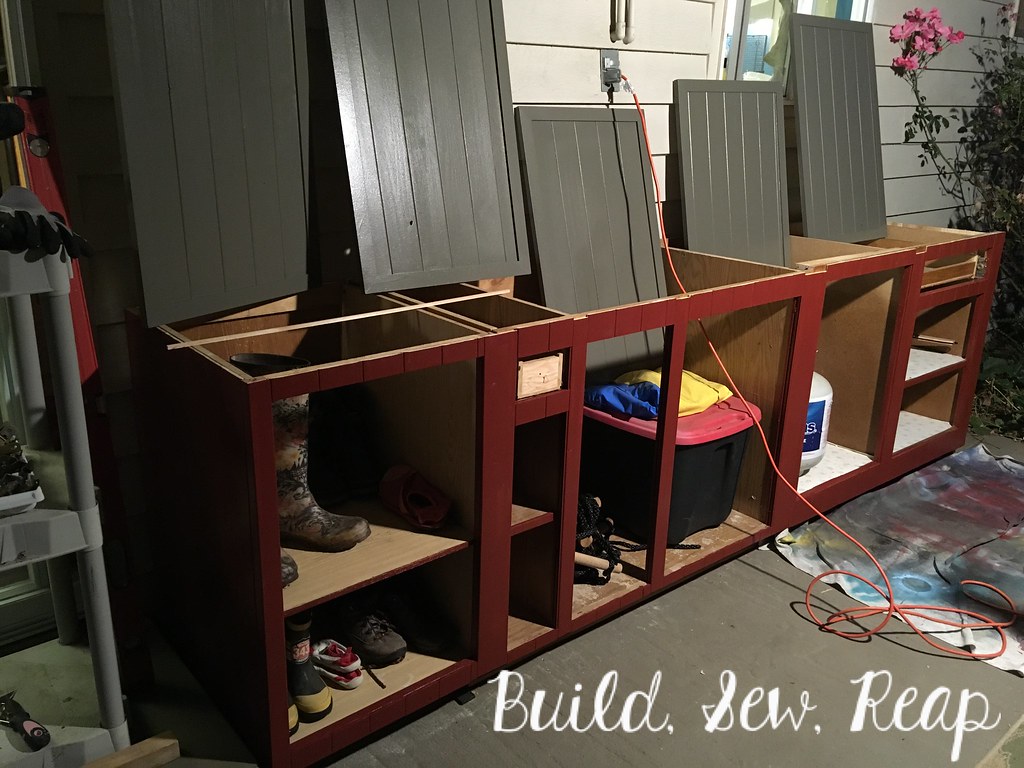
Next, I cut out a few cross beams, created a new center beam for the middle cabinet (it's centered based on the entire cabinet unit, not based on the opening which worked out well), paneled the side using tongue and groove cedar planks, and painted that section.

Patio storage cabinets DIY by Julie at Build, Sew, Reap

Creating the doors was pretty simple. I used pre-primed 1x2 wood (not MDF, actual wood for this outdoor application) and more of these cedar planks. This is the same product I used for the fireplace surround build.

Patio storage cabinets DIY by Julie at Build, Sew, Reap

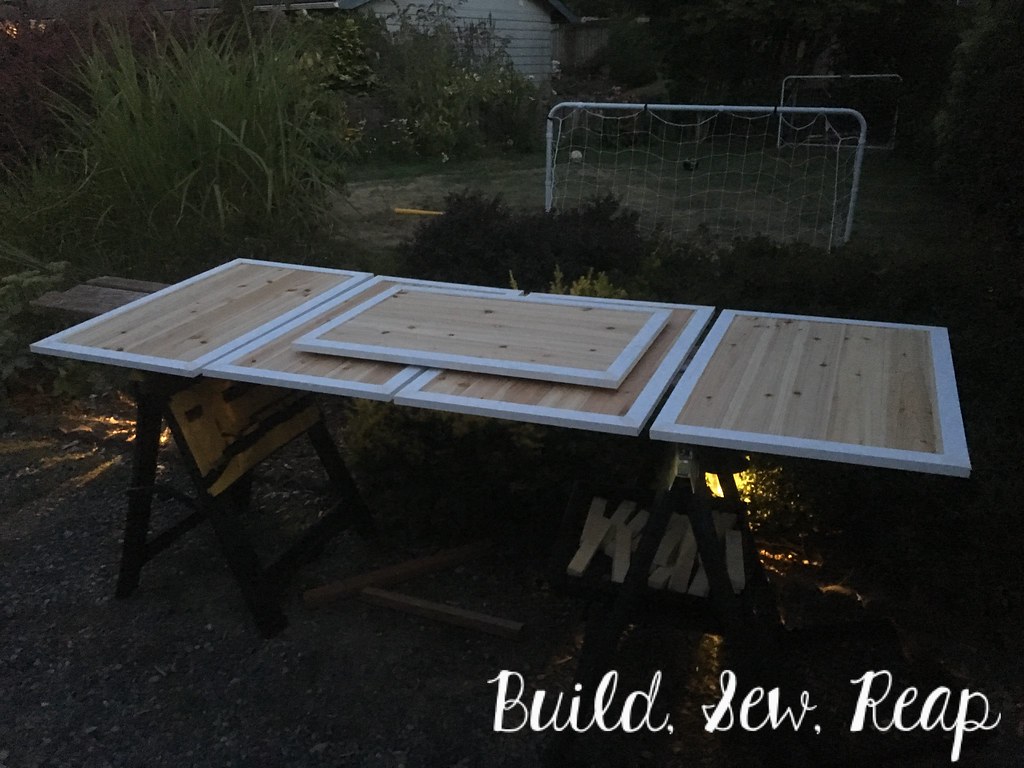
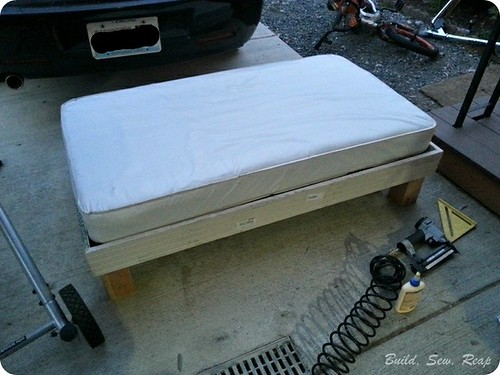
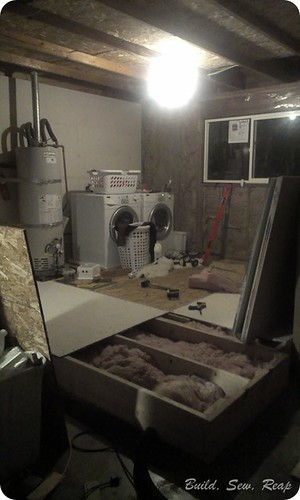
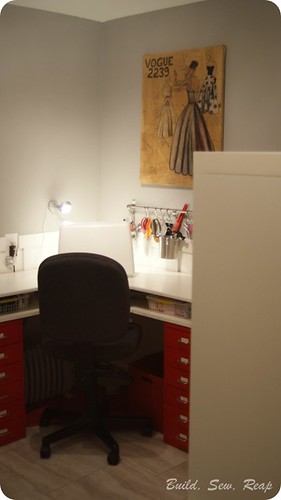
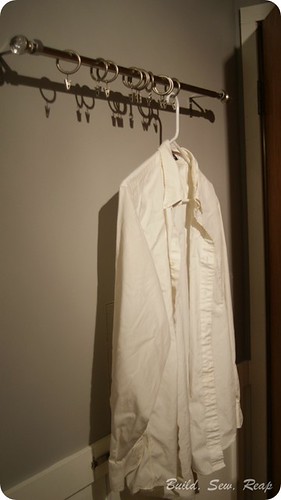
As you can see, I did a lot of the work in the evenings after the kids went to bed. Lighting isn't ideal for photos but it's when I have time to work.

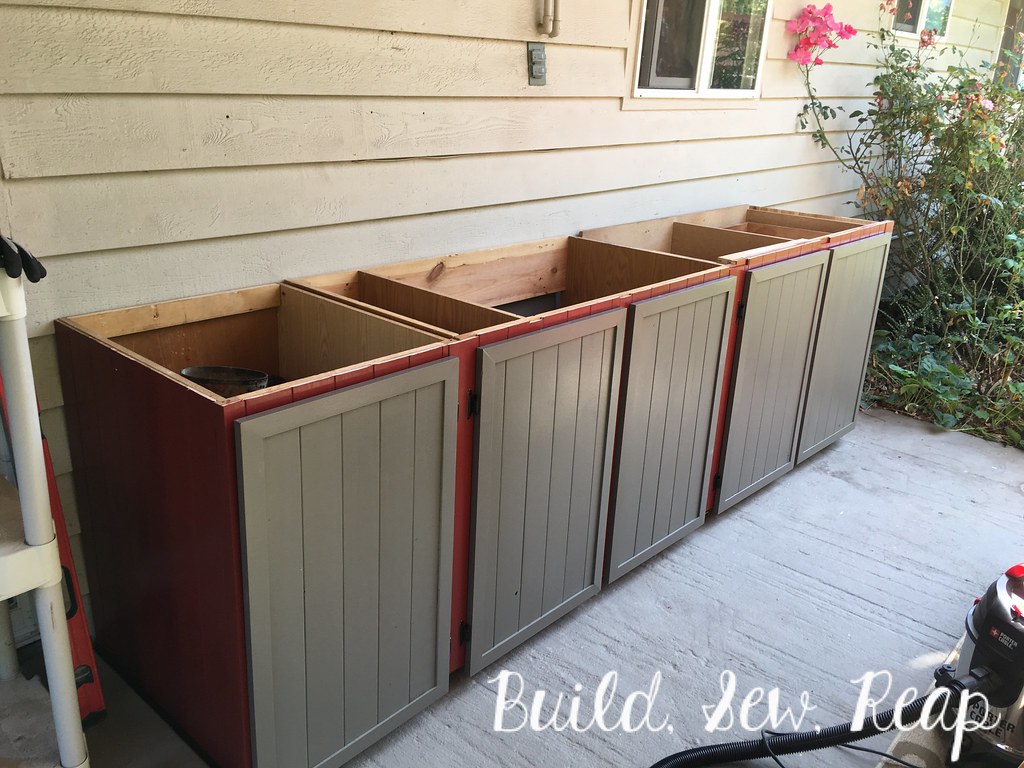
Seeing that I had enough scrap cedar, I measured and cut all the custom pieces to re-face the cabinets. This made them look like one big unit AND gave them a more polished look. It also gave me a better surface to paint. I used my nail gun to attach them then filled each hole, sanded, and prepped the surface for red paint. You'll likely notice some don't go all the way to the top edge, that's because if I'd cut them to the right length, I wouldn't have had enough full length pieces so I opted to make them all a little short.

Patio storage cabinets DIY by Julie at Build, Sew, Reap

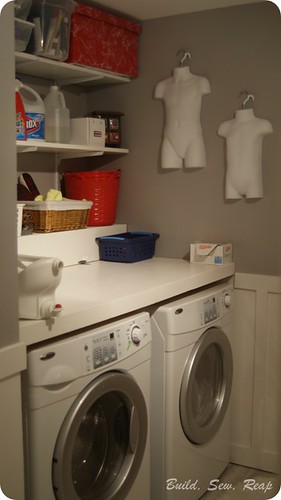
I painted the base cabinets red like our front door and shutters and the doors the same grey as our fireplace.

Patio storage cabinets DIY by Julie at Build, Sew, Reap

I let them dry over night then put the doors on the next morning. Woohoo!!

Patio storage cabinets DIY by Julie at Build, Sew, Reap

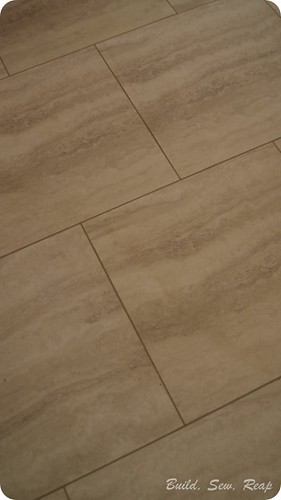
I topped the cabinets with some scrap OSB (possibly not the right product for the job but it's what I had) then to give it extra stability in our damp environment, I screwed down cement board before using tile left over from my bathroom remodel 8 years ago to give the top a durable surface.

Patio storage cabinets DIY by Julie at Build, Sew, Reap

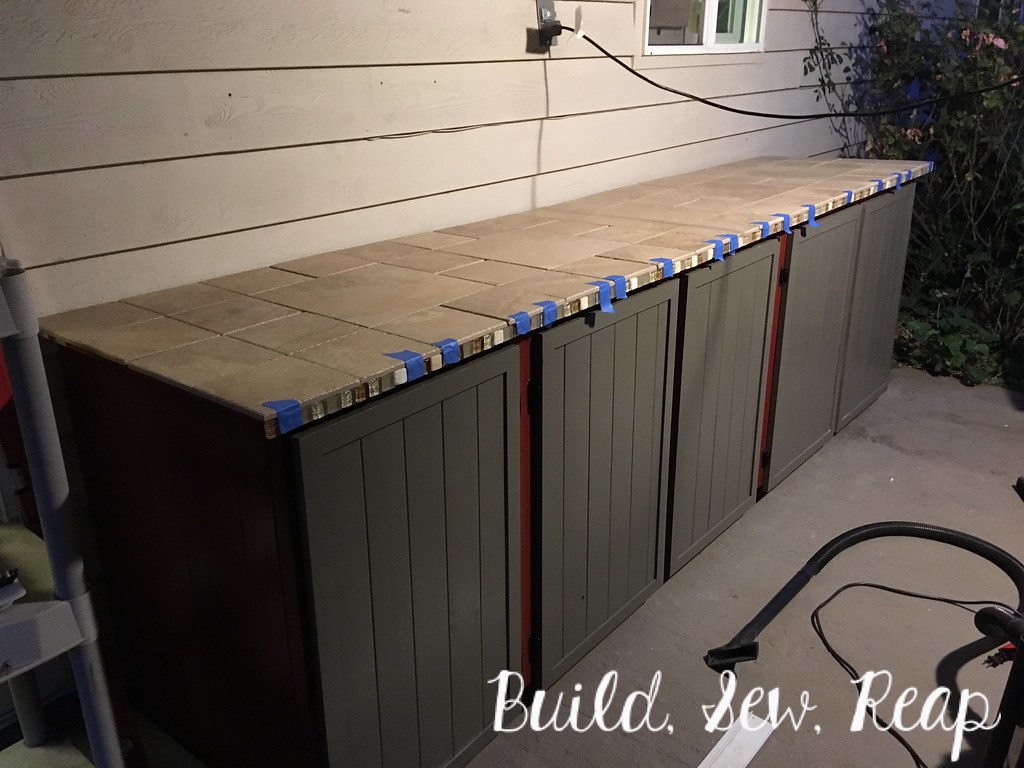
The thinset needed two days to fully set so I left it alone until it wasn't squishy anymore then used the last of the grout powder from the bathroom to grout the tiles just in time for us to put everything away to make our patio useful.
Patio storage cabinets DIY by Julie at Build, Sew, Reap

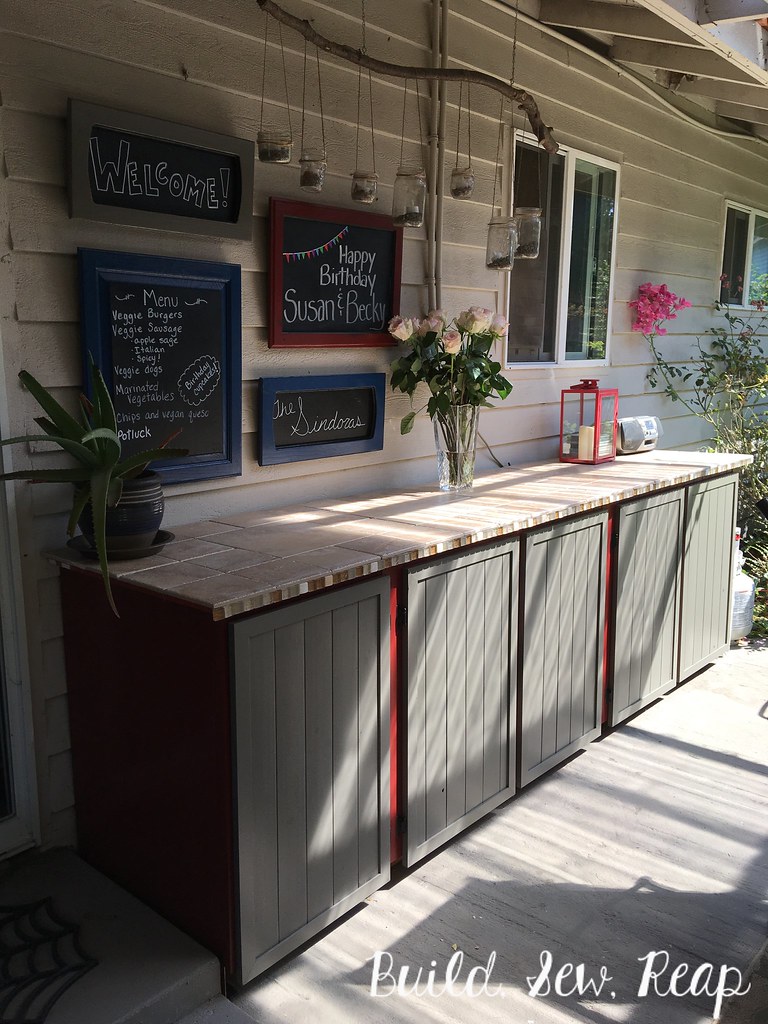
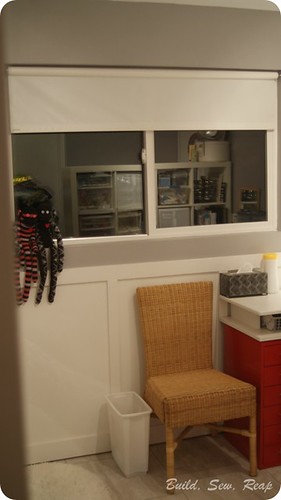
I moved the stick-and-jar hanging chandelier over from above the table (I never really loved it there after I made it) and love it in the new location. I also turned 4 of the old cabinet doors into chalkboards to hang above the new cabinets. The second cabinet from the end now holds our plug-in cooler for entertaining (and secret beer storage, shhhhh). It really all came together nicely in the end and the porch is so much tidier with places for all the shoes, toys, and grilling accessories we had piled along the wall.

Thank you for reading,
Julie


The Catio

As you may know by now, we have new kittens. We adopted them from MEOW Cat Rescue and they're absolutely fabulous. I'm having fun spoiling them rotten (see my post on the Bookshelf Cat Climber for an example). Once I knew they were happy inside the house, I decided to build them a cat patio or catio so they could get some fresh air without actually being able to wander off and get in trouble. As an added bonus, the catio is placed not too far from the chicken yard. It is far enough that the chickens won't feel threatened but close enough for the cats to spend hours staring in wonder at what they'd like to think is their next meal (fat chance kitties).

Wanna know about this?

The Catio


Please allow me to take you on a little tour....

This is our dining room. (That's the pantry I built.)


The Catio

Down just above the baseboards, below that arrow, there's a cat door.

The Catio

Through that cat door is the outside but it is a safe outside. Safe for my kitties and safe for the local wildlife.

The Catio

But wait, it isn't just a little box. It's a full on CATIO!!

DSC01565

The catio features pass-through shelves, just like the bookcase cat climber.

The Catio

It also has a loft with a hammock (special request by the 6 year old) and cat head shaped windows.

The Catio

At first I thought I had made a mistake by putting the loft on this side (I underestimated how tall it would be) but at night, that light attracts bugs and the cats LOVE bugs so it's fun for them.

I added not one but two locks on our outdoor access door. The top lock is out of the children's reach and is a tighter lock just to ensure the door stays closed.

The Catio

This is the top lock:

The Catio

Teddy figured out he can watch the chickens from his new perch.

The Catio

I think he likes it.

The Catio

Do you have a special outdoor place for your pet? Please link to your post or a photo if you'd like to share. I'd love to see what you've done.

Thank you for reading,
Julie


I'm sharing at the following link parties:

Mailboxes to Store Garden Tools

This year I got tired of wandering from one end of our property to the other only to realize I needed a pair of garden gloves and a tool or two that were back where I started. We have multiples of just about every handheld outdoor tool so I picked up a couple of old mail boxes from my local buy-nothing Facebook group and installed them where I needed them most.

The first one is by the main garden, in the side yard. I also love how it works with the other decor I've acquired.

Garden Mailbox

This one is in the back garden, near the corn plot (aka squirrel food), zucchini, cucumbers, blueberries, quinoa, some pumpkins, apple and cherry trees, potatoes, edamame, and raspberries. See how I might like some tools over there? It was just a coincidence that this awesome volunteer Foxglove was the same color as the mailbox. I painted the box before the flowers emerged.

Garden Mailbox

I love how they turned out.

Thank you for reading,
Julie


Fire Truck Toddler Bed

The little dude outgrew his mini crib even though I took one side off to make it more of a toddler bed. I realized this problem when he was already sleeping with his toes through the slats and one arm hanging off the side of the bed. I jumped into action and being me, I couldn't just build him a normal bed, it had to be COOL!

Thanks to my many garden projects revolving around old cribs, I had a spare regular sized crib springs on hand. I also found a free crib mattress listed on my community Buy Nothing site. The next step was to dig into my wood shed and start pulling stuff out. Here's where the pile started but I'll admit that I pulled out lots more scraps of plywood and MDF before the project was over.

Fire Truck Toddler Bed by Julie at Build, Sew, Reap

I started by building a base using pieces of door jamb that came with the pantry doors.

Fire Truck Toddler Bed by Julie at Build, Sew, Reap

I also spray painted it with chrome spray paint.

Fire Truck Toddler Bed by Julie at Build, Sew, Reap

Then I got to building the top part of it. Each piece size and shape depended quite a bit on the wood I had. I just stared at the pile, figured out what would work and jumped in with both feet.

This:

Fire Truck Toddler Bed by Julie at Build, Sew, Reap

became this:

Fire Truck Toddler Bed by Julie at Build, Sew, Reap


Then I started adding details and painting.

Fire Truck Toddler Bed by Julie at Build, Sew, Reap

And I added hinges to the front so we could open it up for easier sheet changes.

Fire Truck Toddler Bed by Julie at Build, Sew, Reap

Then the details got really really intricate.

Fire Truck Toddler Bed by Julie at Build, Sew, Reap

And finally, I moved it into his room and he was totally thrilled!!

Fire Truck Toddler Bed by Julie at Build, Sew, Reap

I also rearranged his room to better suit his new big-boy motif. I moved furniture, cleaned out toys and even sold off the biggest piece of furniture that was in his room. Here is the final look:

Fire Truck Toddler Bed by Julie at Build, Sew, Reap

For this project, I purchased 2 tap lights, 1 light for the top, and some paint. I accomplished my goal of not buying any wood.

I love looking in his bright and playful room. I'm also thrilled that the colors I picked for his nursery have worked so well as he has grown up a bit. He loves his room too. Every night he tells me he wants to go to sleep in his fire truck bed.

Thank you for reading,
Julie


Come Tour the Homestead

I've found that I'm often really curious about where people's gardens sit in relation to their home. I really like to see the whole picture in my mind. Just in case you're like that too, I found a great little online tool to create an interactive map of my property. I hope you enjoy the tour as well as some photos I wanted to include in this post. Just hover over the dots to see a pop up picture of what is there now. Please note, the photo below is more than a year old so it doesn't show the greenhouse, new bed nor any of the awesome growth out there right now.

The garden is growing beautifully, so much so that I'm already on to my second round of growth in some of the beds. I've harvested and moved on to late summer / fall crops already. So exciting!

So come take a tour:


*Aerial image pulled from satellite view on Google Maps

And now some photos I'm particularly excited about ... some are already on the map, some are not.

I love pulling into our driveway and looking at the garden:

DSC01147

The Striped Roman tomatoes are growing huge and the plants are so productive. I've already canned 9 pints of thick rich tomato sauce. I can it without adding any spices so that I can use it for anything from soups to pasta sauce. I did cook it down a bit though so it has a wonderful consistency.

DSC01121

Speaking of canning, this was my harvest a couple of days ago:

DSC01154

The greenhouse is doing a wonderful job of protecting the tomatoes plus I think it looks great. I added roll-up sides to let the plants get as much air as possible while still protecting them from rain:

DSC01069

I love this view from the path:

DSC01129

On the opposite side of the property, the squirrels have eaten all my popcorn. I give up:

DSC01111

The hubs grew some beautiful flowers from seed this year. I'm excited for him to grow even more next year (and so is he, hooray). This beautiful dahlia greets us from the front yard:

DSC01049

And lastly, my cherry tomato and strawberry stealing garden imp:

DSC01010


 Thank you for reading,
Julie


A Room of My Own

First of all, Happy New Year!!! 

I hope your holidays were filled with family, friends, love and laughter. Mine certainly were and it was a welcome change of pace from the month of November when I busted out an additional room in our house. Yes, I added a room.

You might recall that I once had a room for my crafts but I was evicted when we found out I was pregnant with little dude number 2. I moved my stuff out to a corner of the garage and landed here.

DSC02238

DSC02241

DSC02245

I know what you're thinking, it's not too awful ... only it was. You see, it was NEVER that tidy again because it was too cold to work out there during the winter and too hot during the summer. It was dirty because there were no real walls to keep it separate from the rest of the garage and that little desk was never enough space for me. Furthermore, the only time it was well lit was during the day when natural sunlight flooded the space and that's all fine and good except I don't do a whole lot of daytime crafting, I'm a stay at home mom.

So, the hubs and I started talking and we decided that our 2 car garage with a 1 car opening was wasted space. We decided to rip out the room we built him awhile back (that ended up having the same problems mine did ... cold/hot, dark, dirty) and build on two rooms just outside the main part of our house. We used to step out of the living space, down to a stack of cinder blocks and onto the concrete garage floor to get to my craft space, laundry, the hubs' room, etc. but not anymore.

We transformed this:

IMAG1417

Into this:

IMAG1493
We sealed the concrete then built up the floor by 8+ inches, leveled it, added insulation and put down sub flooring. 

Then this:

IMAG1504
I added walls that hadn't been there before, built a closet around the water heater, installed a new window and started drywalling. This was before I finished building the wall but was the last photo I was able to take of the entire room.

A little of this:

IMAG1606
Lots of drywalling and mudding then some fake board and batten which I created using some low budget particle board ripped into appropriate sized strips. 

And finally this:

New Craft Room 13
The counter above the washer and dryer is removable for maintenance and the shelves were recycled from the old laundry space. 

New Craft Room 03
I've had those kid body forms since before I had real kids. I used to use them when I photographed clothing for my easy shop. Well, they are now the same size as my two boys so they hold a special place in my heart ... and on my wall.

And now moving around the room:

New Craft Room 08
My super handy neighbor came over and taught me how to remove an old single pane slider window and install a nice new double pane one. Bonus that this one has a screen and functioning lock.

New Craft Room 09
This is my new work space with custom "L" shaped desk that I cut from a nice piece of plywood. After cutting the pieces, I used the router to round off the top edge then I painted it with the same glossy white I used on the board and batten. I also found a place for some artwork I created many years ago using the pieces from the pattern for the first formal gown I made for myself.

New Craft Room 05
I've used this double layer desk system several times now and love it. These baskets slide in and out nicely and now I have a tidy place to store all my ribbon.

New Craft Room 04
I treated myself to this great hanging system from Ikea so I'd have all my most used supplies organized at an arm's reach. 

New Craft Room 07
A little space to store larger items like cutting mats, a tabletop ironing board and rolls of contact paper and stabilizer. 

New Craft Room 06
I had my eye on this Ikea Expedit shelving system knowing it would provide a good partial wall to separate my space from the passthrough from the house to the garage. I love that all those boxes are accessible from either side of the unit.

New Craft Room 02
The Expedit from the other side.


New Craft Room 01
I hung this curtain rod up behind the door to the living room so we would have a place to store clothing waiting to be ironed. I didn't want them hanging in the doorway.

New Craft Room 12
The flooring I used is a peel-and-stick linoleum from Lowes in 18x18 pieces laid with 1/8 inch space between them and grouted with special grout intended for linoleum tiles. I had no idea this stuff existed but when I saw it, I knew I had to give it a try. It looks stunning, particularly for peel-and-stick tile. I will never lay that stuff without grout again.

In conclusion:
This was a HUGE undertaking and should have taken far more than the few weeks that I gave myself but I'm not a patient woman. I still have some details to clean up in there but the big stuff is clearly finished. I've used the room a few times and love being able to just bounce out to my sewing machine which remains plugged in and ready to be used whenever I need to. In fact, I even made myself a skirt for New Years Eve! I hated having to bring my sewing machine in to the the dining room table as it meant I had to completely clean everything up before dinner each night. What a pain!! It won't be an issue any longer now that I have my own space. It is clean too, no more dust floating from my power tools and workshop into the craft space.

Now, if you don't mind, I've got some crafting to do ...

Thank you for reading,
Julie


Related Posts Plugin for WordPress, Blogger...