What can I say, I've missed blogging. I vanished because there was suddenly so much to do, I couldn't get anything totally finished and didn't feel right blogging about unfinished business. I'm going to walk you through how I get myself deep into too many projects all happening at once. Let's begin with the problem ...
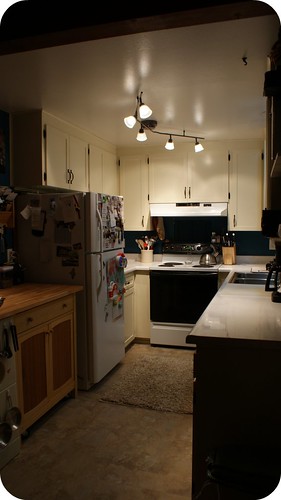
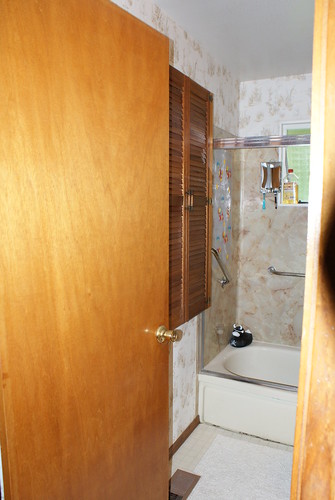
Here's what my kitchen looked like after I
redid it (but before I did the
faux granite counter tops):
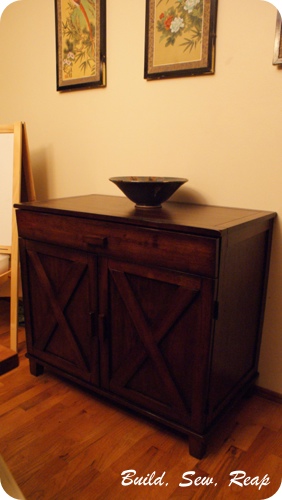
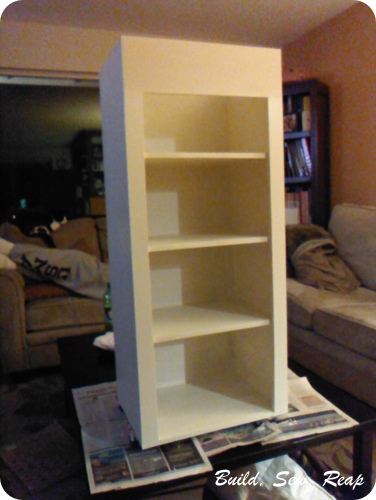
I picked this picture to show you because over on the left is a rolling cart that was about 12 inches deep with a full depth butcher block top on it so I would have additional counter space. The storage was really inadequate though so I always had it in the back of my head that I would someday remedy that problem. Well, one day I got sick of that and the fact that the counter was always covered in junk (mail, laptop, more mail, bills, kid artwork, etc) and got to really dreaming which led me to an internet search for a cabinet desk. I found a
beautiful one that would go great with our existing decor but they were out of stock so I was crushed. But wait! I kept checking and a week later, suddenly they had one online so I ordered it then waited very impatiently for it to arrive. As soon as it got here, I put it together then stood back to admire its awesomeness.
(I love it)
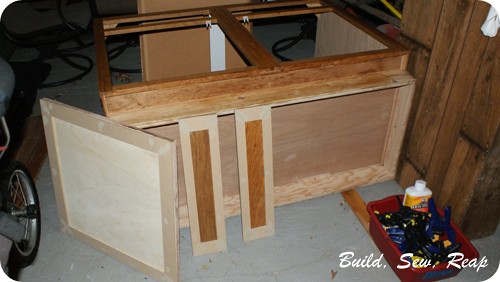
Well, that was all fine and good because I did manage to get that crap counter cleaned off but then I started dreaming of more kitchen storage which led me to Craigslist where I discovered the perfect sized base cabinet someone was giving away for free!! I jumped on it and brought this home:
OK, well, not exactly. The one I brought home didn't have any doors.
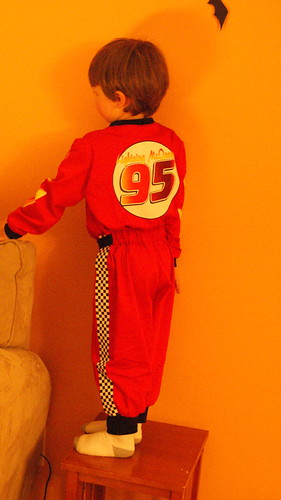
I should add this was all happening while I was getting the boys' costumes ready for Halloween. In case you
missed it, here's a picture:
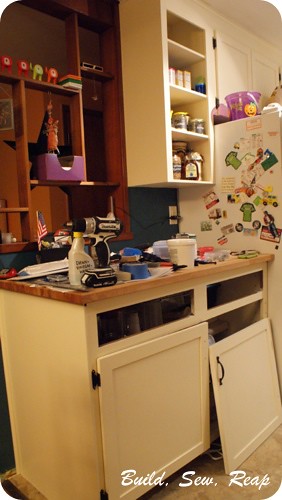
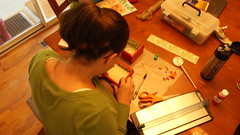
OK, back to cabinet making. I painted the cabinet to match my kitchen and built out the doors then painted those too. Unfortunately I realized I couldn't do 2 fake drawer fronts so I scrapped those and still need to create one long one to be consistent with the rest of my kitchen.
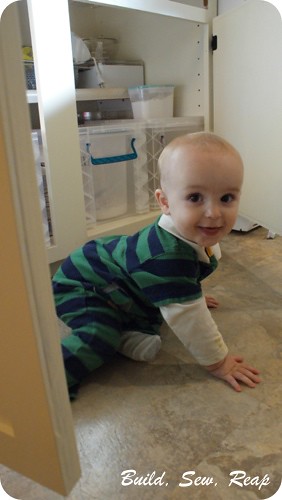
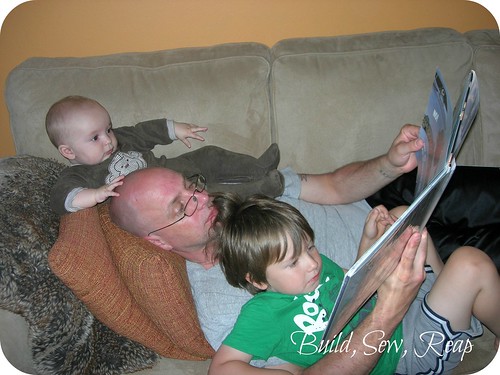
Here's the baby helping me get it loaded up:
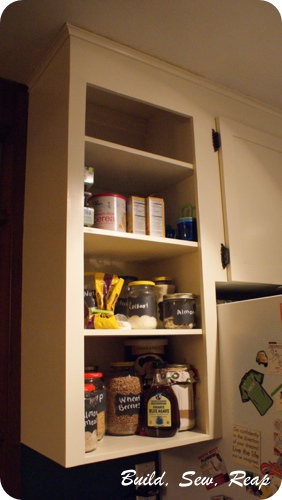
I'm so excited about how much extra space there is in it and will be blogging about the process of custom building a cabinet or two when I'm finally done but you see, once I got that in (and not even finished mind you), I decided I needed to build an upper cabinet that I'd long been dreaming of. Here's the logic behind starting that part of the project before finishing the bottom cabinet: I needed more wood to do the fake drawer front so instead of just buying enough wood for that, I might as well get a whole sheet of MDF and use the rest of it to make the top cabinet.
Of course, I built it to fit in the space then found out that the side of our fridge bows out so I had to get a little creative with installation but at least I painted it before having the hubs lift it into place 'cause it was a tad heavy.
Sigh, I have to make a door for that now too but at least my stuff is loaded in and that's really handy.
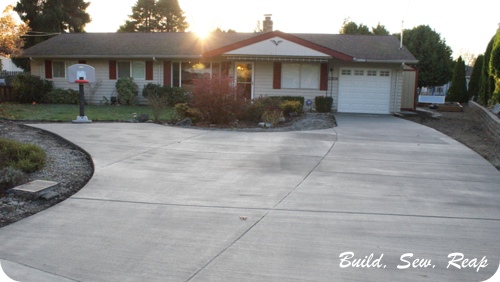
Oh, hey, I forgot to mention .... besides Halloween costumes, we also had a garage sale where we made just enough money to cover the cost of replacing the shelter we borrowed from a friend for the garage sale (groan) and we also *finally* got the new driveway we've been waiting all summer for.
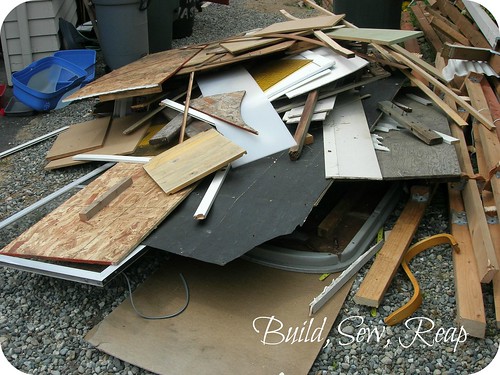
Phew!!! We dabbled a little in side yard progress but not a whole lot. The weather has turned mostly nasty so we haven't done much over there. We did have the driveway guys pour a slab at the back of the garden where we can put the "Crapport Memorial Pergola" but it is out of sight in this picture since the cement is still curing.
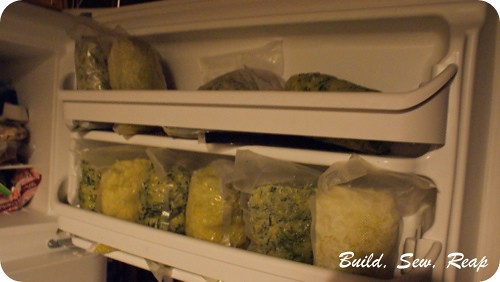
Oh, one other thing - I got a screamin' deal on 25lbs of zucchini at Cash and Carry so I prepped all that for freezing:
Soooooo, if you'll recall, the inside project all began because I was irritated by all the crap sitting on that one counter so I'd like to leave you with one final picture:
Yeah, that's totally better. (In my own defense, most of the stuff up there pertains to the project but still, when will the chaos end?)
Thank you for reading,
Julie