Dough
Ingredients:
- 1 Tbsp Olive Oil
- 2 Tbsp honey
- 1 tsp sea salt
- 1 Tbsp active dry yeast
- 1 tsp Italian Seasoning
- 1/2 tsp garlic powder
- 1 cup warm water
- 2 3/4 cups white flour
Instructions:
1. In mixing bowl, combine the oil, honey, salt, yeast, seasoning and garlic powder.
2. Add in warm water and stir thoroughly.
3. Allow to sit for 5-10 minutes, until the mixture becomes a bit puffy.
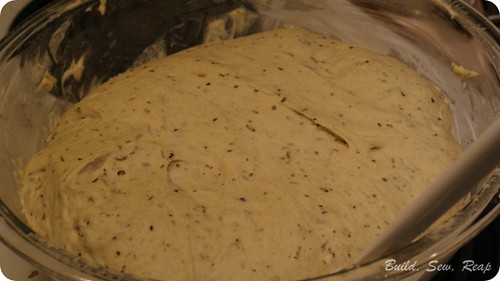
4. Add in the flour and mix with the kneading hook for 5-10 minutes until it is well combined and a little beyond.
5. Lightly oil a separate mixing bowl and add the dough to it. Cover with a damp cloth (lint-free) or greased plastic wrap (if you can't grease it, you'll just likely lose a bit of the dough stuck to it later but it isn't a huge problem.
6. Place in a warm spot for 1 hour or until doubled.
7. Preheat oven to 400 degrees F.
8. Remove from bowl and shape on your pizza stone or baking sheet.
9. Add desired toppings (see our favorite sauce recipe below)
10. Bake for 18-20 minutes until crust is just starting to turn golden brown and toppings are cooked as you like.
I like to make a double batch then set half of the dough aside to make into breadsticks later in the week. It can sit in the fridge for a few days, molded into breadsticks and tossed straight in the oven, still cold.
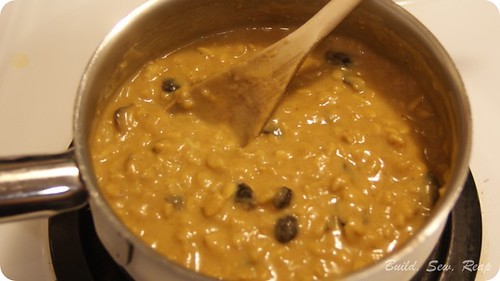
Sauce
Ingredients:
- 1 6-ounce can of tomato paste
- 3 oz water (I just refill the empty can of paste roughly half way)
- 2 Tbsp nutritional yeast
- 1 1/2 tsp minced garlic
- 1 tsp onion powder
- 1 tsp italian seasoning
- 1/4 tsp ground black pepper
- dash of cayenne pepper
- dash of dried red pepper flakes (optional, we often skip this in the sauce and put them on top of our pizza)
- 1/8 tsp sea salt
- 1 Tbsp balsamic vinegar
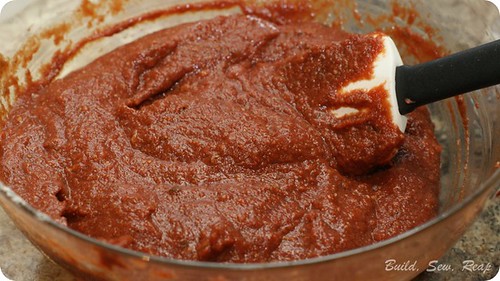
1. Mix it all together
2. Put it on your dough
3. Top with your favorite toppings.
4. Cook per dough instructions.
5. Enjoy
I also make a double batch of sauce a lot of times. I put the extra in the fridge and if we want a marinara sauce a few days later (for pasta, polenta, etc), I just add 1 can of organic chopped tomatoes when I heat it up on the stove. Once it is all warmed up, I use my immersion blender to smooth out the sauce as that's how my family prefers it. The taste is fantastic.
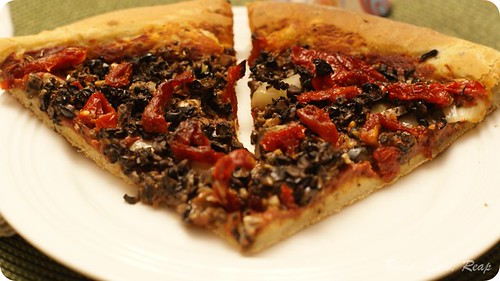
My favorite toppings are mushrooms, olives, sundered tomatoes,
onions and basil (which I was missing on photo night)
Save yourself some time and chop your toppings up instead of slicing. They cook better and the texture is actually really nice. I use a chopper similar to this
one.
Also, this crust can be frozen. Make the dough and let it rise, cook for half the time, cool, wrap well with foil and freeze until you need it. When you need it, just take it out, add the sauce and toppings and bake for another 10 minutes or until toppings are cooked.
Thank you for reading,
Julie