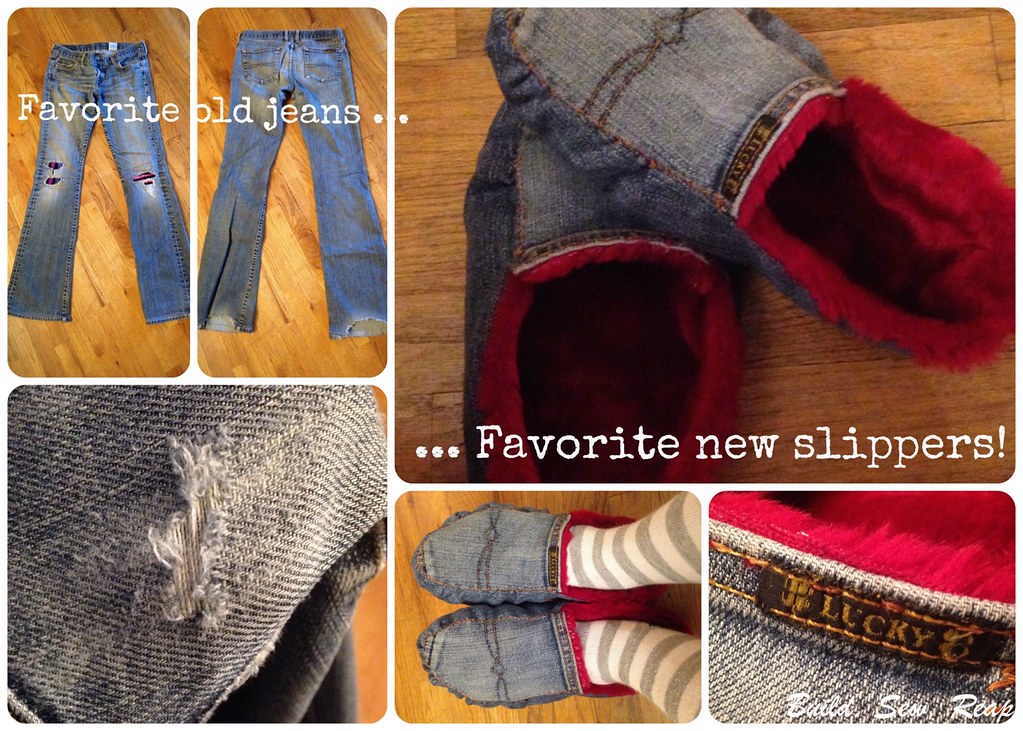
About 10 years ago, I met a man. A couple of months after we started dating, he invited me to watch the 4th of July fireworks from an amazing vantage point. I decided such an opportunity warranted new jeans. I didn't just go out and buy any new jeans though, I invested in a pair of Lucky jeans. The first time I'd ever spent more than $40 on a pair of jeans.
They made me feel amazing.
I ripped a hole in those jeans (and my knee) that night and my knight in shining armor took off his sock so I'd have something other than my jeans to absorb the blood gushing from my knee. We didn't miss the fireworks though, they were absolutely amazing.
I ended up marrying that man. I'm not going to say it was because of those jeans but they were there from the start so they had a special place in my heart for many years. They fit me, albeit unbuttoned, several months into my first pregnancy. He washed and dried them one day, trying to be helpful, and I cried because I couldn't get into them anymore. He packed himself into my jeans and wore them around the apartment for about 15 minutes to stretch them out. That loving act bought me another pregnant month in those jeans ... unbuttoned.
Sadly, they were benched for a few years because I never dropped enough weight between pregnancies so you can imagine my joy when I finally lost weight after my 2nd pregnancy and my beloved jeans fit once again. I wore those more than anyone should probably wear one pair of jeans. I patched both knees several times. They had light paint stains from projects, runs in the denim from catching a leg on a tool (better the jeans than my leg, right?) and other blemishes that just served as my own personal denim scrapbook.
And then it happened. I went to put them on a few weeks ago and realized I could see daylight through the seat. Thank heavens I noticed because I have no doubt they would have given out and I'm sure it would have happened somewhere I couldn't quickly leave. I reluctantly tossed them in the laundry for one last wash so I could begin to say goodbye.
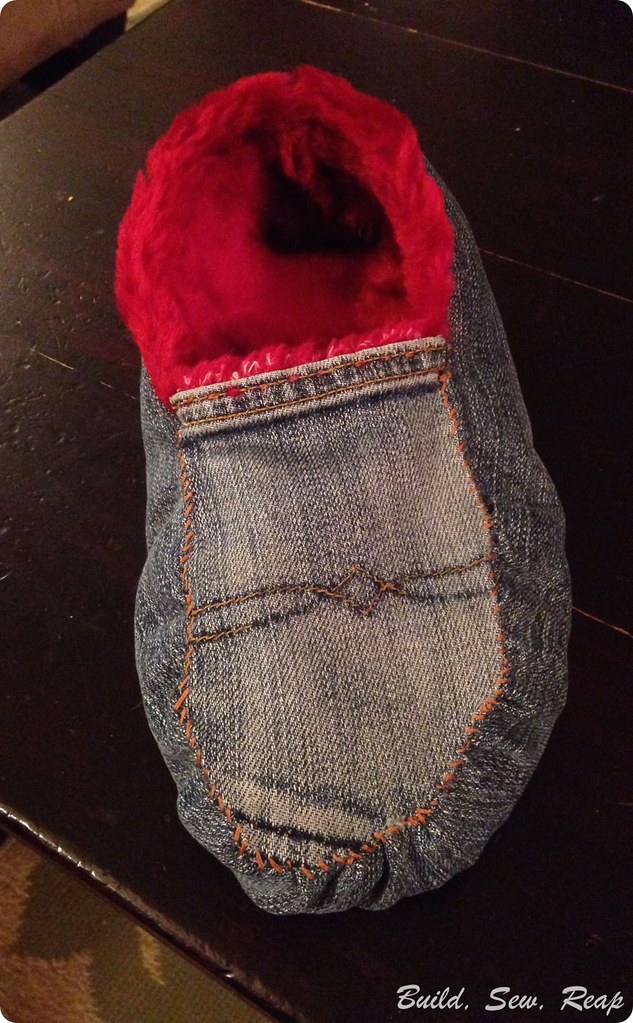
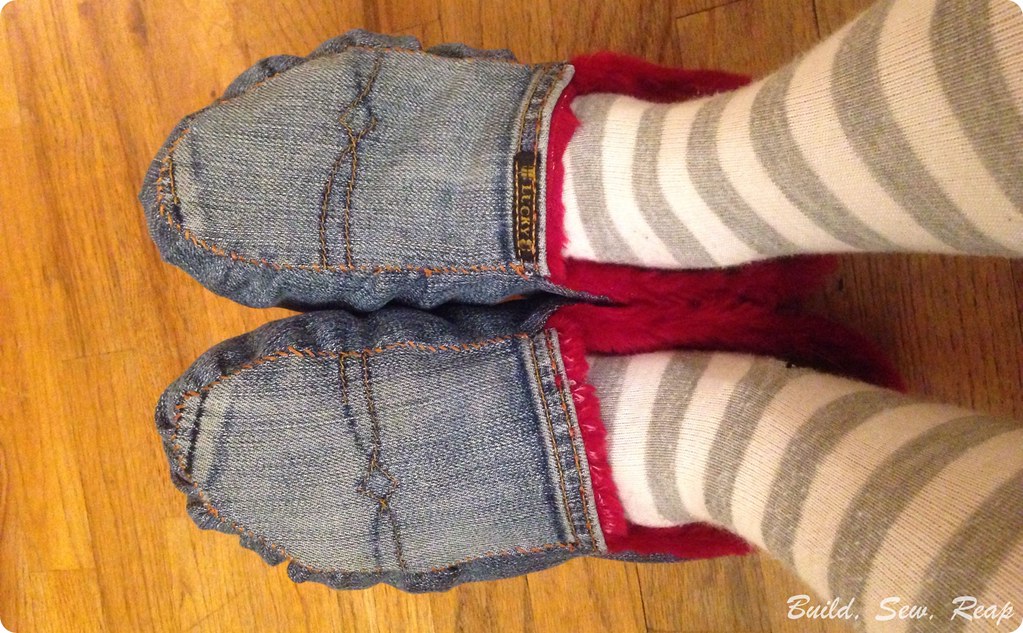
And then it hit me. I didn't have to say goodbye, just see ya later. That's when my beloved jeans became slippers. Awesome hand-stitched denim slippers with red faux fur lining.
And now I'll back up the truck and help you make your own slippers. I will help you create your own pattern as well as give you some pointers on assembling them. The measurements I'm going to use are based on my size 8.5 feet plus a nice thick faux fur lining. If you're using different fabric for the outside (for instance, something with a stretch), or a different lining material, adjust your pattern as necessary.
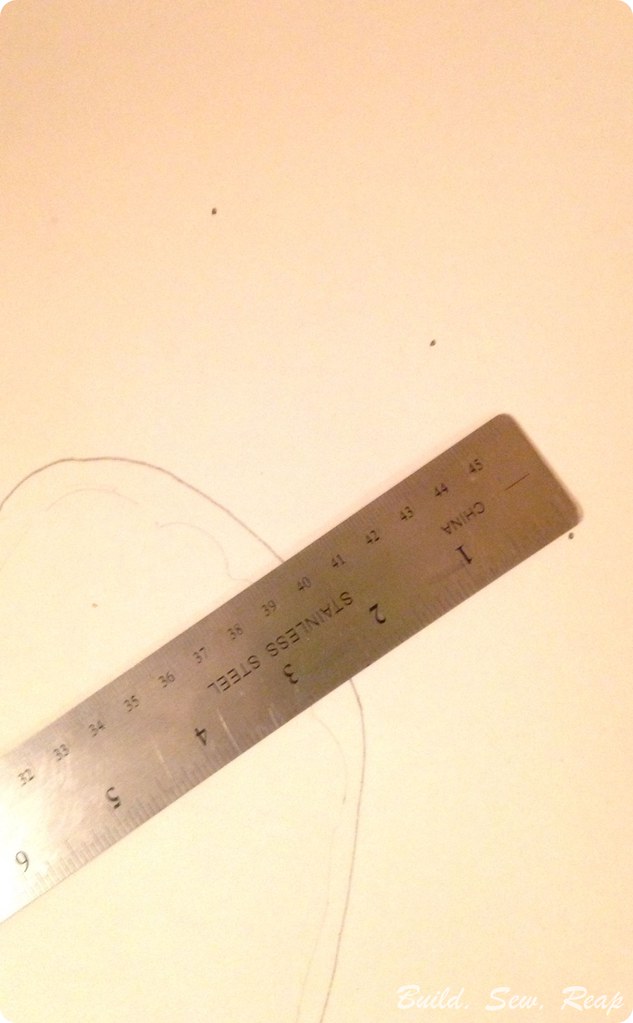
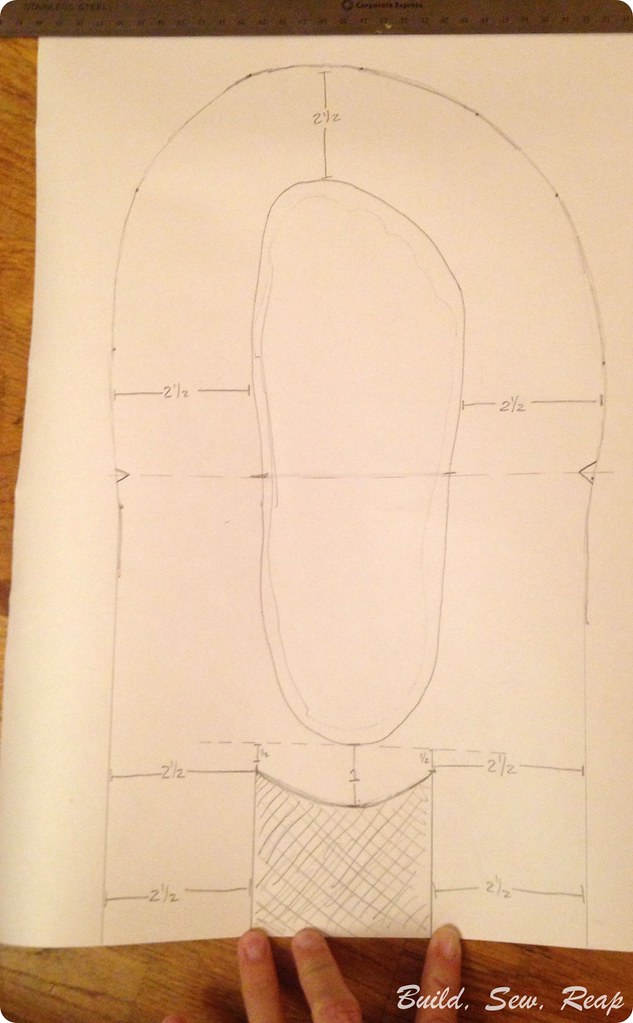
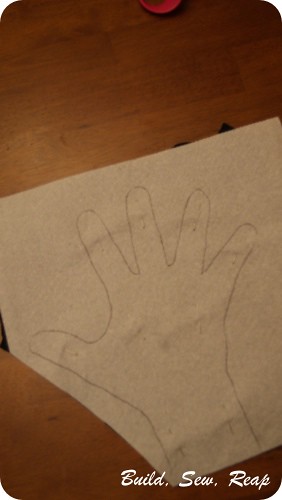
Get yourself a nice big piece of paper (or tape a few together). Trace your foot on the paper then draw a line around that to even out the curves of your foot.
Now, mark 2.5 inches from the outside edge all around.
Connect those dots but head straight down from about the middle of the foot out past the heel.
Mark out the rest of the pattern as you see above. The dashed line at the center marks the top of my foot where I'll want the top of the shoe to stop. I found this point by placing my foot back in the center and marking it on the pattern.
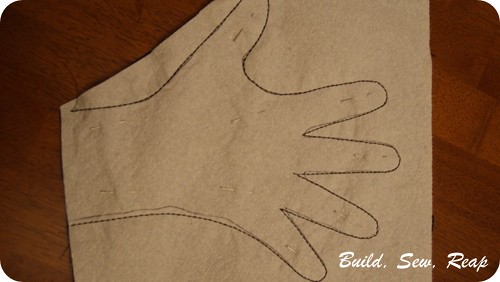
Cut out the pattern then take a smaller piece of paper, lay it over the top-center of your pattern and trace the shape from the dashed line up around the toe box using the smooth line you created just around the original tracing of your foot. Cut that out as well. I didn't add a seam allowance to this as I wanted the sides of the slippers to wrap up around my feet a little bit.
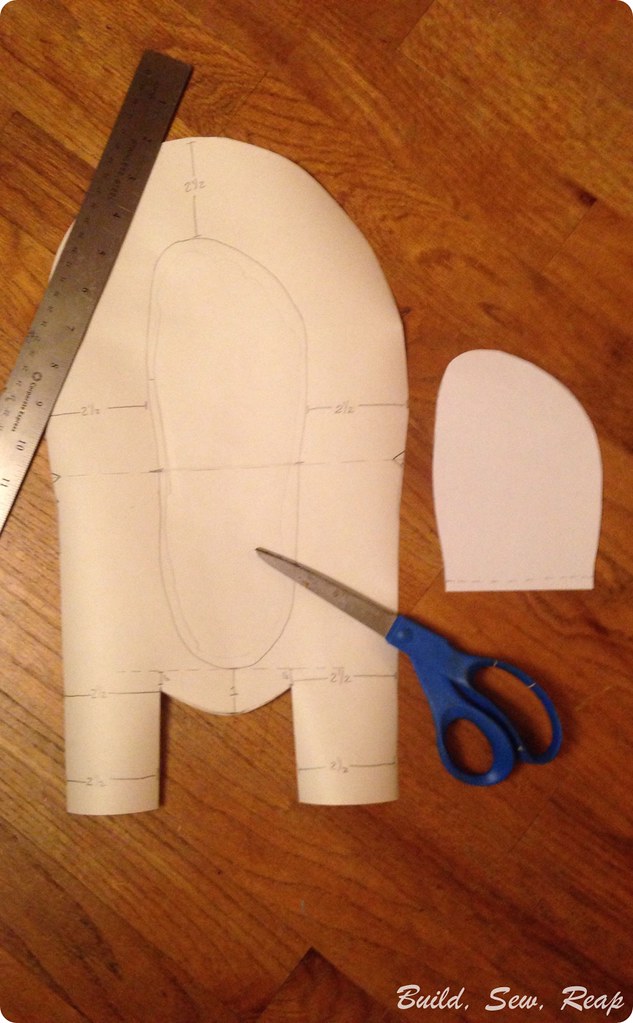
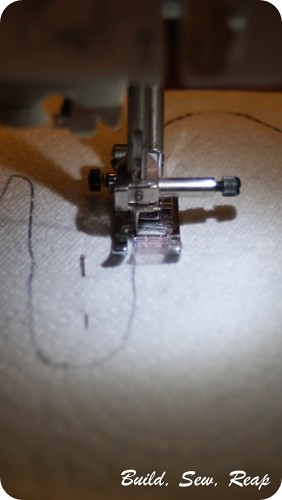
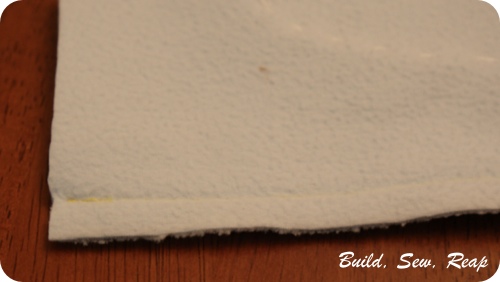
Now you're ready to cut out your fabric. Fold your fabric in half and cut through both layers. I cut one out wrong because I did them one at a time and got my mind all screwy trying to figure out which foot was which so just cut them both out at once to ensure you have 2 different feet.
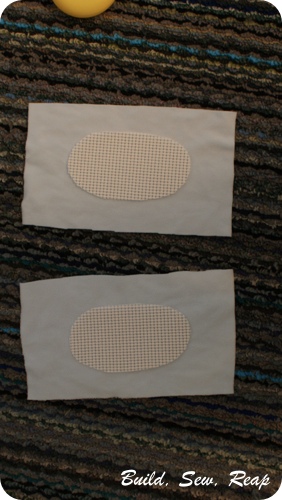
I used my pockets to create the top. Make sure your pockets are big enough before going to the trouble of carefully removing them. If they are, again, I recommend that you place the two pockets front to front (or back to back) and cut them at the same time so you don't accidentally cut out two of the same shoe.
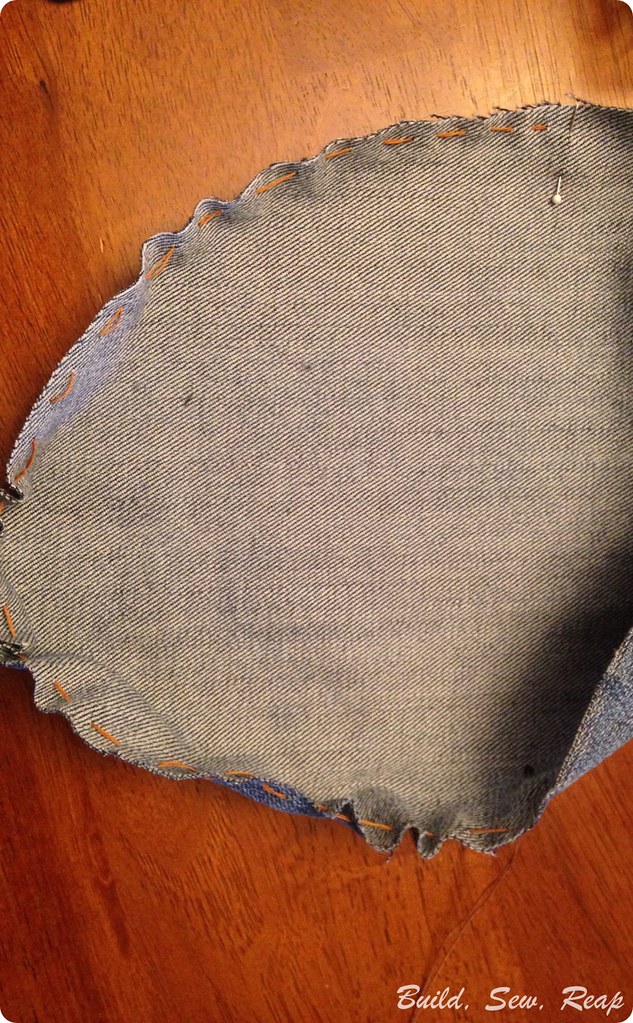
Here's what one slipper's outer fabric should look like. Notice that it seems like the toes are pointing opposite directions. It'll make sense later if it doesn't already.
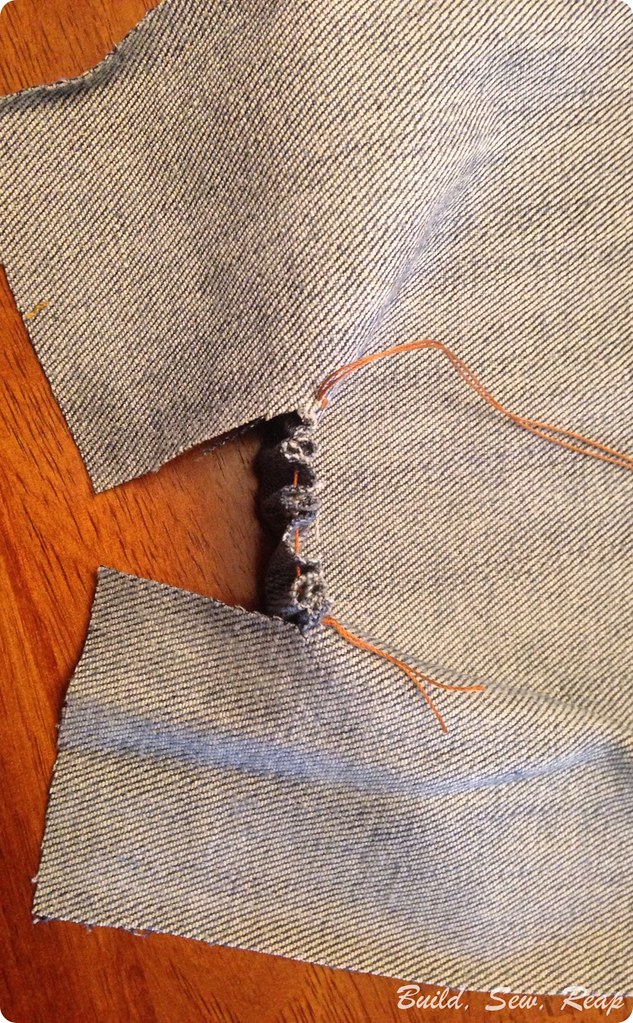
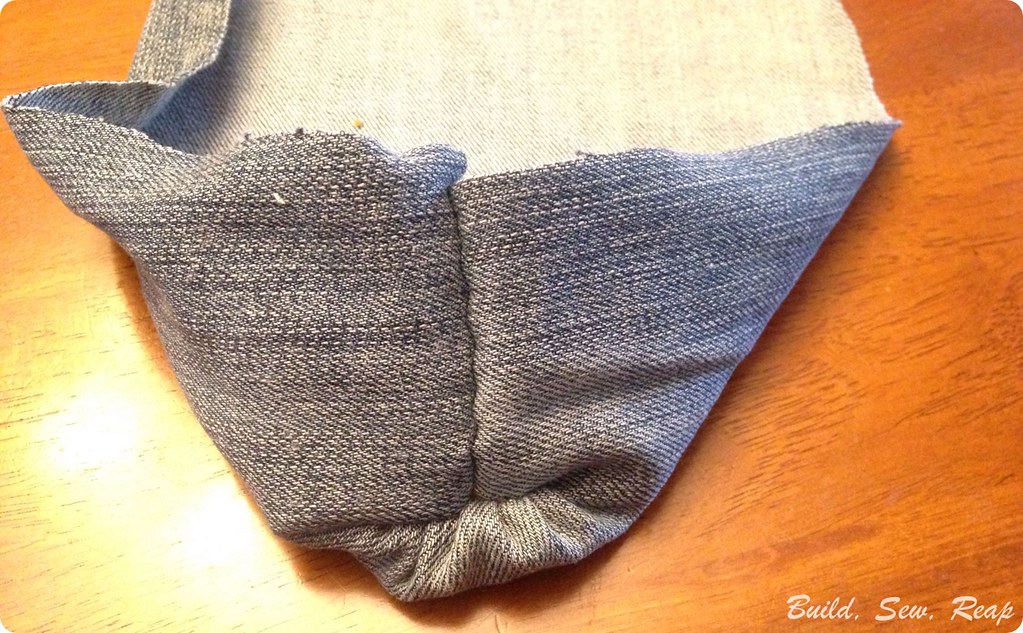
Starting with the bigger piece, use a baste stitch along the heel curve to gather that bit of fabric.
Now wrap the sides in across the gathered area and stitch them to the center using a regular stitch. You WILL have too much fabric in the tails, you'll trim this later.
Your tails should probably be the same length but I got a tad sloppy. Try to make them meet in the middle. Once you've stitched them to the gathered curve, stitch the 2 1/2 inches from the curve to the edge (in this picture, it would be down, or right along the straight pin.
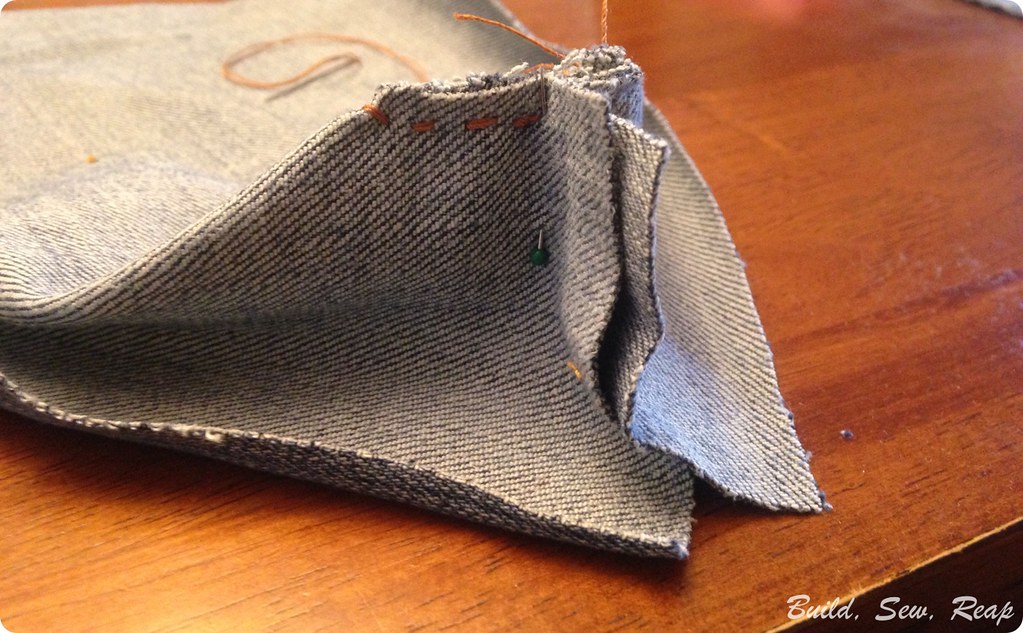
Turn your work right side out and you should see that you've created a nice little place for your heel. The gathered portion should be a little above the floor.
(Look away from my mistakes. My first pattern was flawed, the one I
shared in this post is not. Your top edge should meet up just fine)
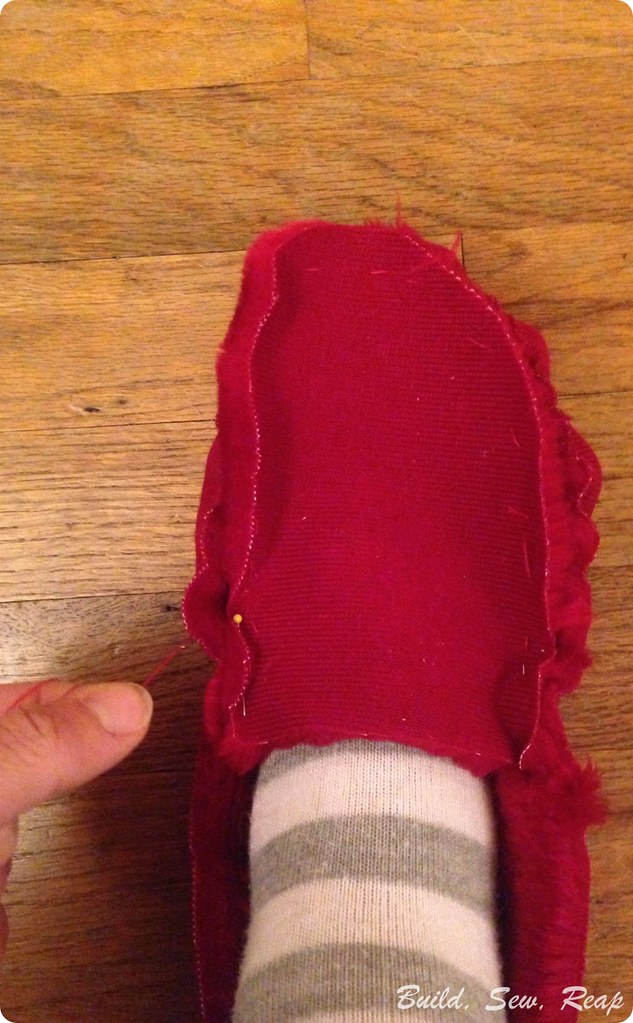
Next you'll need to add a baste stitch from one side of where you drew the dashed line on your pattern, around the toe box, and back down to the other side of the dashed line.
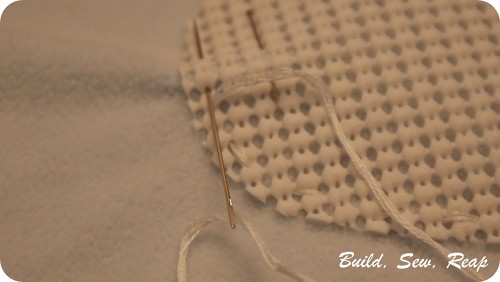
Turn your fabric right side up and place your foot in the slipper. Gently pull on the baste stitch you just added until the fabric gathers up around your foot. Place your top piece (the one I used a pocket for) face down on the top of your foot and pin it in place, gently working the gathers to be relatively even from one side to the other. Here's a picture of me doing this with the lining.
Remove your foot and stitch the top in place.
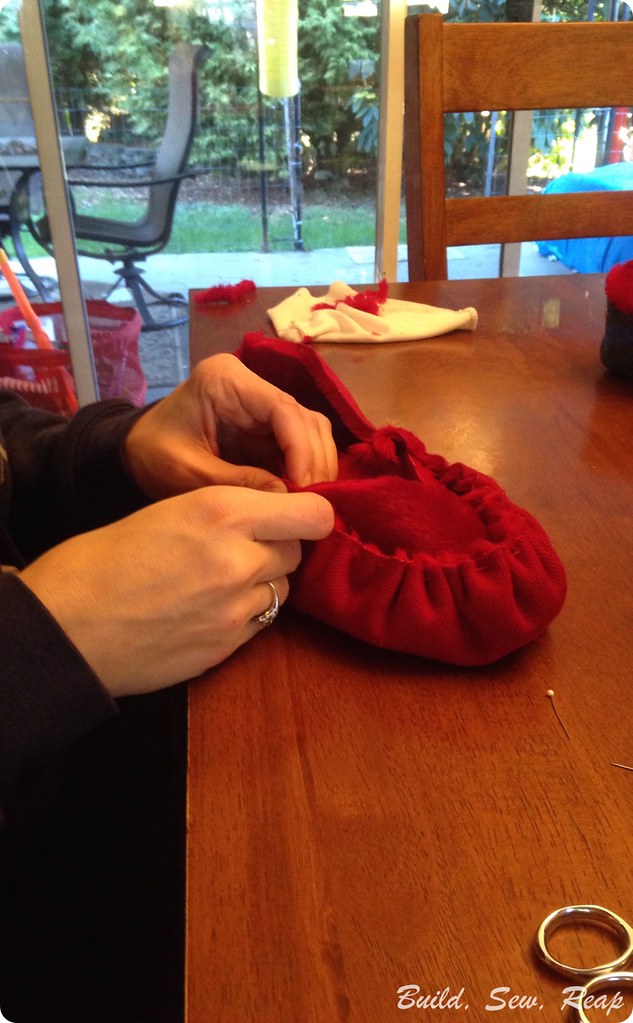
Repeat these steps for the other jeans portion as well as the two linings. Slide the lining into the outer slipper, fold in the edges, and stitch in place. Optional: Add decorative stitching around the front of the shoe. I did a whip stitch just through the denim layer around that top seam.
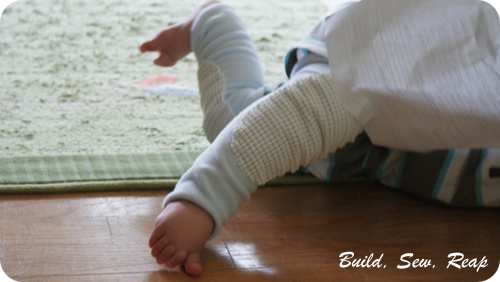
Finally, enjoy your new favorite slippers.
There's quite a bit more fabric left from my old jeans so I'm still brainstorming about what I can do with the rest. I'll be sure to post if I ever figure out something that's worthy.
Thank you for reading,
Julie