
I'll take you on a tour of their space (coop and yard photos taken just before we left to pick them up). Most of this project, inside and out, was created using scrap materials we had on hand. I did have to purchase the roofing for the yard, chicken wire, some brackets to secure the yard area and the hardware for the doors to both the coop (inside the shed) and the yard. All the lumber was from our stash, mostly from the crapport with one additional piece of wood from the neighbor. He also contributed the piano hinge we used for the nesting box door. I think we owe them a dozen eggs.
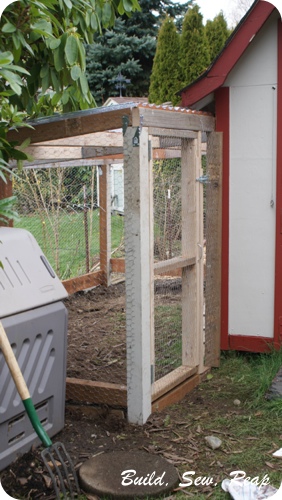
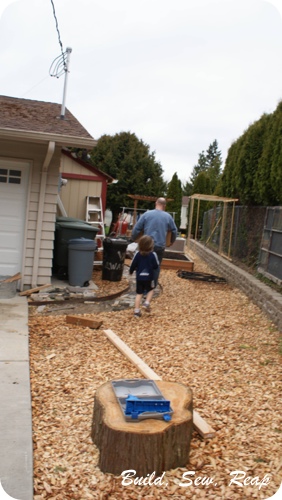
This is what it looks like as you approach the coop and their yard from the back of the house. The roof on the yard is slightly smoked shed roofing so it lets a lot of light in but shouldn't get too warm in the summer. We also did our best to wedge part of their yard up under the rhododendron tree there so they'll get some shade from that.
I'd like to make this a little more interesting eventually but for now, here's the chicken porch where they come and go from the coop. The porch floor is made out of an Ikea HOL table that we had to trash (but obviously salvaged the top). I mounted it on 4x4 posts left over from the old crapport that once stood where the garden is now.
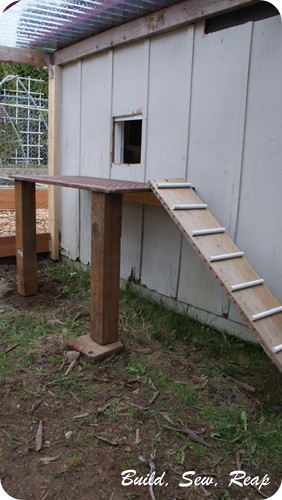
I slapped that ladder together pretty fast but it seems to do the trick. I hope to make it better eventually though.
And now, moving on to the inside of the shed where the coop is.

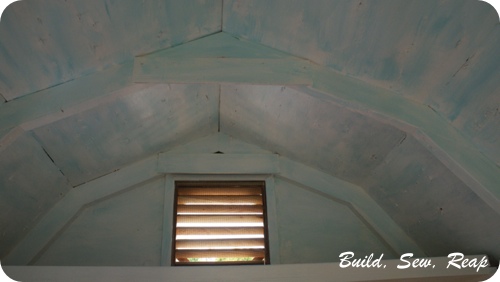
If you've been following along the progress, you already know that we had an 8 by 6 foot shed in our back yard. I created a floor for the coop about 2 1/2 feet up then covered it with vinyl flooring to make it easier to clean. I framed out the front using scrap lumber, built 4 nesting boxes with access from the other side of the shed and added a roosting bar and ladder to "the loft." The three squares you see above the nesting boxes are windows with hardware cloth and screens in them but I don't anticipate using those much until summer so they're closed and locked for now.
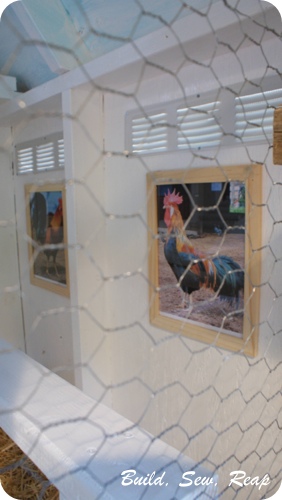
I thought the girls might like some artwork in their all white coop so I printed out some pictures of studly roosters, framed them in some cheapy Ikea frames I had on hand (plexiglass, not glass) and nail gunned them to the walls. There are also additional vents above the pictures as well as on the opposite wall to ensure proper ventilation. Through my research, I learned that chickens have sensitive respiratory systems so it is important to keep the coop well ventilated but not drafty.
Next, I'll show you the loft. This shelf was already here but I added the vent up top as well as a 2x4 across the front of the shelf so they'd have something to roost on if they want to hang out up top there. The ladder was just a piece of scrap plywood with wooden dowels nail gunned down every 3 inches. I also painted this white with low odor / low VOC white semi-gloss paint (that I had on hand) to make cleaning easy.
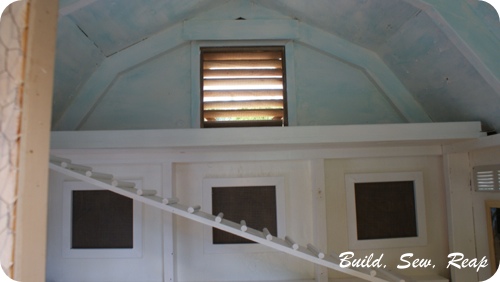
I did a sort of wash on the ceiling to give the girls a blue sky to look at all the time. This was somewhat of an accident but one I liked. I grabbed a can of the sample paint I picked up at a recent sale and painted part of the ceiling and hated it so I painted back over it with white and when it dried still needing another coat or two, I actually decided I liked it so I just did a sloppy coat of the blue on the other parts of the ceiling too.
The door out to their yard is a piece of old melamine covered shelving set in a track made out of scrap wood with a cable that runs through some scrap PVC piping the length of the shed out to the outside of the shed where we can open and close the door without entering the coop. I've found this is actually super handy because I can glance out the back door of the house to see whether or not the door is open without having to go all the way out there. If the washer at the end of the cable is on the hook, I know the door is open, if not, they're still stuck inside.
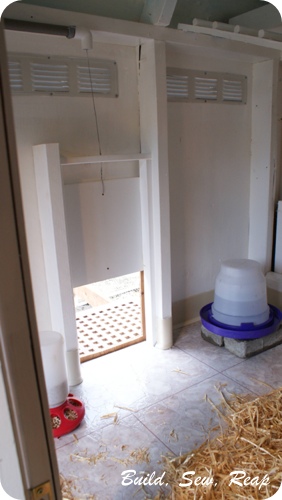
A friend through the women's choir I belong to gave us the waterer and feeder (hooray!).
So, the coop and yard are move- in ready! It's time to pick up the girls.
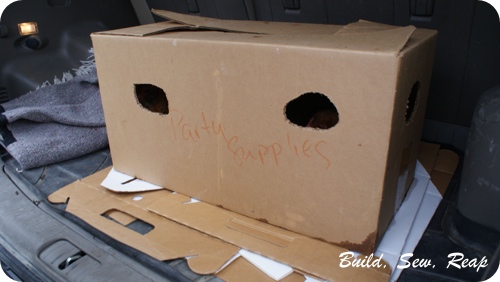
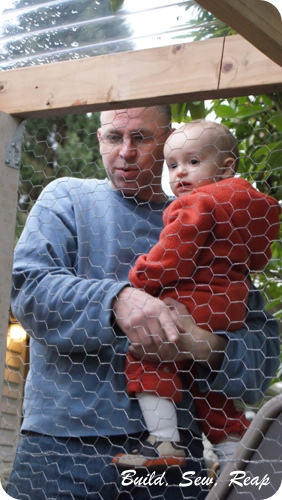
The woman who gave us the chickens provided us with this box. As a friend of mine commented, "Unique party supplies." We brought them home and my husband took them through the garden to the back shed and loaded them into the coop.
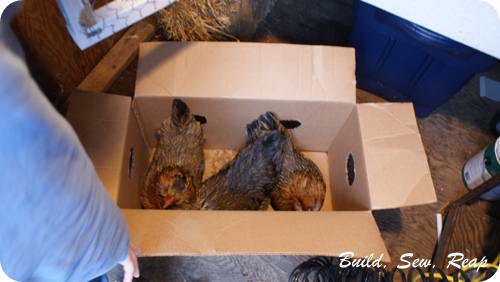
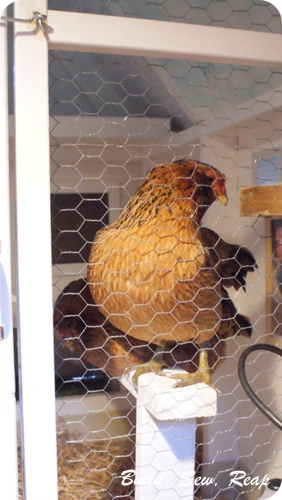
One of the girls wasted no time christening her new space.
(thanks for that Patty)
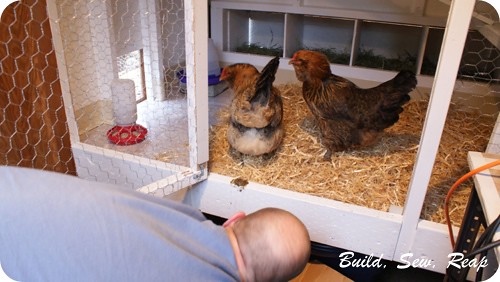
After looking around inside a little bit, they ventured outside.
Here they are, meet Patty, LaVerne and Maxene (from back to front).
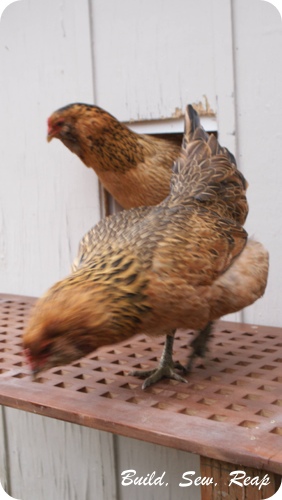
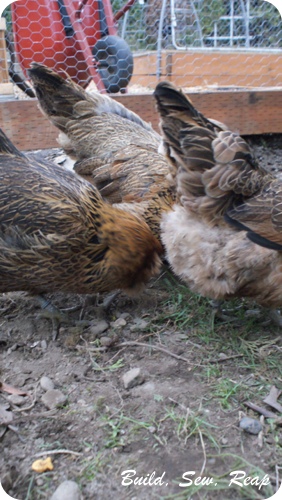
Chicken butts ...
The
And finally, here they are roosting before going to sleep for the night.
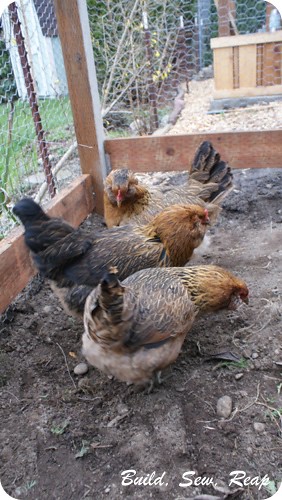
There are some final details I'd still like to tend to but the coop and yard are safe and secure. The chicken wire walls around the yard are buried at least a foot in the ground then they curve out and are covered with rocks and chunks of concrete and back-filled with dirt. There really is no way for a predator to get in although we do lock the girls in the coop at night to ensure their safety.
We've already gotten two eggs out of them in just a few days. I'm hoping that will pick up even more but we've been excited to have any. I think both came from LaVerne, the darkest and biggest chicken in our little flock.
I'm finding it surprisingly therapeutic to go out to clean the coop each evening when the hubs gets home from work. I have a little bucket, a putty knife and a rubber glove and I collect up all their poop to add to our compost bin then I refresh their food and water. The Snickerdoodle loves taking them lots of treats so they've been feasting on our breakfast scraps as well as grains from the pantry. In just a few days, they've already learned to meet us at the door to the yard when he has his little plastic bowl of goodies.
This all happened so fast that I'm still a bit shocked we have chickens. If you had told me 10 years ago that I'd be creating a little urban farm with my family, I would have laughed. Life sure takes us in surprising directions and I couldn't be more content.
Thank you for reading,
Julie


Great job! Thanks for sharing. I am looking forward to build my own incubator soon as well. This post gives me an excellent idea. Staying tuned for more.That is awesome! What a wonderful experience for your students!
ReplyDelete