
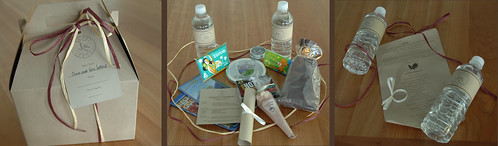
Well, for O's birthday, I wanted to give the kids some fun toys that would spark creativity so I put together the following bag of gifts:
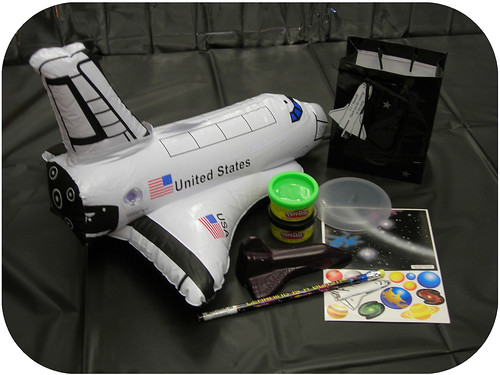
The contents included
- 1 inflatable shuttle
- 2 small containers of Play-doh (purchased back in October at Costco when they had them out for trick-or-treat favors)
- 1 space themed pencil
- 1 space themed sticker theme
- 1 glow-in-the-dark flying disk
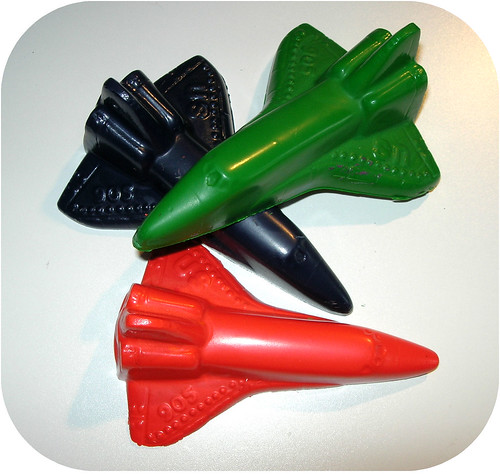
- 1 shuttle shaped crayon
I just had to try my hand at crayon making. I was pretty happy with them in the end although they're huge. I had some smaller molds but lost one temporarily (found it just after I finished the last batch of big ones) and melted the other during the experimenting stage of figuring out how to make crayons. To save you the trouble, here's a tutorial on making great shaped crayons.
1. Find yourself some candy molds. I found a good selection of space themed ones on Amazon.com
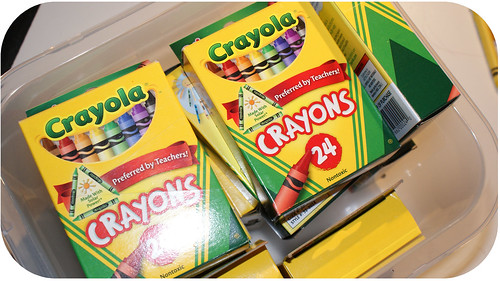
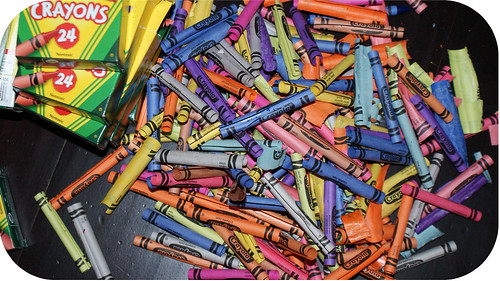
2. Peel a whole bunch of crayons. I had purchased about 20 boxes of them last September when the 24 packs went on sale for $.25 before school started. I was thinking I'd just give each kid a pack but then this seemed like a lot more fun.
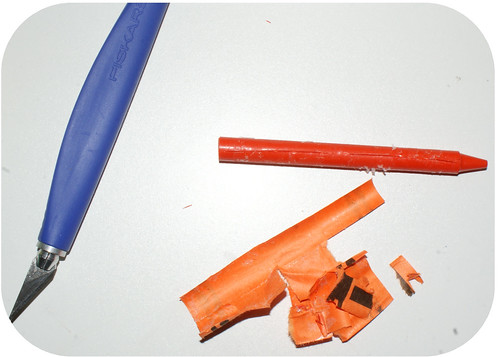
Hint: Use a blade to slide down the length of the crayon then the wrapper should easily come off. Unless it's yellow or light green, those don't come off nicely for some reason.
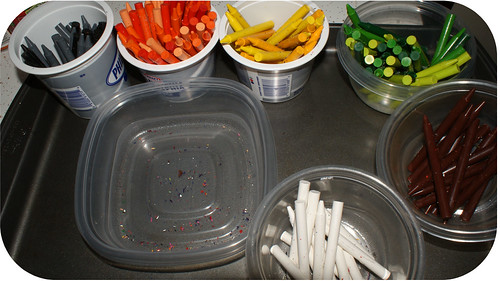
3. Sort the crayons. When working with a 24 pack of crayons, it is probably best to just sort in family colors. This is also where I planned out my approach so I wouldn't have to use a whole bunch of different cans. For instance, one can first held yellow then when that was finished, I did orange then on to red. Another was blue then purple.
4. Drop one color of crayons into a cleaned out soup can or soda can (with the top removed) and place the can in a shallow pot of boiling water. I used my vice grips to get a handle on the can as it got pretty hot. Melt the crayons, stirring occasionally with a wooden skewer or something similar.

5. Once all the crayons are melted, lumps removed and it's crazy hot, carefully pour the liquid into a waiting mold. I balanced my mold over an open box because it couldn't seem to stay level on its own.
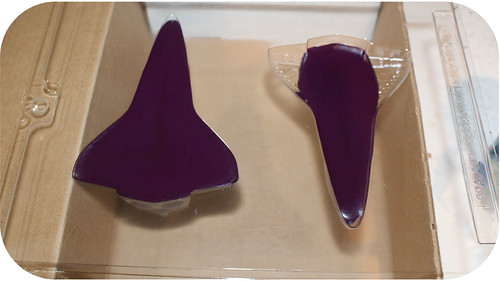
As you can see, the one on the right isn't full. I found that trying to make multi-colored crayons in this particular mold didn't look good at all so that partial crayon hit the scrap pile. If you find yourself in the same situation, set aside one can where you can just pour the extra of all the colors so in the end you can melt them all together and create one dark brown/black crayon with the left overs.
6. Continue through for all the colors you have. In the end, you should have a bunch of really super cool shaped crayons your kids (and your kids' friends) will love!
Thank you for reading,
Julie
Other posts you might be interested in:
3rd Birthday Party Part 1: The Sign
3rd Birthday Party Part 2: The Cakes
3rd Birthday Party Part 3: The Decorations


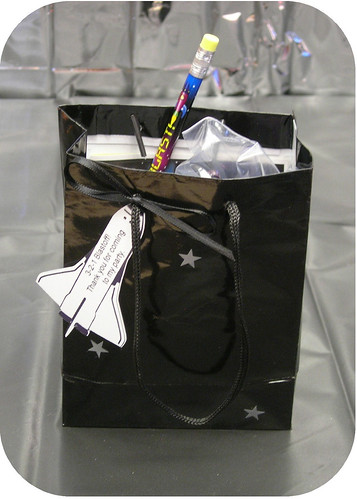
Those turned out great! I love the shuttle shaped tags that you added to the bags.
ReplyDeleteI am having a giveaway on my blog. $40 to get any vinyl decal from Urban Walls. check it out! They have some great shuttle decals too!
http://houseonashwelllane.blogspot.com/2011/04/40-store-credit-from-urban-walls-to-get.html
Love this!! Another project I need to attempt...
ReplyDelete