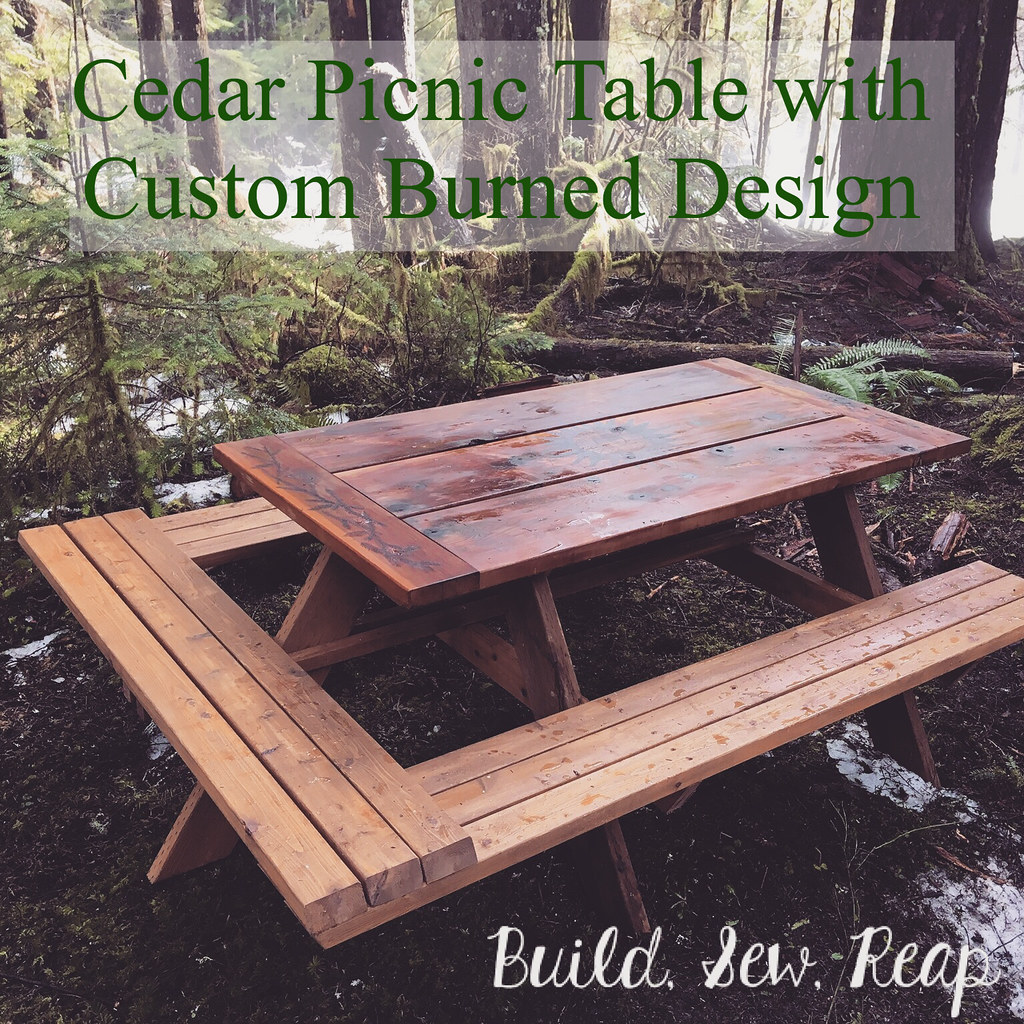
The table top size was based on some of the pre-cut pieces with the addition of the end pieces which are held in place with pocket screws and some steel braces underneath. I left a lot of gaps between boards to allow for expansion but, honestly, I'm not positive those end boards will go the distance. I do hope the support braces underneath do the trick to keep them strong.
The burned design is one I created myself. I planned out the image then created a template of 1/8 of the circle and used carbon paper to trace the image onto the center of the table before I started burning it in permanently. The image took many many hours to create. I don't have professional pyrography tools and rely instead on the tips that can be used on small soldering tools.
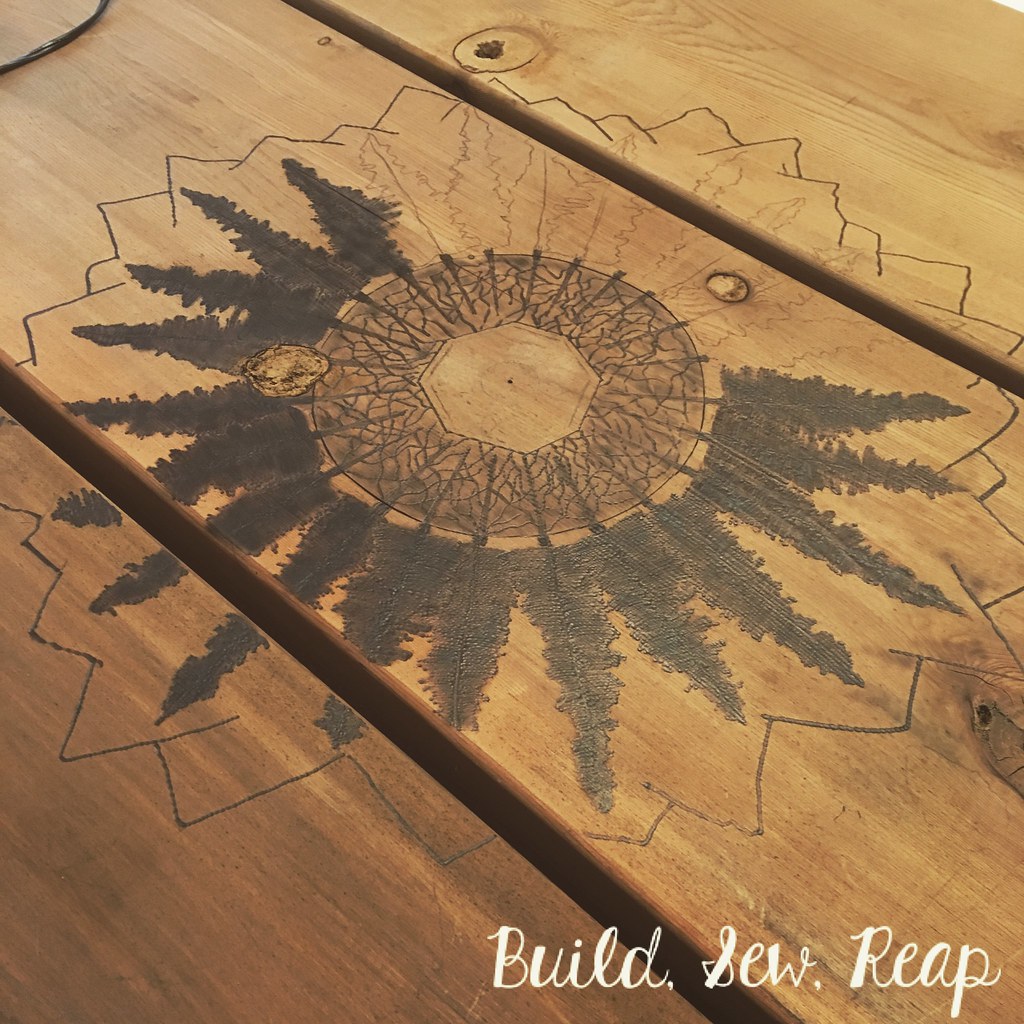
You'll notice in the next picture that I changed the center shape to be a circle. I decided I didn't really like how the original design looked as it took shape. There's no pattern to the roots. I just free-handed those but all the trees are connected to one another. A big part of why we decided to purchase the property was to build family memories and bring us all closer together in a place free from the routines and responsibilities of home. I hope our family always feels that same connection to one another.
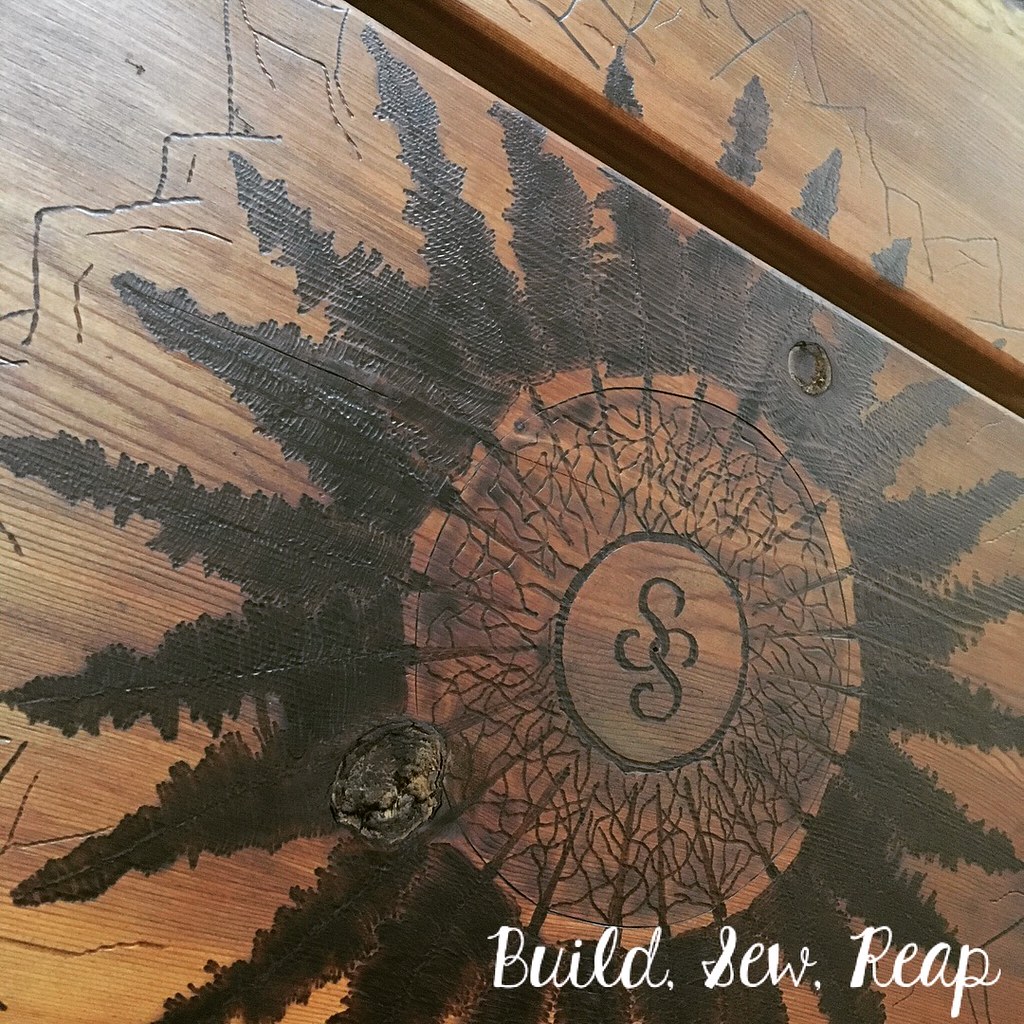
Here is a close up of the final product. The "SS" in the center represents Silverton and the first initial of our last name which is also an "S." Behind the trees are the mountains. As you'll see in the next picture, the phases of the moon encircle the mountains.
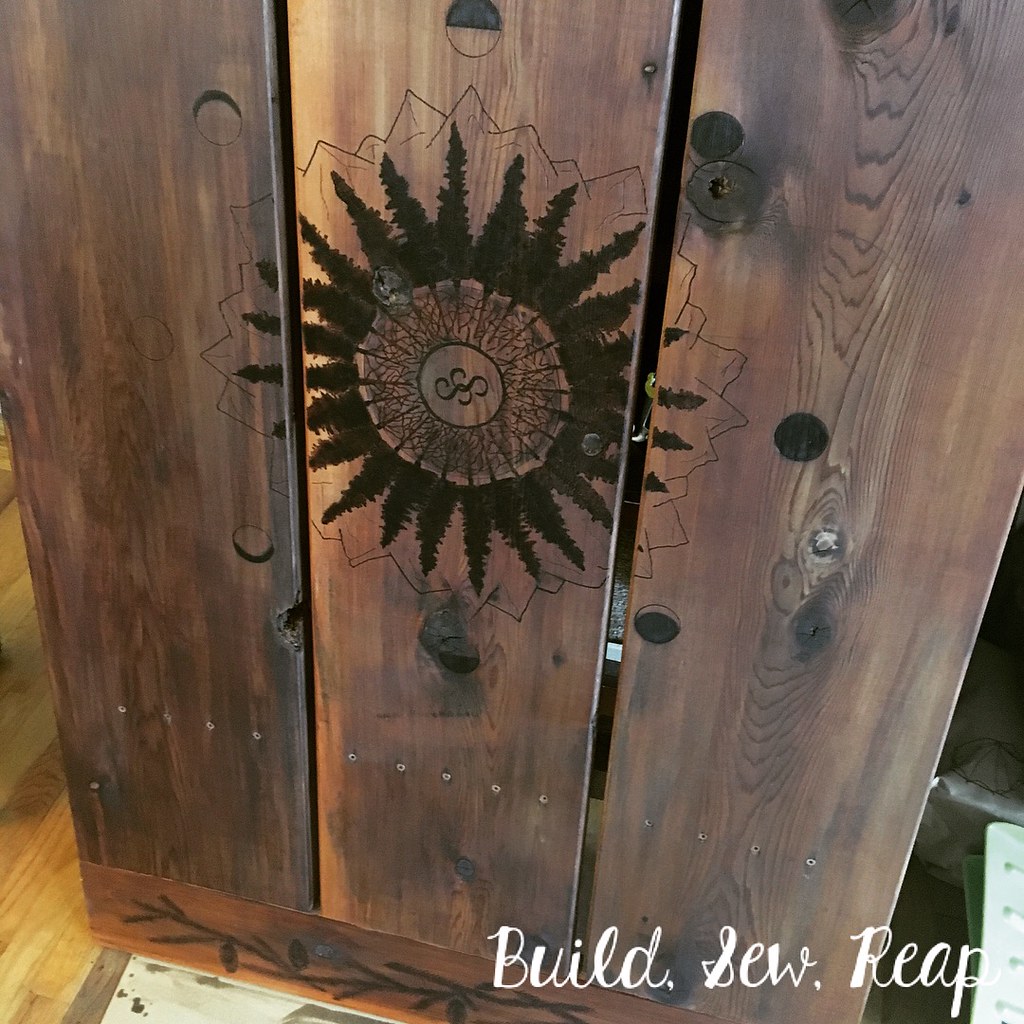
Finally, I burned Douglas Fir branches and pinecones along the ends. I chose Douglas Fir because there are quite a few of them out on our property and because there's a legend of this particular tree that I absolutely love:
"Indigenous legend in the Pacific Northwest tells that a long time ago there was a great fire in the forest. All of the animals were fleeing before the encroaching flames. However, the tiny mice with their short little mouse-legs were not quick enough to outrun the fire. In danger of being engulfed in the flames, they asked the strong and stoic Douglas-fir trees for help. The trees were inclined to be friendly to the mice, and allowed them to climb up their thick, fire-resistant trunks and hide themselves in their fir cones. The mice gladly took shelter inside the cones, and survived the terrible fire. And even today – if you examine the cones of a Douglas-fir closely – you can see the little hind feet and tails of the mice sticking out from beneath the scales of the fir cones." (https://heartofthewestcoast.com/2012/01/26/douglas-fir-trees/)
I hope our Douglas Fir trees protect us as they did the mice.
Now, on to construction. I reused a lot of lumber I had salvaged from a friend's fence demolition but also had to purchase some cedar 2x4s for the benches. I built the whole table in the driveway and tried out my design with an end bench. We have two boys who I thought would enjoy the extra wiggle room and the higher bench sitting at the end. It worked out great so once the snow melted enough to access the property, I took all the parts out there and reassembled the table.
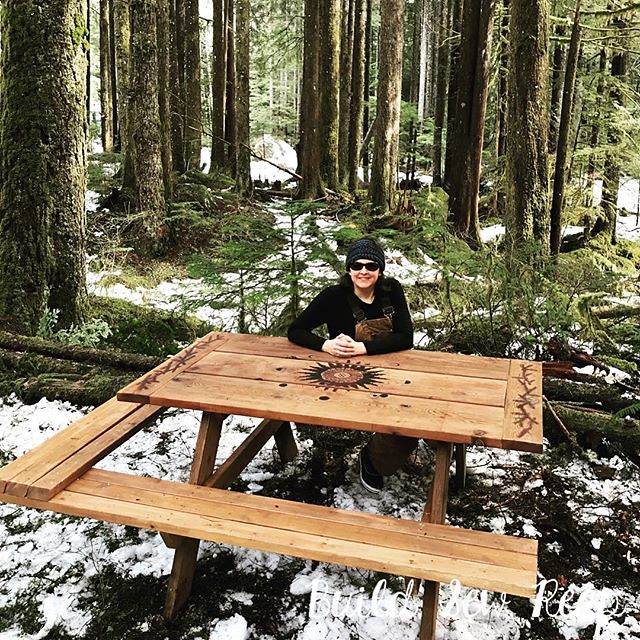
Unfortunately the ground is super uneven and the only place we could get even vaguely close to level was in a spot that left that end bench really unstable. I tested it out and realized quickly that even setting my tool bag on it tipped the whole table up on end! That's a big problem.
I let the problem simmer in my mind for a few days and then, just like so many of my brainstorms, the solution popped into my brain while in the shower. I swear, stuff just blows in out of left field when I'm not even consciously thinking about something. I realized that if I cut one more leg exactly the same as the other 4, I could mount it from the end and support it with the 2x2s I had cut to keep the main legs spaced properly (not seen in the above picture).
The only problem was I had tossed out my original plans so I didn't know the length of the legs nor the angle I cut them. No problem, I grabbed a scrap 2x6 pressure treated board, tossed it in my car with my chainsaw, and we headed out for the day on big kid's 10th birthday.
I took my measurements (I think the legs were 33" long?) and transferred the markings to the new leg then on a hope and a prayer, I managed to cut the angles perfectly with the chainsaw. I was pretty proud of that one.
I centered the leg under the table and positioned it so it would just touch the front of the bench and screwed it into place from the top of the table. Then I placed a 2x2 on either side of it to hold it in place. I screwed those down to the center braces on the main legs as well as to either side of the new leg and under the bench. Now the table is more stable both in that all the legs are connected at another point and in that it can no longer tip towards the bench.
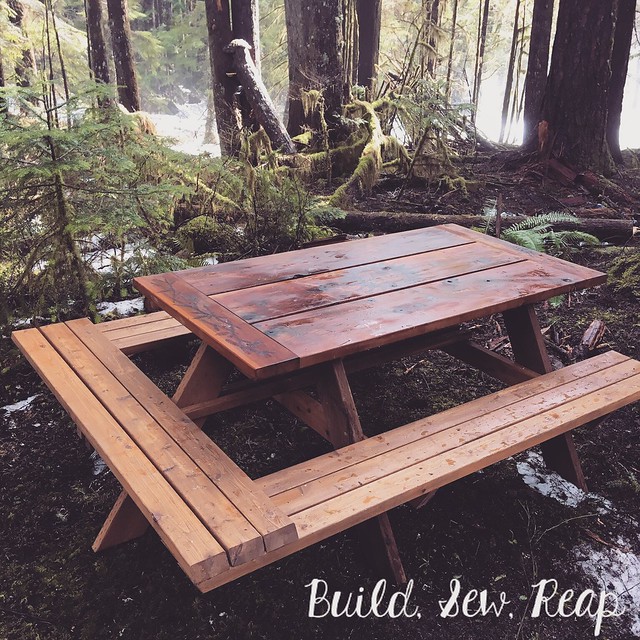
I'm so happy with this build. I'm sorry I can't provide exact measurements but I can tell you that even though the top is a weird size thanks to the pre-cut boards, the legs are cut at the length and angle I saw on various tutorials around the internet. The additional bench and leg details are really all I added.
Some details: I cut the 6 side bench boards 11" longer than table so they could support the end bench. I also cut those at an angle to make the profile a bit more attractive. The end bench is supported by both side benches as well as the 2x2s that run down the center of the table. I positioned the legs in far enough that someone could sit on the end of the bench without having to step over a bench to get situated. All pieces are protected with an outdoor oil-based wood preserver. I'll need to redo this over time if I want it to continue to look good. I'd also like to get a tarp to keep it covered when we're not using it but the first cover I used apparently wasn't waterproof so now that the table is really wet, I don't want to enclose it until it has dried out in the summer weather. I'll find a cover before next fall.
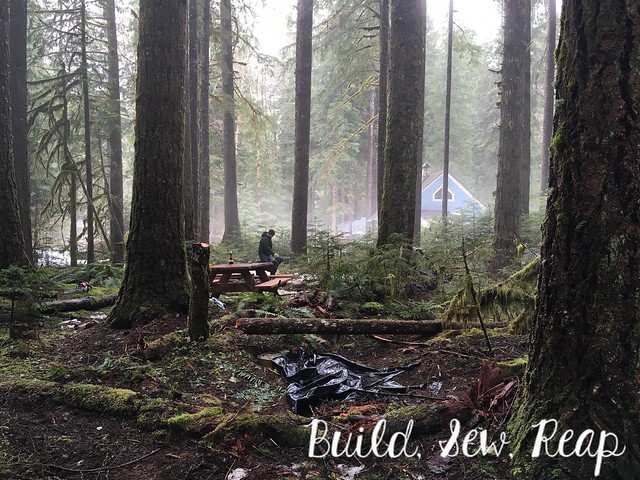
Here's a bonus pic that makes my heart sing. That's my husband petting the dog off in the distance. The black plastic is covering some concrete supports we poured for our first structure out there.
Thank you for reading,
Julie