
Another thing you may know about me is that I have a wood pile. Ok, I have several wood piles, maybe many. I'm a member of my local Buy Nothing Project group as well as Gift Everything, and several social groups where people will often list that they're giving away lumber and I guess I've got a bit of a reputation because I always seem to get tagged in those posts. I do occasionally say no to a pile of lumber but I'm a bit of a sucker for well cared for new project pieces.
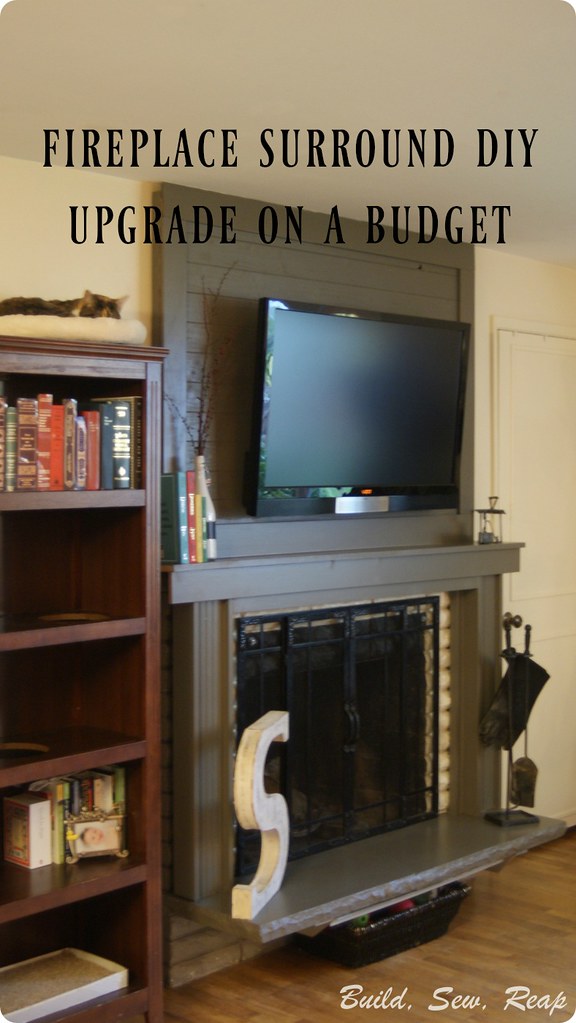
That brings me to my latest project which is made mostly out of wood I had in my scrap wood pile. I present to you, my new fireplace surround:
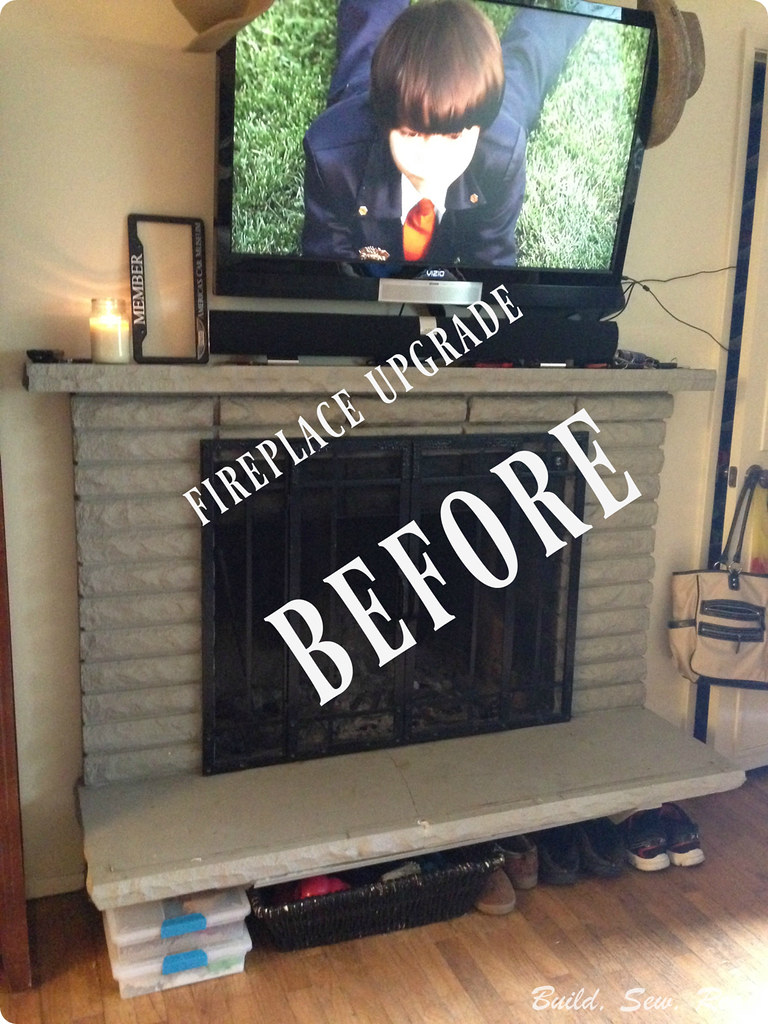
Here's where I started on Saturday morning as the kids were watching a bit of Odd Squad:
Ooooh boy am I ever thrilled with the new look. Let's break it down though.
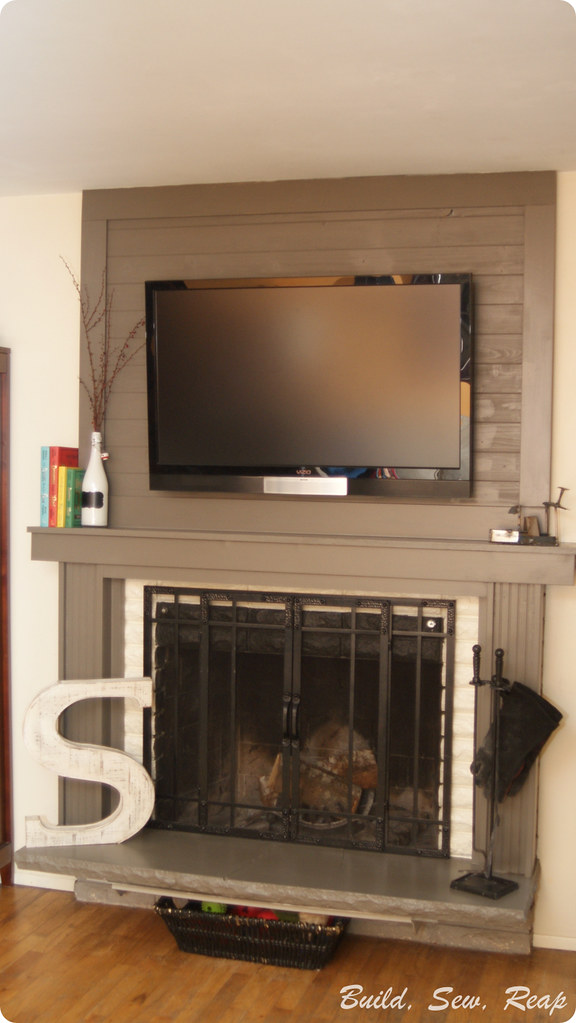
Most of the pieces were primed MDF boards in various widths. The ridged portion of the columns is actually the back side of the door jambs that came with the pantry doors. I also used some of this when I built the fire truck toddler bed (look at the running boards).
I didn't have much of a plan but more just a basic idea of what I wanted to do. Knowing I was working within the confines of my wood pile for the lower half of the build, I just took it one element at a time. All the pieces are glued and nailed, sometimes screwed, into place. The grey is a Behr color called Burnished Pewter and the white is also Behr, called Navajo White. We've used the Navajo White on many walls, the trim throughout the house, the doors (shaking my head, I forgot to blog this upgrade), and even the kitchen cabinets.
The top of the build was where I did spend some money. I purchased a pack of cedar planks for just under $20 at my local home improvement center. They fit together (tongue and groove), smell great, and one pack was just barely more than what I needed.
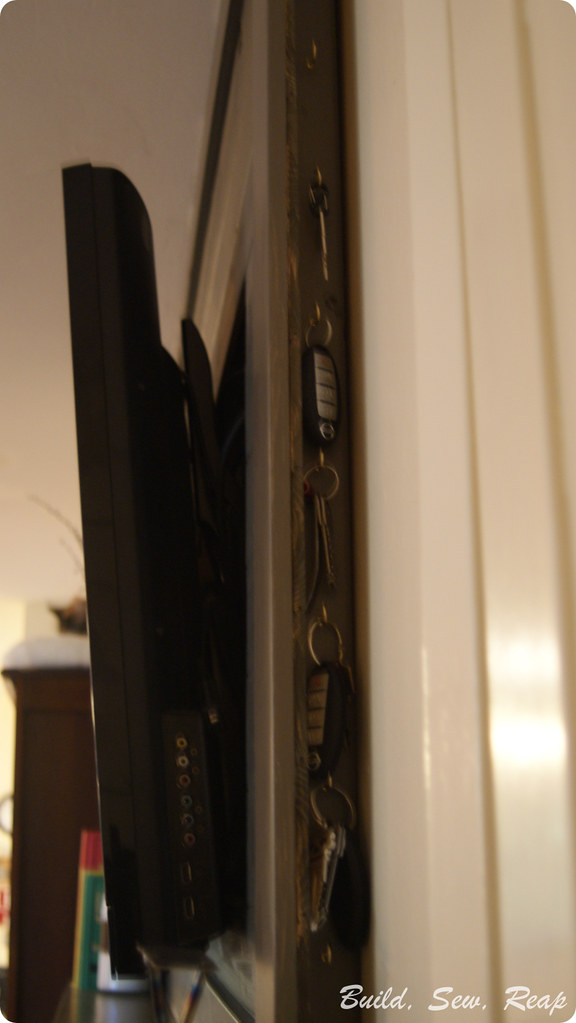
For years, we've tossed our keys on the mantle as we walked in the door. Well, not any more! Now there's a secret key hanging spot behind the TV. I love that our spare keys aren't going to get lost now.
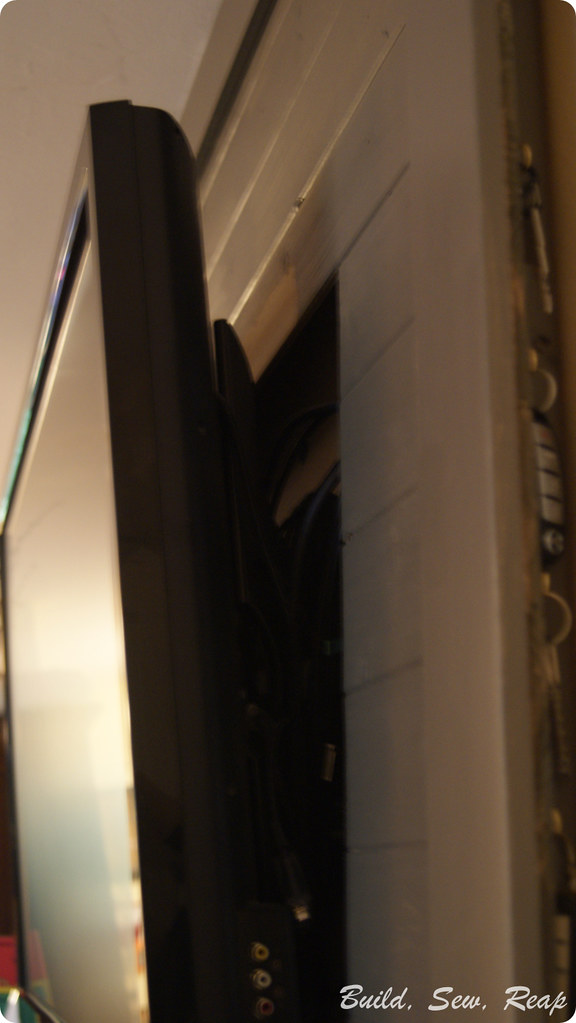
I didn't want to buy a new mount for our TV so I built the whole paneled wall behind it but cut the pieces to fit around the mounting hardware.
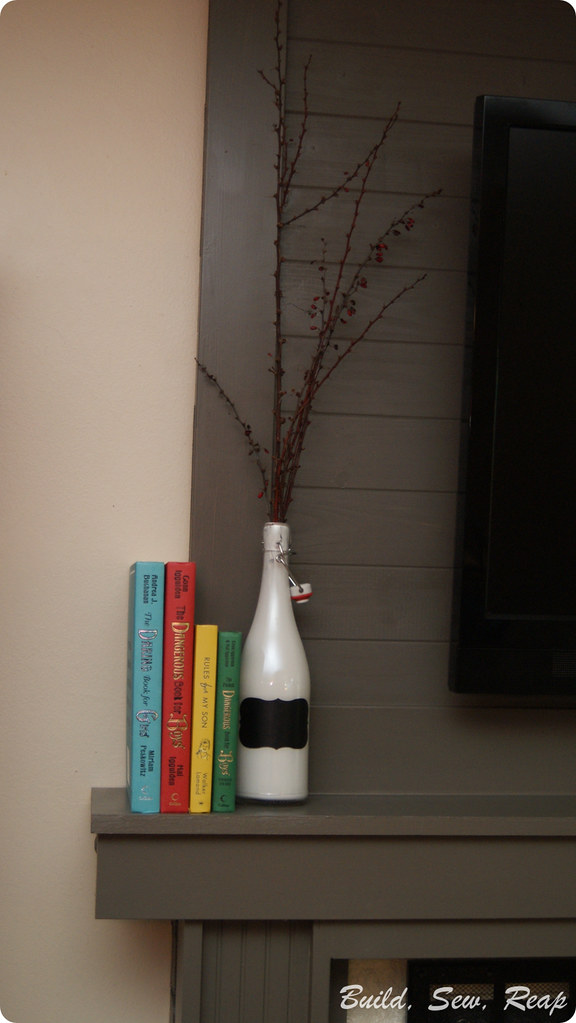
I searched around the house for just the right things to put on our mantle. I found this wine bottle with the cool stopper lid and painted the inside with some "biscuit" craft paint I had on hand. I then clipped some red branches off my favorite bush out front and dropped them in. The label is chalkboard but I haven't figured out what I want to write on it just yet.
I also added 4 books that I think are pretty representative of my little family. The Dangerous Book for Girls, The Dangerous Book for Boys, Rules for my Son, and The Pocket Guide Dangerous Book for Boys. I'm definitely a mom of boys.
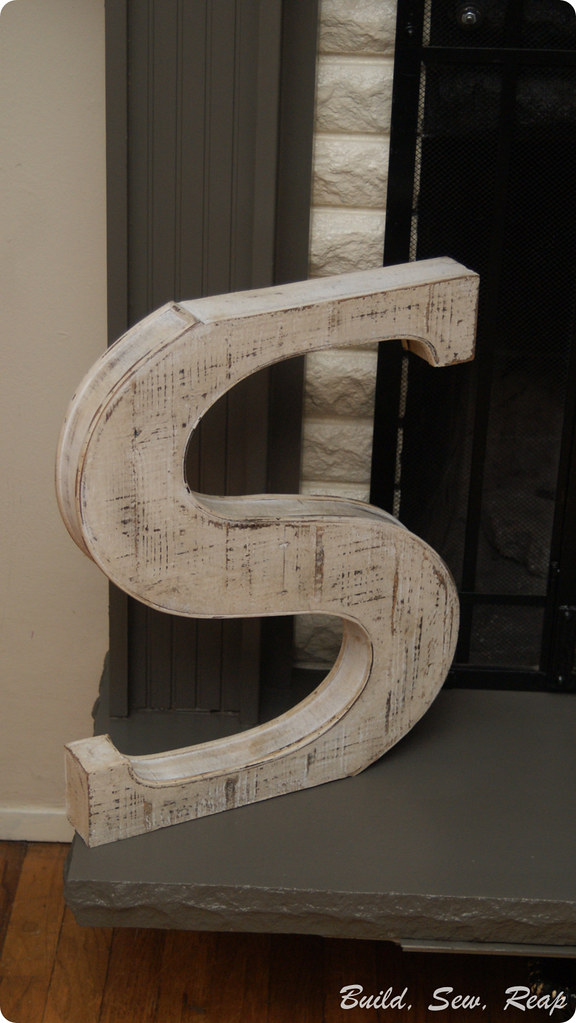
I found this awhile back tucked in a corner at the craft store. It was on clearance and our last name starts with "S" so I bought it. I brought it home and it didn't fit where I wanted it to go so I stashed it somewhere weird until now. I LOVE it here on the fireplace.
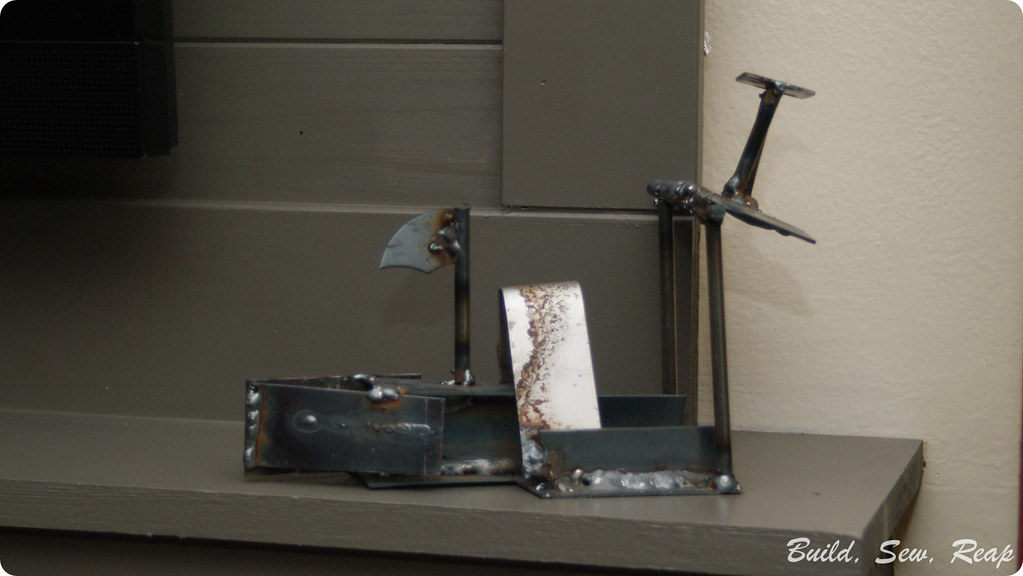
For our 10th anniversary in mid January, I had the flu but while my brain was totally foggy, somehow it hit me that we should do a welding class together once I was well enough. I found a fun hobby level class that we took together one Sunday afternoon and we had so much fun. During our practice time, we got our hands on the left over scraps they had set out for us and we just kept welding stuff together. In the end, we made this boat. The boat that won't float. We also made some killer wolf heads out of steel so this wasn't our official take-away but I'd venture to say we were almost more excited about this scrappy little boat than the pre-cut pattern wolf heads.
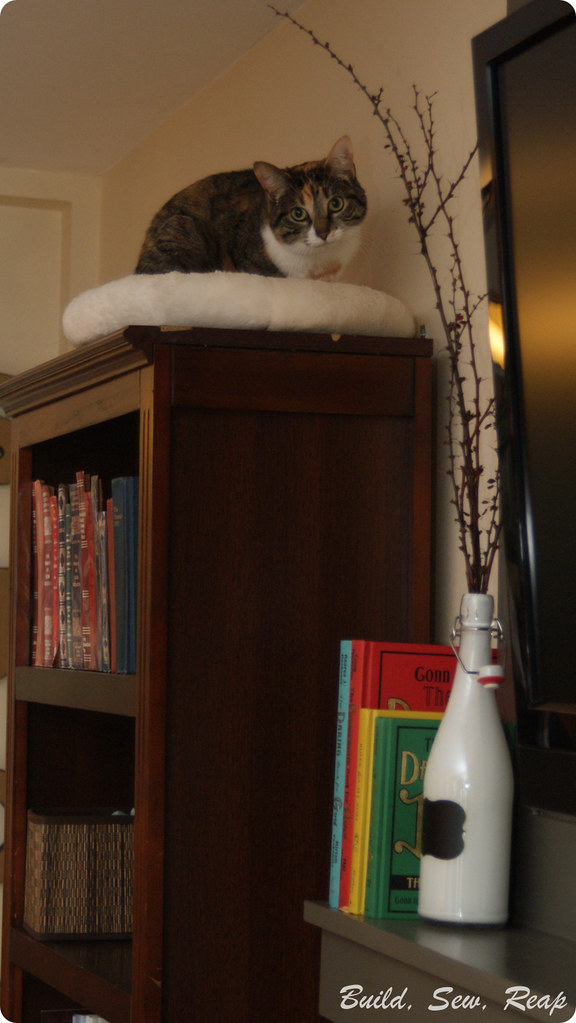
Amelia has been supervising the project from atop her cat climber bookshelf and I think I got the kitty seal of approval.
Thank you for reading,
Julie


Julie, your fireplace surround turned out beautiful! We have the exact same white, lumpy bricks as you do in your before picture and I've wanted to change it up but wasn't sure what you do. We're not handy like you, though. Do you hire yourself out?
ReplyDeleteI occasionally hire out for projects but I don't think I could replicate something like this. So many of my projects involve scrap materials that I'm not sure I'd even know how to do the same with fresh materials. It's a strange problem to have.
DeleteThank you for stopping by the blog!
Many companies that install a roof for example will give it a long-term guarantee, a roof erected as part of DIY project obviously has no such guarantee.easy to follow video
ReplyDeleteYour blog is very informative.
ReplyDeleteWood Stove
Your fireplace surround turned out beautiful! We have the exact same white, lumpy bricks as you do in your before picture and I've wanted to change it up. Home Extensions are providing good home renovation services.
ReplyDeleteYou may know by now that I have lists of projects I'd like to tackle around the house. One of those projects is was the fireplace surround, so if you wants to renovates and decorates the House Perth Extension can help you.
ReplyDeleteNice information! regarding fire place, Thanks for sharing. Gordon Rutty can help you more in fireplace structure.
ReplyDeleteThanks for always delivering meaningful content through posts like this; it really helps readers. Kindly read this article. Click Speed Test tools show your maximum clicking output.
ReplyDelete