
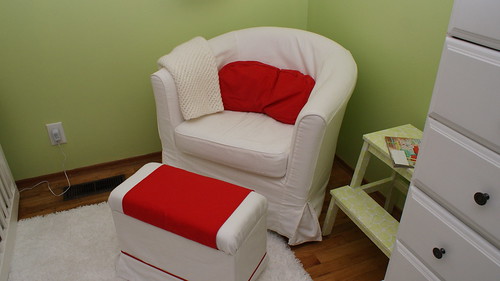
Do you remember this chair:
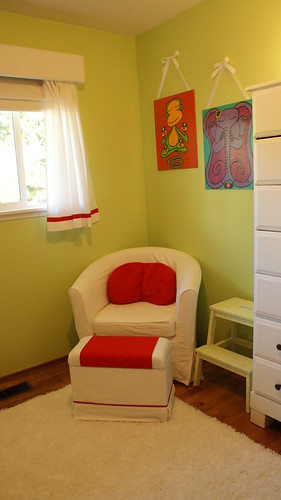
I did a bunch of research, looking for just the right small chair and decided on this chair from Ikea. Then I found someone selling a used one on Craigslist for dirt cheap but without the cover. I bought that then purchased the cover new. Unfortunately the cover wasn't white enough so I took a chance and bleached it and it came out perfect.
Perfect except it is just a chair and it doesn't rock and we don't have a single indoor chair that rocks in our entire house and the baby sure likes movement.
I started pondering this issue and even went so far as to put a request on the local Freecycle board for a rocking chair thinking I could take the runners off one and attach them to this chair. No such luck, I got one response and it turned out to be a glider. I managed to attach the glider gear to the bottom of this chair but the results were so absurd I didn't even try to make it work.
After much more pondering, I remembered I had the parts to an old drop-side crib in our garage and it had curved sides.
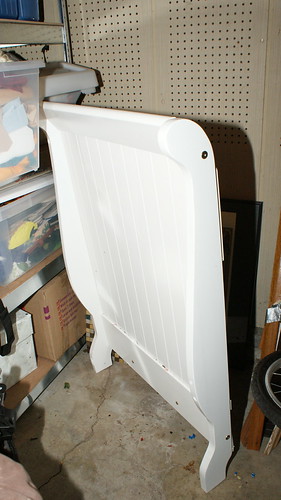
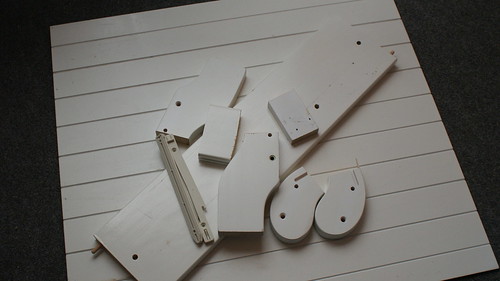
I got to work taking it apart and cutting it up a bit (here's what I didn't use):
Then I attached my new homemade runners to the bottom of the chair:
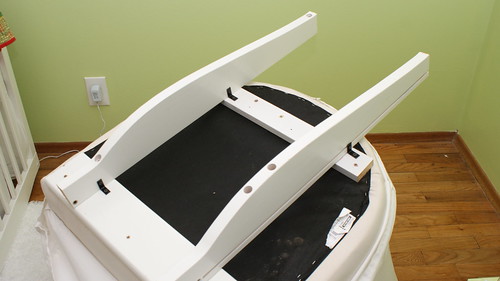
I flipped the chair over to confirm it still looked good:
But the best part is . . . IT WORKS!!! I'm giddy with this no cost project.
Now what should I do with the scrap pieces? I'll think of something.
Thank you for reading,
Julie
Update - Ikea Hackers published my hack!! Check it out here.


You are a fearlessly creative woman! It looks great.
ReplyDeleteJulie - your imagination and ingenuity never ceases to amaze me! And all while doing it with two kiddos. Impressive, my friend, very impressive!
ReplyDeleteI love this! Any suggestions if we don't have spare crib parts?
ReplyDeleteThanks Gina. I actually sat on this brainstorm for a month before it occurred to me that I could use the crib. If you live in the Seattle area, you're welcome to the other half of the crib I used (probably only good for a small chair), just shoot me an email at julie at buildsewreap dot com. Otherwise, I'd recommend you get on your local freecycle site to ask for a rocking chair with runners that you can take apart. If you can get the curved pieces, you could put it together like I did here. Note - attaching glider parts to a regular chair probably won't work . . . it definitely didn't work for me. Besides freecycle, perhaps your local thrift store(s) might have a rocking chair or something else with curved edges you could dismantle.
ReplyDeleteIf you do it, please send me pictures, I'd LOVE to see your success.
How did the L brackets hold up? I'm making one pretty similar :)
ReplyDeleteIt worked great. I took it apart after about a year when we needed the corner for books and toys but it held up great.
ReplyDeletePlease tell me more about the ottoman. Where did you get it? Or how did you make it?
ReplyDeleteHi Ktcortes - Thanks for stopping by! I did indeed make it. Here's a post that should help you understand what my process was. It's pretty much just a lined wooden box with a padded lid. It took very little time and I used scrap lumber. http://www.buildsewreap.com/2011/08/littlest-footstool.html
ReplyDeleteThanks for sharing such a useful information with us …. I like the way you describe the post with us. Many thanks
ReplyDeleteGrateful for shariing this
ReplyDeleteLoveed reading this thanks
ReplyDeleteAppreciate the structured way you wrote this, very impressive. Read this article for more. Mouse Test is essential for smooth device functioning.
ReplyDelete