
Let me back up a little though - last week, on Sunday, the family jumped in the car to pick up the Ikea Tulsta chair from a Craigslister selling it for $15 (not $99 as it would be new). I was super excited about finding it at such a great price because I also wanted to get the white cover for it from Ikea which was another $30 . . . at that total price, I didn't have to make the cover myself to save money.
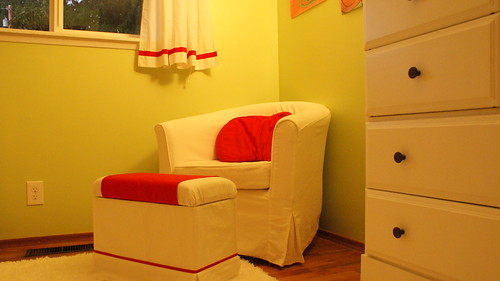
Here's that cute little chair with one of my favorite pillows already hanging out on it:
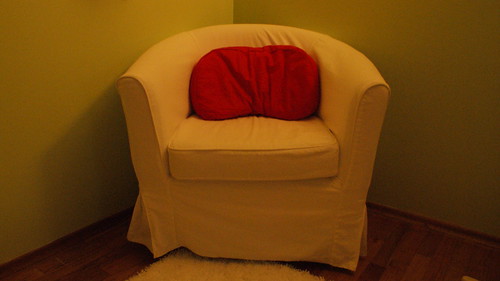
It is the perfect size for the room and although the Ikea cover was more of a natural color, it responded beautifully to a couple of doses of bleach. That means that I can bleach it again when it gets dirty, yes, WHEN it gets dirty.
I love the chair but realized right away that I'd need a footstool but not just any footstool, a storage footstool on wheels that was exactly the right height and yet still small so it didn't take up half the remaining floor space in this shoe box of a nursery. I knew my needs were too specific so I drew up some simple plans, dug around in the garage for parts and got to work.
Do you remember the shelves I had on the wall in here back when it was my craft room? Well, that wood has now been re-purposed in several ways so I was looking at scraps but scraps were just what I needed for my little wooden box on wheels.
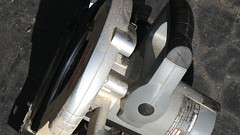
I cut the wood:
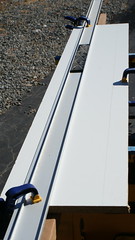
[BTW, if you ever have to do long cuts, you MUST get yourself one of the guides you see in the photo above. I wish I knew what it was called but I can tell you it is about 10 feet long, made of aluminum and serves as the best guide EVER for long cuts with a circular saw. I get straighter cuts using that thing as my guide than I do using the table saw.]
Anyway, I cut all my parts then used my trusty air nailer and glue to build a simple 5 sided box. For the top, I simply cut a piece the same as the base piece and glued/nailed another smaller piece inside to keep it from sliding around.
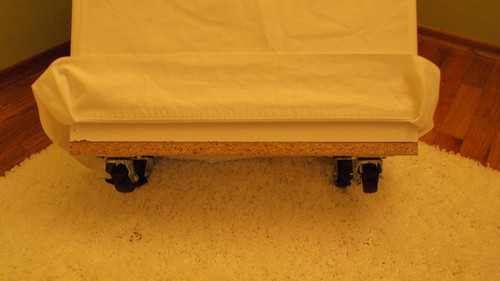
I also attached 4 wheels to the bottom using some pretty hefty bolts.
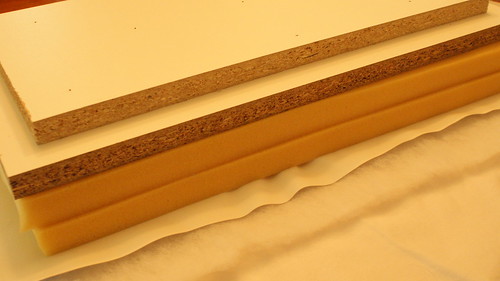
I was determined to make this a scraps project so I couldn't buy anything. That meant when it came to adding foam to the lid (cushion for my ankles of course), I layered the following:
- Outer fabric
- White blackout fabric (left over from a shade project)
- Batting
- 2 layers of yellow foam (thus the blackout fabric - the yellow foam was really ugly)
and stapled gunned them all to the lid.
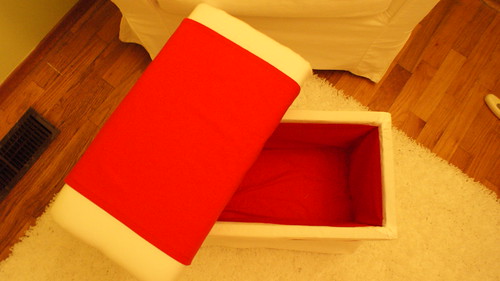
I also made a cover for the body of the box using an old sheet and was able to use the decorative top edge of the sheet along the bottom of the foot stool so I wouldn't have to hem it. I staple gunned this to the box as well. Finally I added a red lining which I sewed in, a red ribbon around the bottom and a red band to go across the top that can be removed and washed.
Here she is in all her glory:
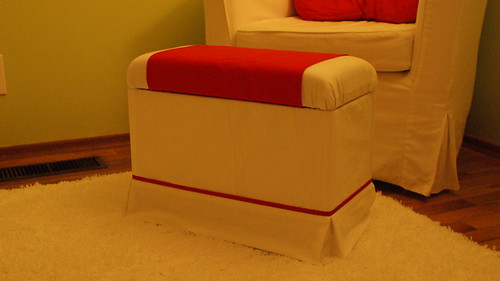
She's tiny but just big enough to support my ankles and hold a few toys. I'm happy with my no money foot stool and possibly even happier that I used up some more stuff in our garage.
Thank you for reading,
Julie
I'm sharing on:


Seriously? Swoon. I wish I had the energy and guts to make this while pregnant! I'm completely scared of saws. Except the miter saw on the stand. But still. Looks awesome!
ReplyDeleteThanks Felicia! Part of why I started on the nursery so early in pregnancy is that I didn't want to have to use the circular saw once my belly starts really getting big. It just makes things too difficult. The saw is nothing to fear in general though - especially the circular saw, you'd really have to work hard to hurt yourself (or really not be paying attention). I just hate that I have to get out the saw horses and all sorts of gear to do it right, it isn't something I like to mess with unless my husband is around to keep the kiddo out of my hair while I make a mess.
ReplyDeleteI love it! Such a great storage idea too. I will definitely be trying this soon!
ReplyDeleteThanks Suzie - it was super easy so I'm glad I didn't buy one that I wasn't 100% happy with. I also gained a whole new appreciation for our nailer, boy that thing smacks together projects fast. :)
ReplyDelete