
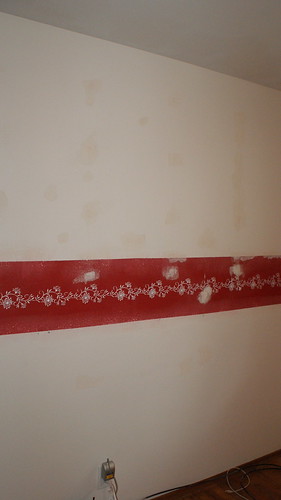
When we moved in and we decided I'd get the 3rd bedroom to use as my craft room, I painted a pretty red border around the middle of the room then stenciled it with a white floral pattern. I liked it, it went well with all the red stuff I already had and the red was actually chalkboard paint so I could write on it. My only problem was that the wall was a little textured so despite my best efforts to get a good stark straight edge, the paint bled under the blue tape and it was a bit fuzzy. Then I found some strange sticky twill tape in my craft stash so after testing to make sure it wouldn't be too sticky, I decided it would look great above and below the red border. Then it started to fall down (see, it wasn't too sticky) so I got some white thumb tacks and started tacking it up. It looked good:
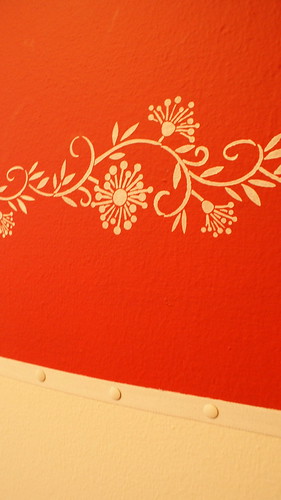
I knew I'd have to do some patch work on those thumb tack holes but that didn't scare me off from this cute design.
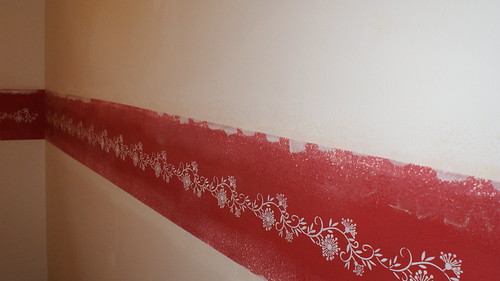
Fast forward to demo time . . . . I started to pull down the tape and here's what happened:
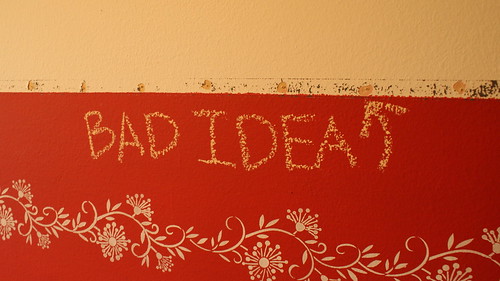
Yes, each thumb tack had somehow made the tape extra sticky so when I pulled the tape down, it took the top few layers of paint with it AND left behind some black adhesive. Ugh.
I also took down the supports for all those great shelves I had over my work area. I'm thorough so every single screw (I think there were 5 per support and 5 supports) was carefully embedded in a wall anchor.
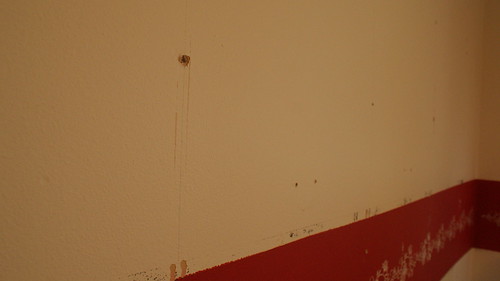
While I'm telling my horror story, I should also mention that the braces stuck to the wall in places and also ripped off some of the paint. Did you see the size of that hole too? Yeah, sweet.
So I grabbed my trusty scraper and my Dry Dex:
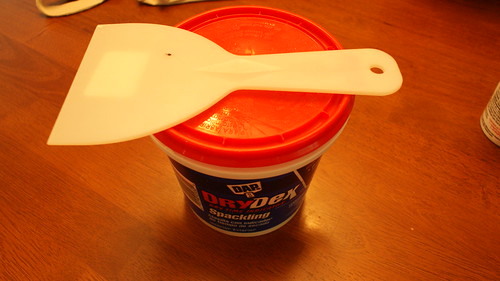
and I started spackling.

Honestly, I kinda spackled all week. Any time I'd get a few extra minutes, I'd wander on into the room, grab the scraper and walk carefully around the room examining every flaw in the walls and filling all the dents and holes with white goo.
Then finally today I knew it was ready for the big sanding so I taped off the cloffice, closed the door, turned the fan on exhaust, lowered my dust mask and went to town with the hand sander and some 80 grit sandpaper. I attacked every patch as well as the top and bottom edges of the red border to get rid of the ridge created by 2 layers of red paint as well as the patched holes and remaining black adhesive.
WHAT A MESS!!! I should have taken pictures but I didn't want to take my camera into the room. The floor was covered in dust and I had white hair by the time I was finished. I took a shower right away then returned to the scene of the crime to clean the floor (THEN took the pictures).
The last thing I did today before throwing in the trowel was to revisit every single spot with some joint compound because I could still feel dents and ridges all over. The joint compound is a lot lighter than spackle so it fills the shallower holes better.
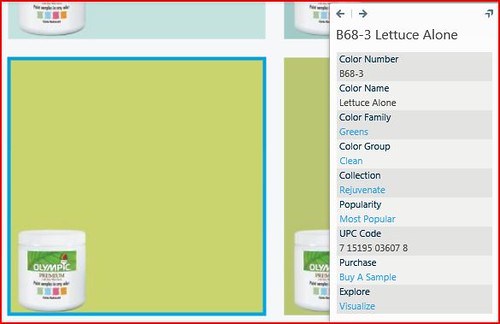
I'm hoping to get the walls sanded again (this time with a sanding sponge and hopefully a lot less mess) and cleaned sometime in the next few days so I can prime over the red then get some of the wall color up. BTW, I finally decided on the wall color - it's Lettuce Alone by Olympic Paint. I picked Olympic because their no VOC, low odor version is a great paint at a reasonable price.
Here's the paint swatch (please bear in mind your monitor might not be calibrated to match the Olympic Paint samples, I know mine isn't):
I've never worked so hard to prep walls for painting but I know there's a good chance I'll spend hours sitting in this room staring at the walls . . . I did a lot of that when O was an infant . . . so I don't want to stare at flaws.
BTW, we'll find out the gender of little Tigger on Monday, July 25. I'm so excited! Care to take a guess?
Thank you for reading,
Julie
Other posts you might be interested in:
Wordless Wednesday Posts
Dreaming of Nursery Design
The Craft Room Overhaul
The New Craft Room


Great color choice Julie! We'd love to see photos of the finished room... stop by our Facebook page http://www.facebook.com/olympicpaintandstain to share!
ReplyDeleteThanks for popping by! I'll definitely post a picture when I'm all finished. I'm going to be using Delicate White on some furniture and the trim too. I'm so excited to get moving on the paint part but still have more wall prep to do.
ReplyDelete