
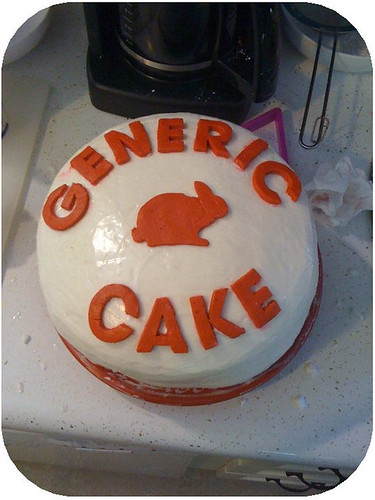
You see, my mother in law had let us all know that she wasn't going to acknowledge her birthday so we assured her she wouldn't be getting a birthday cake. She also collects all things bunny related so I threw on a bunny just for fun.
You might look at this as others did and say, "That doesn't look so bad" and it doesn't look terrible but the process wasn't exactly what fondant should be. You see, first the fondant I made ripped and wouldn't drape over the cake so I cut it in rectangles and we tried to make a cool sort of hounds tooth design all over it which failed miserably so then in the end we filled a little bowl with water and started rubbing water all over it to make the new hounds tooth seams blend together so we did have a cake covered in a fondant-like substance but ultimately it was all wrong (and too thick so everyone got massive sugar shock).
For O's birthday, I was determined to try again so I started a few weeks in advance and did some test cakes. I used a recipe for what's called MMF or marshmallow fondant which I LOVED working with. It was a bear to make, there were a few minutes in there I was almost in tears with mounds of sticky melted marshmallows and sugar stuck to my hands and wrists but I pushed on and in the end, came out with some really fantastic fondant that covered 2 loaf cakes (practice), 1 round, 1 shuttle and about 10 star cupcakes.
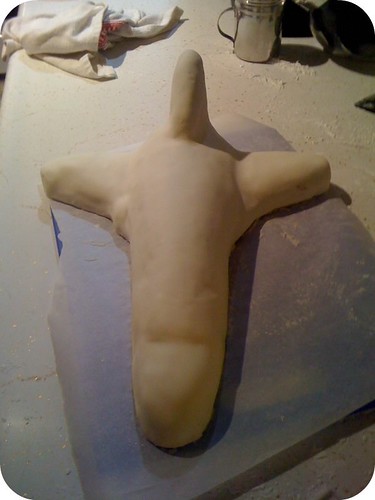
For the shuttle, I actually made a batch of rice krispie treats and molded a shuttle on a cookie sheet while the treats were still gooey.

Once it was fully cooled, I transferred it to a piece of wax paper on a cutting board and covered it with a light layer of homemade buttercream frosting. Then I rolled out and placed the fondant over the top of it.
I think it would have come out even smoother if I had used more frosting underneath but I didn't want to create another sugar shock situation for my guests so I went light. At this point I took a bit of a break from decorating and slid it into the spare fridge with a generous box of baking soda next to it to ensure it wouldn't absorb any strange scents over the next few days.
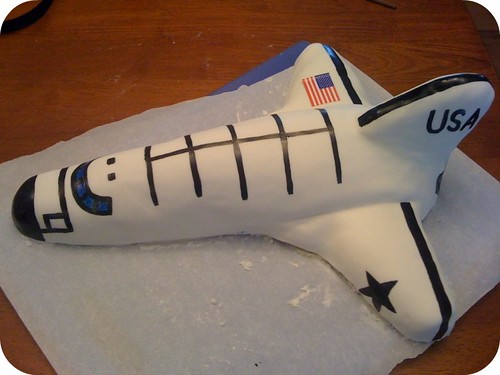
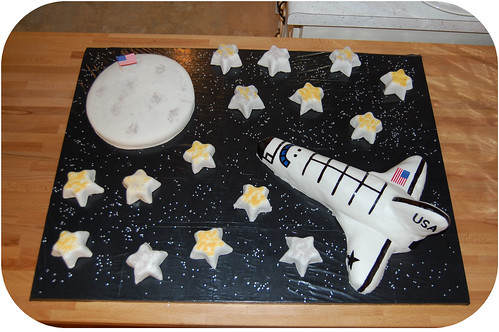
Several days later it was time to decorate the shuttle (in other words, transform it from a great white shark into an actual space shuttle. Don't think I don't know this could be either at this point). I did some research and learned that I couldn't use anything water based to paint on the shuttle (edible of course) details so I took a chance and just used gel food coloring and a paint brush to paint straight on the fondant. It worked BEAUTIFULLY and even lasted a couple of days in the refrigerator without the colors bleeding, fading or otherwise failing and making me cry. Here was the final result after my painting:
I made sure I didn't serve the cockpit/nose of the treat to anyone as I was afraid it would stain fingers, mouths and friendships if I did that. When I cut into it in the end, I hacked off the front and sliced up the fuselage.
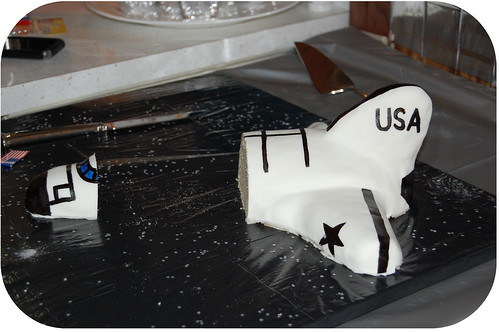
To create a total space theme, I also made a single layer round cake which I covered with more white fondant then dusted with silver and white cake decorating powder, made star shaped cupcakes (silicone mold) that I covered with more fondant and then my mom decorated with yellow and silver powder and finally, we sprinkled the whole scene with edible silver stars.
And my
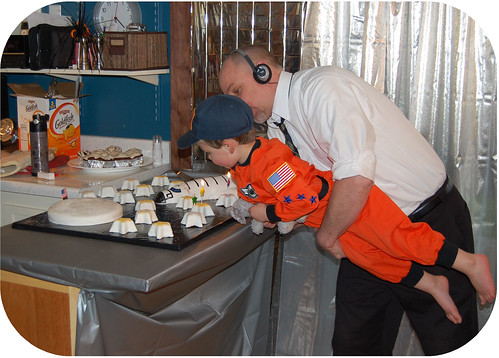
BTW, that was the Halloween costume I made for him last year. I made it a bit big so it would last for awhile but I do believe his birthday was the last time he'll wear it.
Thank you for reading,
Julie
Other posts you might be interested in:
3rd Birthday Party Part 4: The Treat Bags
Entered for the One Month to Win It Contest!

Featured on


You are SOOOOO talented! Very impressed!
ReplyDeleteThanks Angela and thanks so much for the blog love on Facebook. Fondant is easier than you might think so if you decide you want to go that route for your upcoming adventure, I say GO FOR IT!!
ReplyDeleteYou are very talented!! I love to bake and decorate cakes! Thanks for auditioning for OMTWI!!
ReplyDelete