
See, I have this problem figuring out what is a weed and what is a seedling when I plant stuff. I just don't know my plants well enough to know what they're going to look like when they first pop up. As a result, I've pulled perfectly good plants when I thought they were weeds. This year, I've planted my beds in nice little grids though so I have a much better idea of what I planted and what blew in with the wind.
Here's how mine turned out and how I used them:
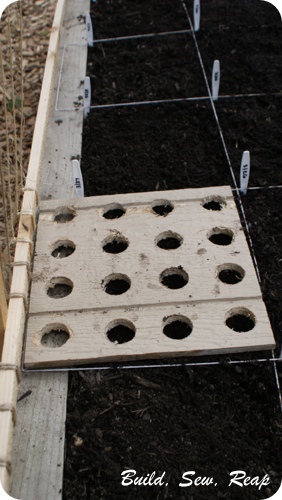
I marked out the grid with a measuring tape and a pencil then I used my 2 inch hole bit to drill the holes in my 12x12 scrap piece of wood. I also marked out my garden beds using string stretched across between nails so I could better plan out my plantings.
I laid the planting template in the square
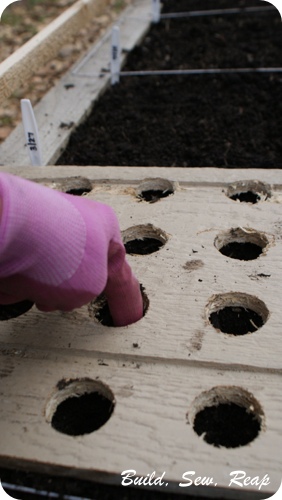
Then I poked my gloved finger in the center of each hole to the depth indicated on the seed packet.
Next, I removed the template and carefully dropped a seed in each hole.
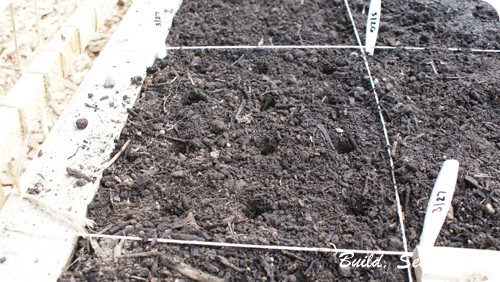
And finally, I brushed soil into each hole and marked the square with a garden marker to indicate that square foot had been planted.
Maybe it's just a little bit of OCD but I do love watching my seeds sprout all lined up in rows. It has made weeding much easier too.
Thank you for reading,
Julie


No comments:
Post a Comment