
First, a gallery of photos of the end product, then the tutorial on making your own pop up card. Please excuse the inconsistencies in the photo colors, I'm still using a back-up camera and am not having a lot of luck with it.
O picked out silver envelopes, he was certain that was the right choice.
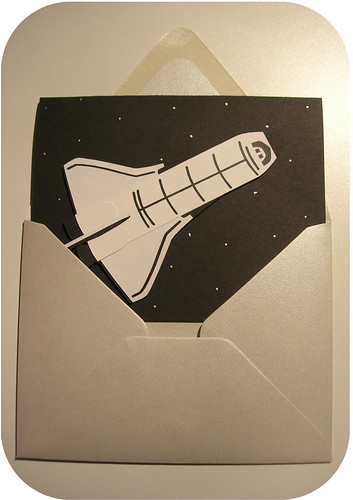
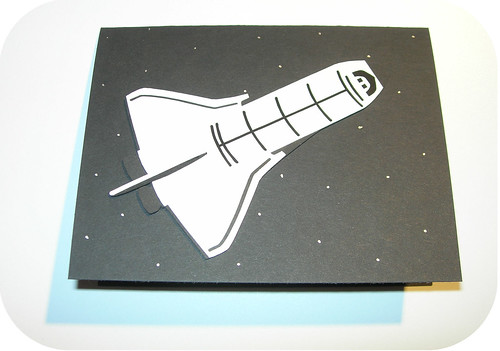
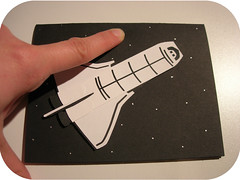
It's hard to tell in this picture but the shuttle was mounted on double-sided foam tape so it stands out from the card a little bit. The stars were dotted on using silver paint pen.
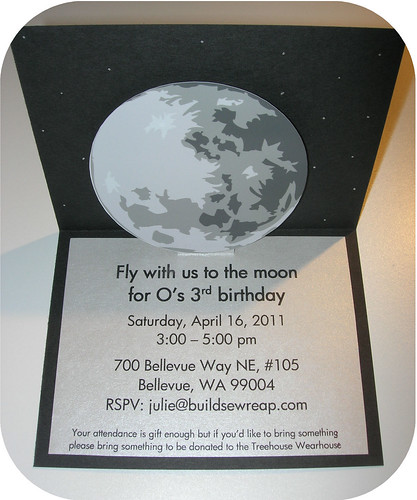
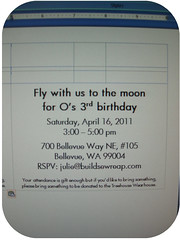
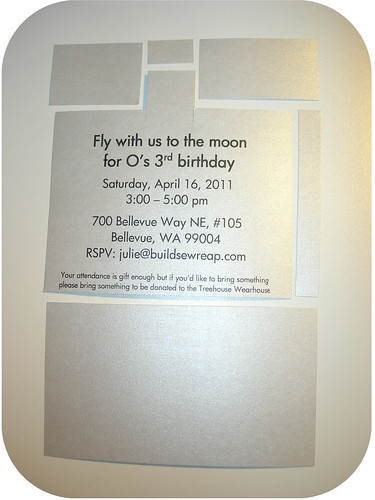
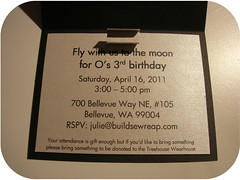
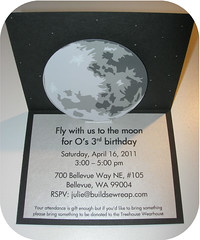
The personal information here was altered for the pictures, that's not my address but bonus points for anyone who knows what IS at that address.
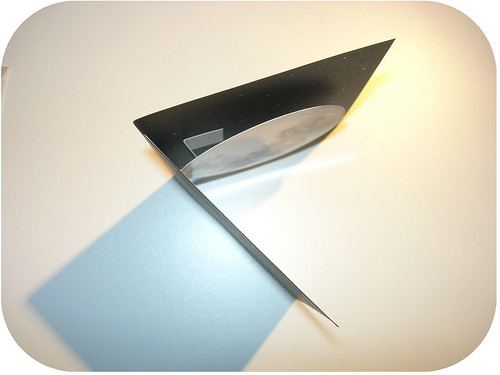
Here's a side view of the card so you can see that the moon actually stands away from the card.
Now that you've seen how it turned out, I'm going to walk you through how I made the pop up portion of my card.
I like a really professional looking invitation so I always use the computer to print them out. I created my own template that I'll share if you're interested, just shoot me an email at julie at buildsewreap dot com and I'll email it back to you. Here's what it looked like on my screen:
The blue dotted lines are lines within a table I created that won't show up when I print. The solid lines are lines of the table that indicate to me where to cut or fold. I set those lines to be a really pale grey so I could see them but they are hardly noticeable if I don't manage to cut exactly on the lines. My template creates two cards per page. I'm using silver cover stock paper from Paper Source. I printed out a page and cut one of them out.
I discarded the extra pieces (right into my recycle basket so I can use the scraps of this awesome silver paper in another project) and began the folding process.
1) Fold the tab down.
2) Fold the tab back up on itself.
3) Fold the last bit of the tab down.

4) Glue the piece down to the main body of the card.
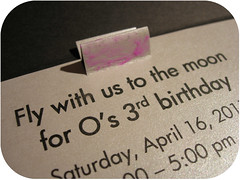
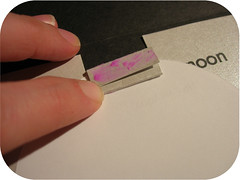
5) Glue the part you see here that's purple.
6) Lay down the object you want to pop up face down in front of the tab. 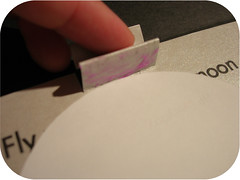
7) Press the glue down onto the back of the pop up object.
8) Glue the piece of the tab you see here.
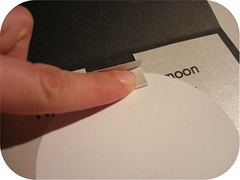
9) Press the card closed and hold it for a moment or two to ensure it sticks.
10) Open back up and admire your handy work!
So there you have it, a pop up moon card. You can place just about any flat object there and it takes your card to a whole new level. I saw a lot of tutorials that show you how to cut the main body of the card to create a pop-up but I didn't want to cut into the black. I hope this gives you some good ideas!
Thank you for reading,
Julie
This post was shared on the Make & Takes Spotlight


Great tutorial - thanks!
ReplyDeleteThank you and thanks for stopping by!
ReplyDeleteWhat a cute idea and a great tutorial
ReplyDeleteAdorable! Love the Pop Up Moon!
ReplyDeleteThanks for sharing at Calling All Crafters!
allthingsfee.blogspot.com
Thanks Felicia! I've been following your blog on Google reader for awhile, I really like your posts. Thank you for stopping by.
ReplyDeleteThank you. :)
ReplyDelete