
Unfortunately I failed to take pictures of the first major thing I did but I'll remind you where I left off yesterday:
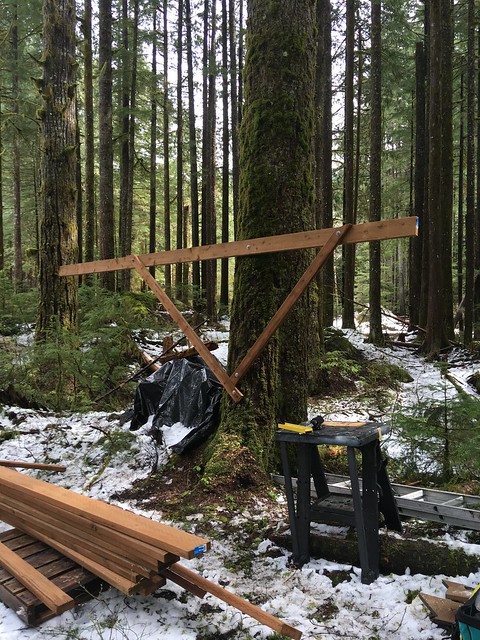
My main goal today was to get the other long piece up on the opposite side of the tree which I accomplished despite all it's protests - holy moly that thing gave me trouble! I also wanted to start on the perpendicular pieces and I did get 1 screwed in to the tree. What I wasn't planning on, though, was having to add the vertical 4x4 supports at the far end. I'm glad I grabbed that lumber as I ran out the door this morning because the long beams definitely needed a boost on that end.
I knew I'd need to be pretty precise about where I set the bases for those 4x4s but I didn't have a tool to measure plumb. No worries! I had spare washers and a spool of string that lives in my tool bag.

I tied the string around the washer then drove a small nail into the end of the beam and hung the string from that nail. This told me right where the support 4x4 should be installed in the ground.
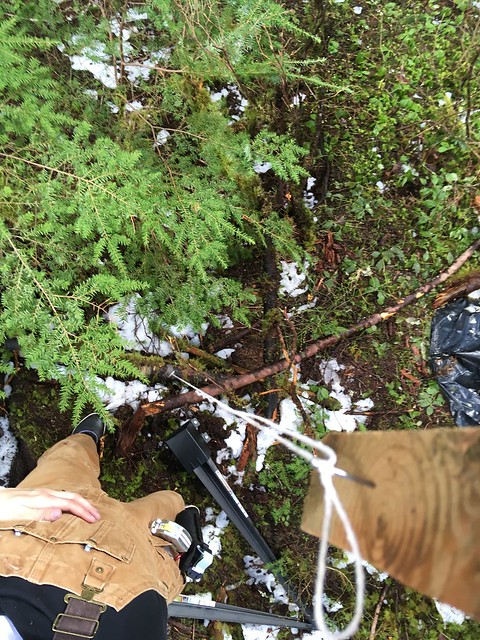
You know what's hard? Staring into the sun as you try to take a picture down at something while also standing on one's toes. I was determined to get this shot though. Sorry it's a tad blurry in the foreground but you get the idea.
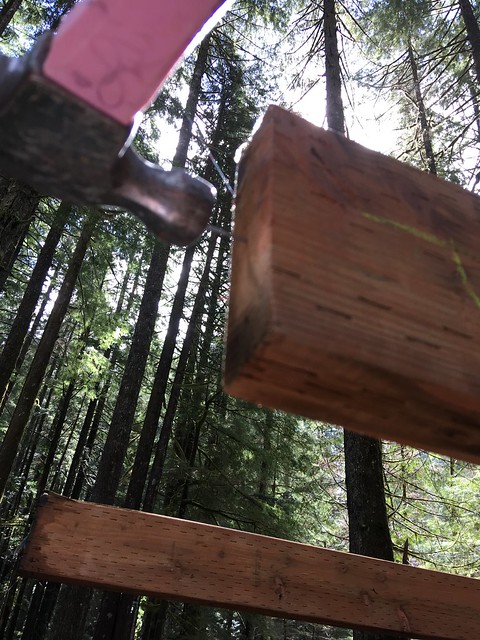
I used one of those black post supports you see lying there to hold the 4x4 in the ground. I cut the 4x4 to length using my chain saw, secured it into the black thing that I had pounded into the ground, then secured one of the long beams to the post using a joist hanger.
Next, I set about doing the same for the other beam but I realized I wanted to get them to run parallel a bit better so I had to pull them towards one another. I wasn't strong enough to both hold them together AND screw a cut-to-size 2x4 all up over my head so I turned to my trusty ratcheting strap from my car.
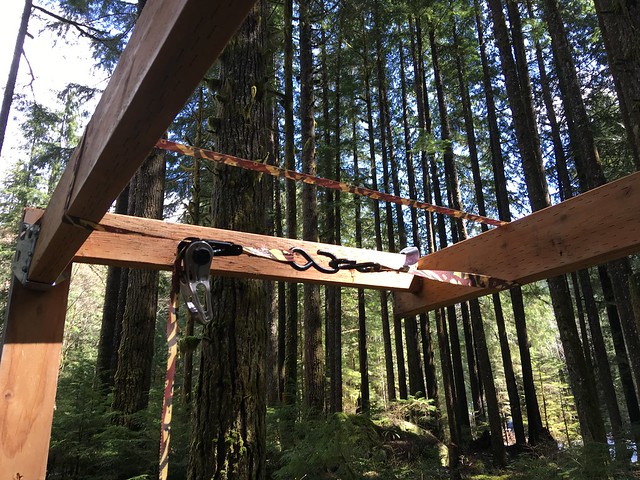
Hooray for creating an extra hand!
I then used the same technique to find the spot directly below that second beam, installed the black post holder, cut the post to length, and installed it.
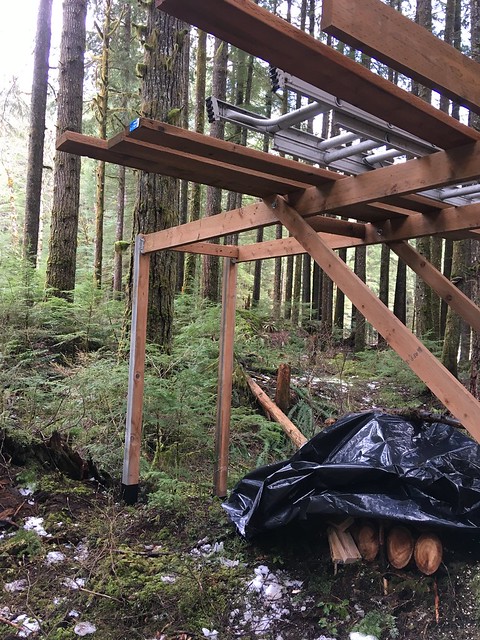
As you can see, I also started tossing the 10' long 2"x6" cross beams up top before I stopped to take a picture. Before I put the ladder up, I managed to screw one of the cross beams into the tree but then ran out of time.
Here's how I left things today after 2 hours of work time:
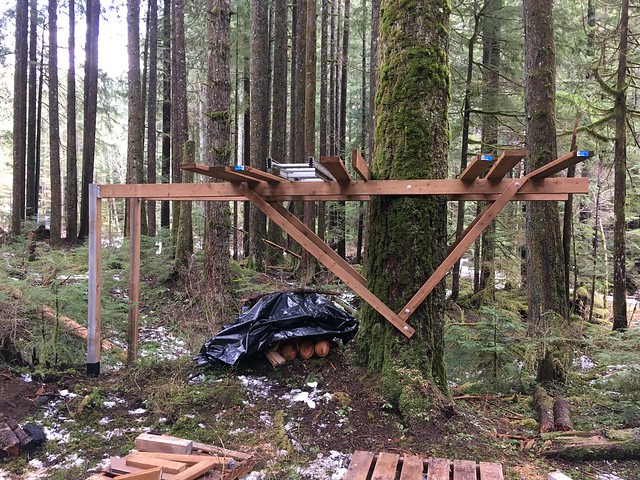
The deck of the platform will sit nearly 8' up from the base of the tree. Just beyond this tree there's a gulch. That gulch likes to hide in pictures but it makes it feel like this platform is WAY up the tree when you look off the other side. Next time I go out, I'll take some pictures of the view.
The kids are starting to get curious why I keep going out there. They know I'm up to something but I'm not giving up the secret. They're going to LOVE this build but they can't go up there until it's safe so I've got lots more work to do.
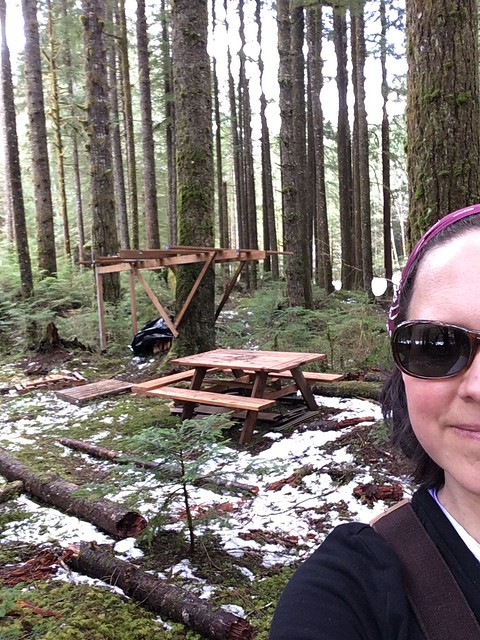
Bye platform! See you soon!
Thank you for reading,
Julie


I put the ladder up, I managed to screw one of the cross beams into the tree but then ran out of time. cheap mattress melbourne is the best option for comfortably sleeping at home.
ReplyDeleteRegardless of how enormous the organization is, they are altogether commonly continually ready to deal or haggle with you. best tree surgeon
ReplyDeleteThe writer, through this blog, has earned respect from many for all the right reasons.
ReplyDeleteHobby Plants
Wow, cool post. I'd like to write like this too - taking time and real hard work to make a great article... but I put things off too much and never seem to get started. Thanks though. sms marketing services
ReplyDeleteWood flooring adds a splendid, regular excellence to any room. It's amazingly tough and consistently in style. With appropriate support and care, it can endure forever. Vietnam manufacturing
ReplyDeleteVery interesting and adventurous day you revealed to us surely. I like the tree platform details you stated with your sweet way. Taking the other long piece up on the opposite side of the tree and using the required tools to get the perfect form of the platform really inspired me. Thank you very much for your long sweet details. Though my browsing story was to try to make a list of Rocklin Tree Services, I was totally satisfied with your lovely project.
ReplyDeleteStart cautiously at the tree's base and move up. You may cut downward using the bar's bottom. Cutting like this is referred to as "pulling chain cutting" since the chain pulls the saw away from you. Alternately, you might cut upward using the bar's top. Since the chain is pulling the saw in your direction, this is referred described as cutting with a pushing chain.
ReplyDeleteYour DIY approach is impressive! From using a chain saw to cut the 4x4 to employing a ratcheting strap for better control, your resourcefulness shines through. The hands-on details about securing the beams and adjusting for parallel alignment give a vivid picture of your construction process.
ReplyDelete