
This is where my blog is likely going to move from tutorials to more of a journal about this process. I'd love for you to follow along as we develop our little plot of forest into our ideal vacation spot.
I'll start here with a picture of my car loaded up with lumber. I have to be mindful of how much I load on as my cargo capacity is only 1000lbs. This was about 500, there's more there than you can see.
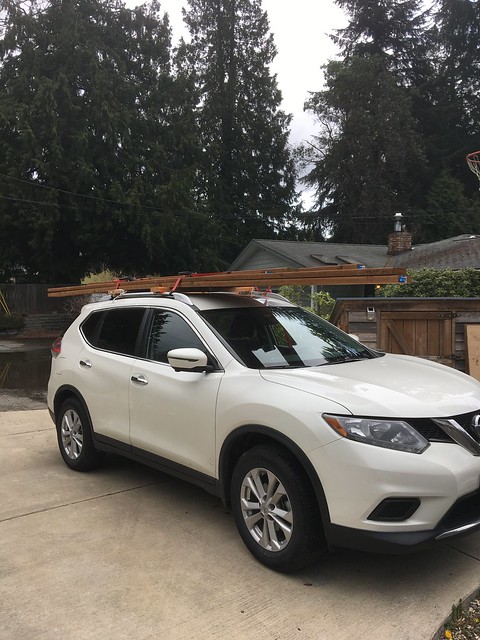
What all is up there? Well, there are two 2"x6"x16', eight 2"x6"x10', two 2"x4"x12', and two 2"x4"x8'. I purchased it all yesterday afternoon and then I got to drive around with it on my car for one school pickup, a couple of errands, overnight in the driveway, one school drop off, and 1 hour and 30 minutes on the road to our property. Boy was I ever glad to shake that haul!
Now, if you see my kids in the next few days, you've gotta keep quiet about this project. It's a surprise for them, they have no idea what I'm up to. In fact, neither of them even asked about the lumber when I showed up to get them at school yesterday so apparently they're not even curious (weird kids). I'm sure they probably think I was just getting started on the shed but I picked a smaller project to ease into the property.
So, here's the plan:
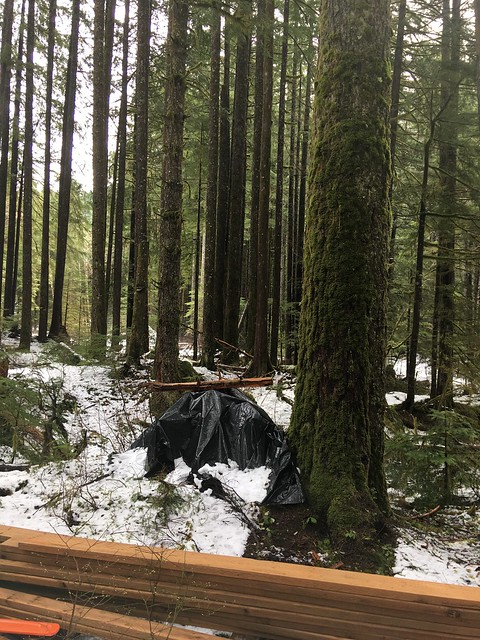
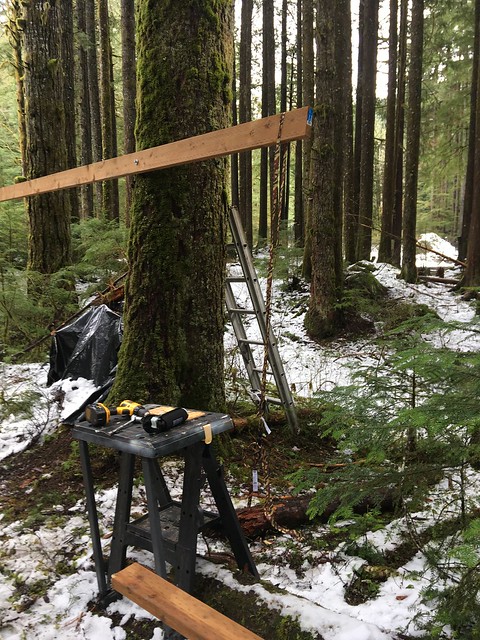
I'm going to build a 10x10 platform around this tree and it'll also have a walkway stretching out over firewood and there will be a dog shelter somewhere in that whole thing too. It'll all be attached to this tree closest to the camera in the picture. The lump under the black plastic is a stack of firewood I cut up a couple of weeks ago when I was itching to use my new chainsaw.
So, I got to carry all that wood from my car to this spot which wasn't exactly close to where I had to park. But I got it done so by the time I took this picture, I was really itching to build. I was pretty excited that I got to use the picnic table for my tools too.
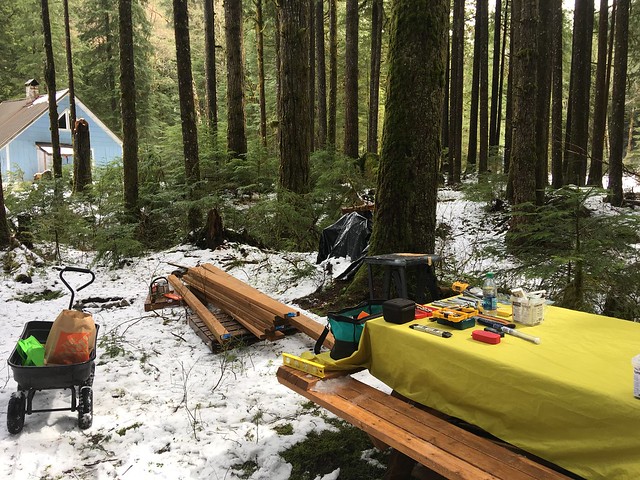
It's a good thing I keep that yellow fabric tarp in my car. The picnic table was covered in snow. I wiped it off with my yellow level (see corner of bench) and covered the wet table with the tarp to keep my tools dry.
I started out by pre-drilling a hole in one of the 16' long 2x6s and drilling a hole in the tree about 7' up. I wanted to make sure no tall people would hit their heads on the beams. Next, I started an 8" long, 1/2 inch diameter hex head lag screw through the wood and matched it up with the tree. I screwed that bad-boy all the way into the tree with my socket wrench.
Well poop. Now the whole thing is too high and I need to add some braces plus it needs to be level but none of my unused lumber is the right size to brace the end in place temporarily while I work. Huh. I stood there staring at it and looking around the property a bit. I did find a branch that I thought would work but it fell over pretty quickly.
WAIT!! I've got it. I'll pull down the short end using my car ratchet straps.
I secured it to a couple of fallen trees on the ground there. They held it in place while I worked. It was great.
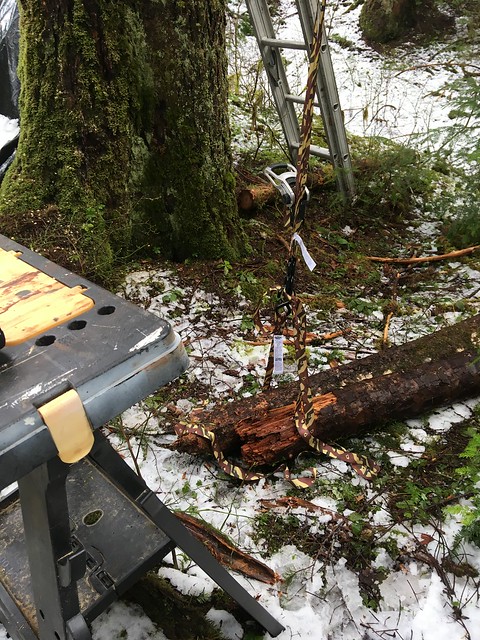
It's amazing how creative one can get when one is in the forest alone trying to manhandle 60lb pieces of lumber.
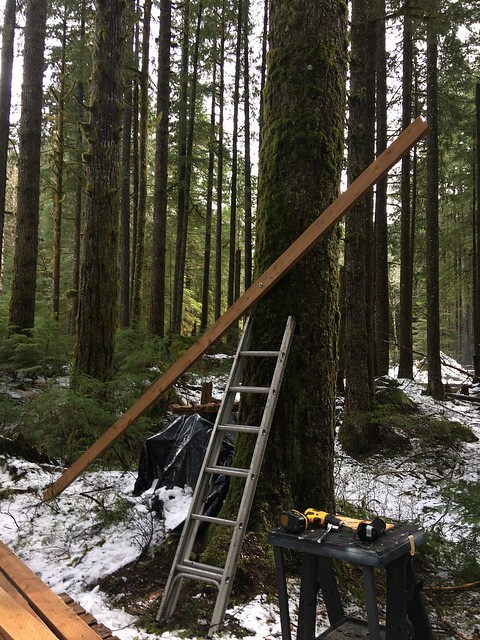
Once I eyeballed the angle for where the support brace would line up with the beam, I marked it and cut it with the chainsaw. I still haven't dragged the generator out to the property so I can run power tools but I'm adapting pretty well with my gas-powered chainsaw. The cut was fine, not perfect, but fine. I also cut the support brace to length and somehow that too ended up pretty good. I used a carriage bolt with washers front and back, a locking washer, and a nut to hold the support brace to the main beam. Then I used another 8" long hex head lag screw and a washer to secure it to the tree.
Once the short side was up, I no longer needed the beam to be strapped to the dead trees on the ground so I was able to get to work on the long side. I did the same thing again - eyeballing, marking, and chain-sawing the piece then attached it in the same manner with a carriage bolt up top and a lag bolt on the tree.
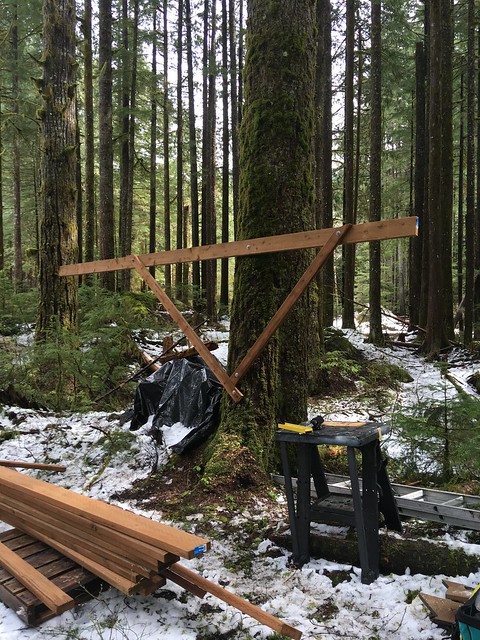
Ideally the support braces wouldn't just be attached to the beams with a carriage bolt but should actually run up under the beam and then be secured in place. For this smaller project, I felt comfortable using bolts to hold the weight. The ground is incredibly spongy so it's hard to find a good place for the ladder and my tools are a bit limited out there so this felt like the best option. The carriage bolts are 1/2 inch diameter galvanized bolts so they should be just fine.
I only had about 2 hours to work today before I had to head back home to get the kids from school. Once my alarm notified me it was time to pack up, I loaded up my wagon and rolled my tools back to the car.
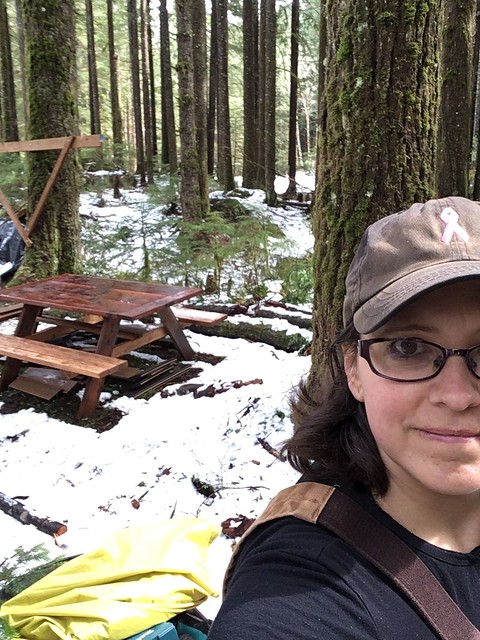
I'm pretty happy with what I got done. Tomorrow I'll make more progress as I won't have to start my day by driving slowly to get there (that load of lumber had me a bit nervous) nor unloading it all. My goal is to get the other main beam installed and start on the deck platform that will sit on top of these. It's a good thing I'm not afraid of heights or anything ... oh wait.
Thank you for reading,
Julie


No comments:
Post a Comment