
Here's how I made it.
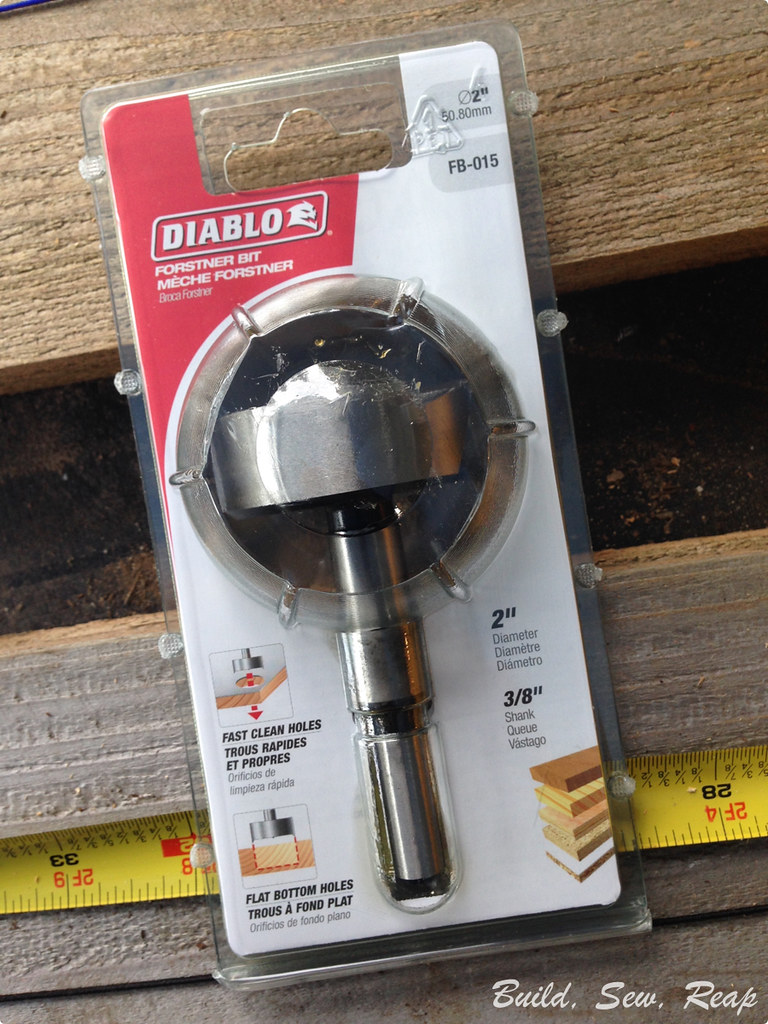
I collected 4 fence boards and cut them to equal length (about 4' give or take, I just cut them all to the length of the shortest board). I then used a 2" forstner bit to drill out the holes.
My tips for you on this part:
1) Don't try any other kind of drill bit. Trust me, the forstner bit is your friend.
2) Wear long pants that hang OVER rain boots. If you wear skinny jeans that tuck inside your rain boots, you'll be fishing sawdust and shavings out of your boots for days.
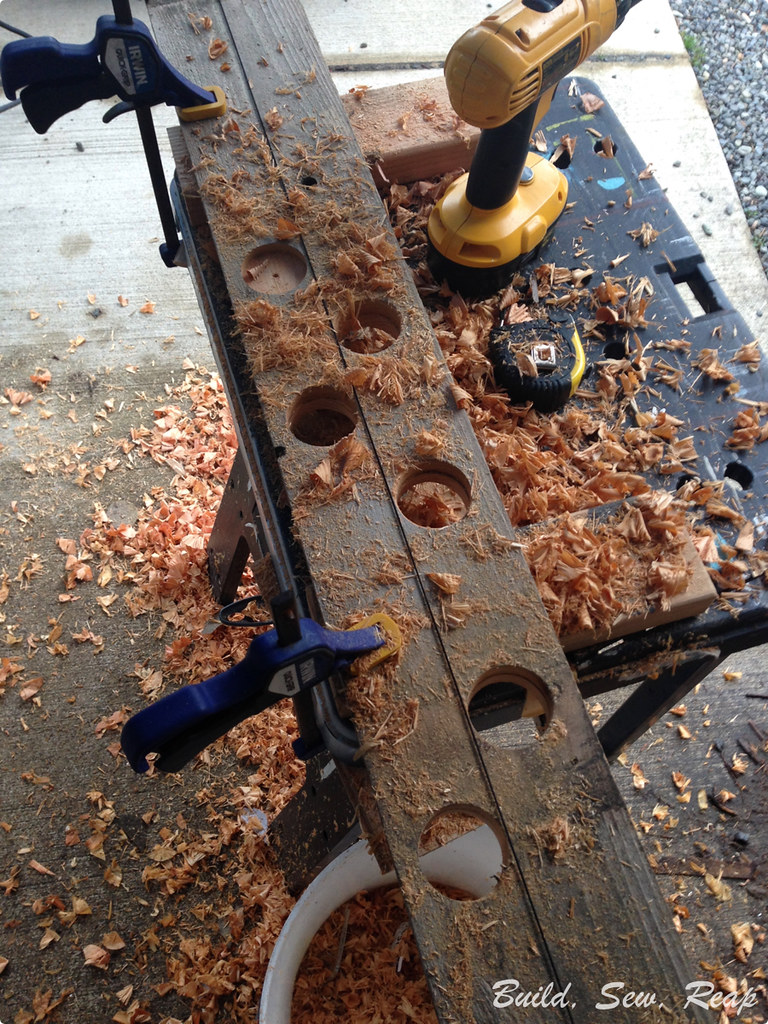
3) Use a guide to establish the center vertical line.
4) Mark that line every 3" and then drill the holes in a zig-zag pattern down the length of the board leaving some room at the top and bottom for installation.
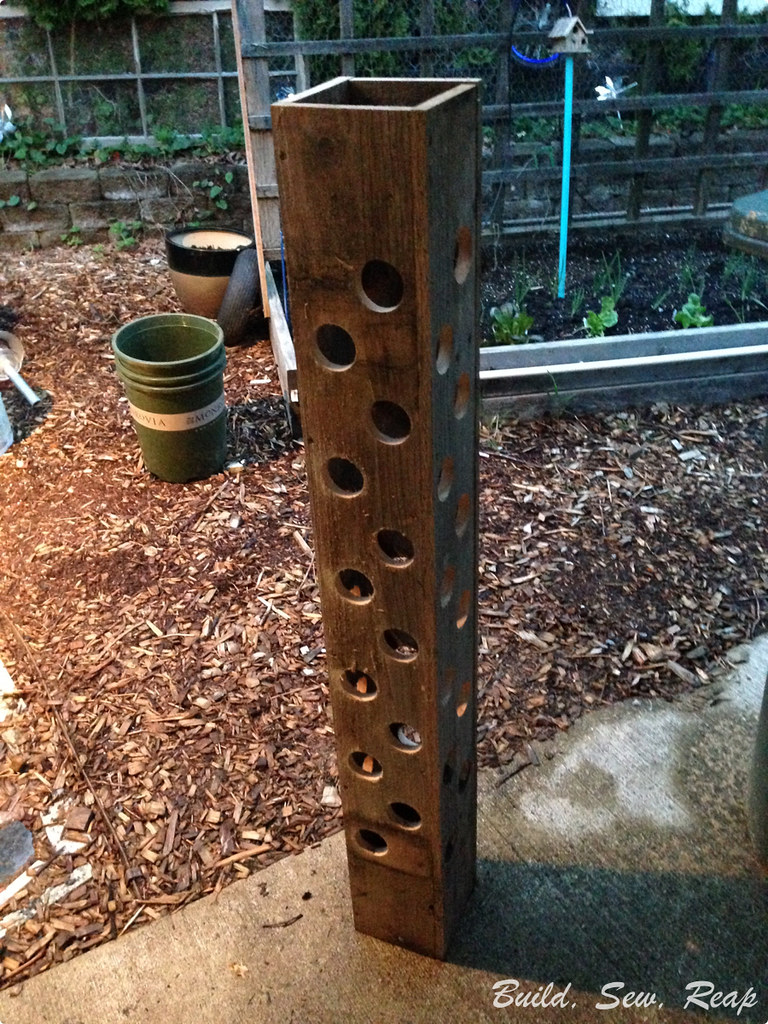
Next, I screwed the 4 boards together to form a box. I made sure they were all aligned the same so that there weren't two holes directly adjacent to one another.
Then I went in for the night because it was getting dark. That's what happens when you don't start your project until after dinner.
The next morning, I screwed a hunk of 4x4 with some shims into the bottom to create a nice heavy base. Hmmm, I failed to take a picture of this step and now it's buried. Picture this ... the 4x4 is shoved up to just about an inch below the lowest holes then a screw is secured in from each side. It's not perfectly centered and I don't care.
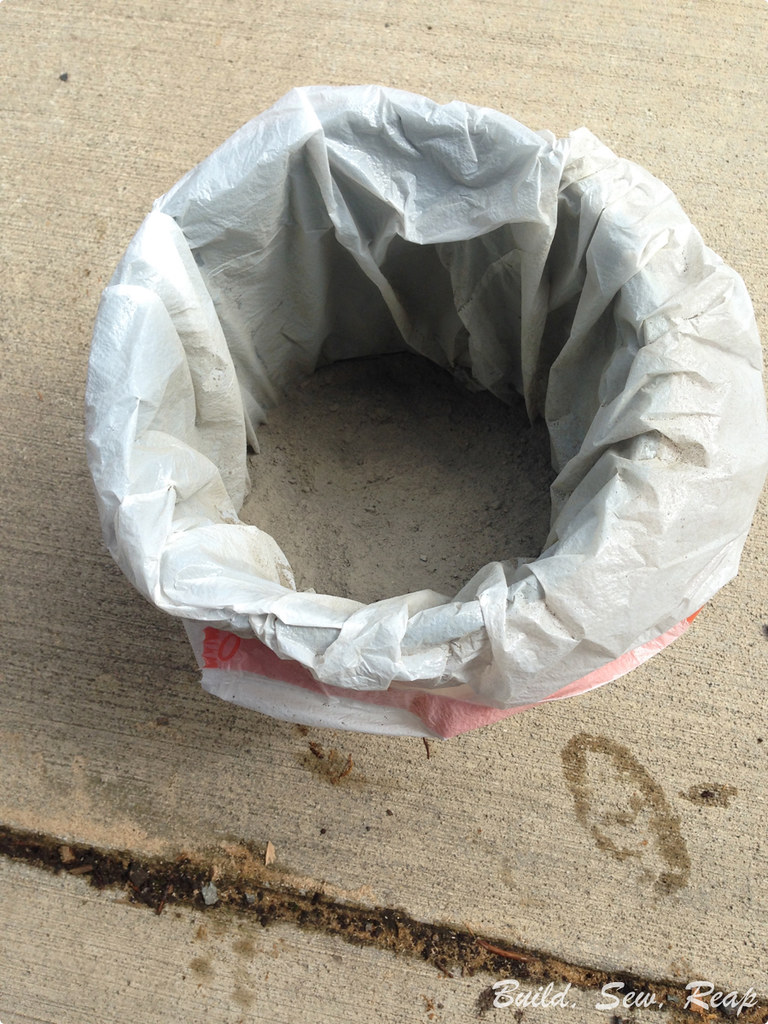
I stood around in my garage wondering how I'd make this neat tower strong enough to stand upright in one of my big blue tubs when I remembered I had about 1/4 of a bag of quickcrete left from setting a fence post recently. It wasn't as much as I would have liked but I think it'll do the trick. To avoid a dumb mess, I lined a nursery pot with a plastic garbage bag and dumped in the powdered cement mix.
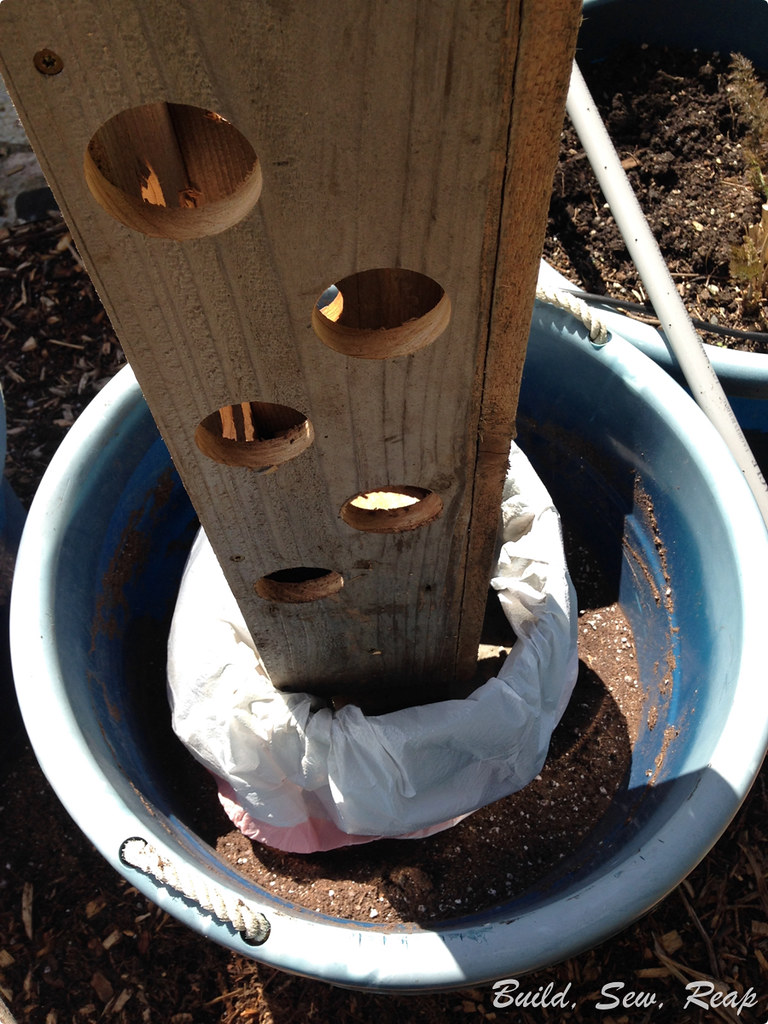
Next, I positioned the post inside then poured in the right amount of water and stirred/poked the cement with a paint stir stick.

Now, this next step is optional but it kept me from rushing the cement setting process. I ran to the store to buy bananas. When I got home, the cement was hard. Yay.
I moved the whole nursery pot, cement, post, garbage bag setup into one of my big blue tubs in the garden.
Then I back filled with potting soil all the way to just below the top of the tub.
I returned to my
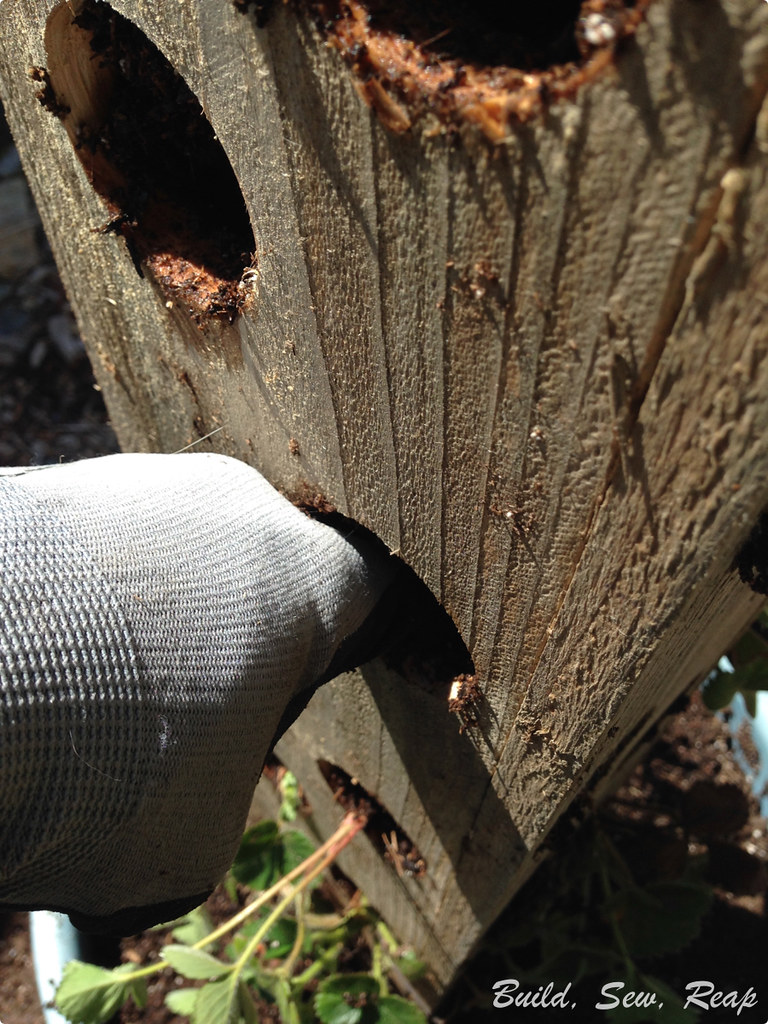
Filling the post was a bit of a trick. I figured out pretty quickly that it worked MUCH better if I got the potting soil good and wet before loading it in the top. Once I figured that out, it went pretty quickly. I filled the whole thing then started pulling up strawberry plants from the old location to transplant into the post.
I found it was easiest to shove my finger in and down at a pretty steep angle to make room for the strawberry plant roots.
I loaded up the post from the bottom up and worked my way around the post in a spiral pattern. It worked out great because as I poked the soil in the next hole up, it shoved soil down to back-fill the hole below where I'd just planted.
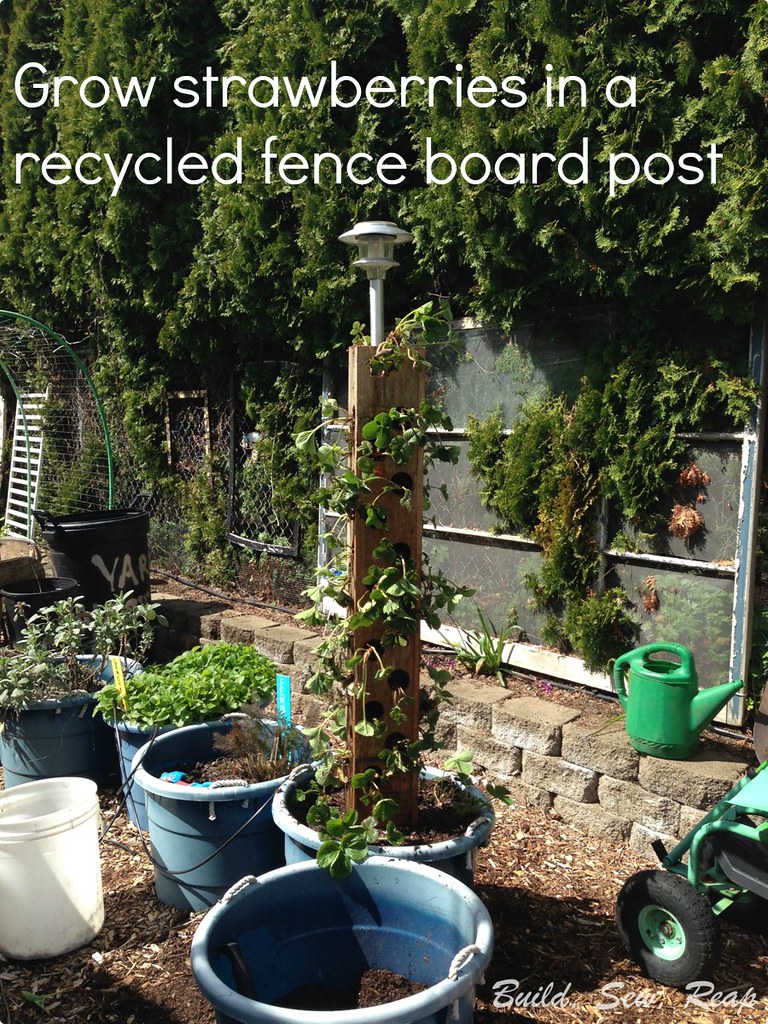
When I finished filling the post, I gave it a good rinse with my watering can as well as tested out the center watering post. Then I just happened to find a solar light I wasn't using and I popped it over the watering pipe.

I was able to plant 12 strawberry plants on each side plus a few more around the base and several up top so I have at least 60 plants in this small space. I love the way it looks too. Now, let's hope my strawberry plants stop being so angry that I transplanted them. Hopefully I'll be able to update with pictures of thriving strawberry plants in a few weeks or at least by the end of the summer.
Thank you for reading,
Julie


No comments:
Post a Comment