
This is mostly just going to be a show and tell post because, once again, using recycled lumber means I didn't set out with much of a plan and just made stuff up as I went along.
I'm so incredibly happy about this project. Back when I put in the first bean tunnel, I knew it wasn't very attractive as a structure but it was what I could afford at the time and when the beans covered it, it was beautiful. I even had some solar string lights under there so at night, they glowed under the heavy foliage.
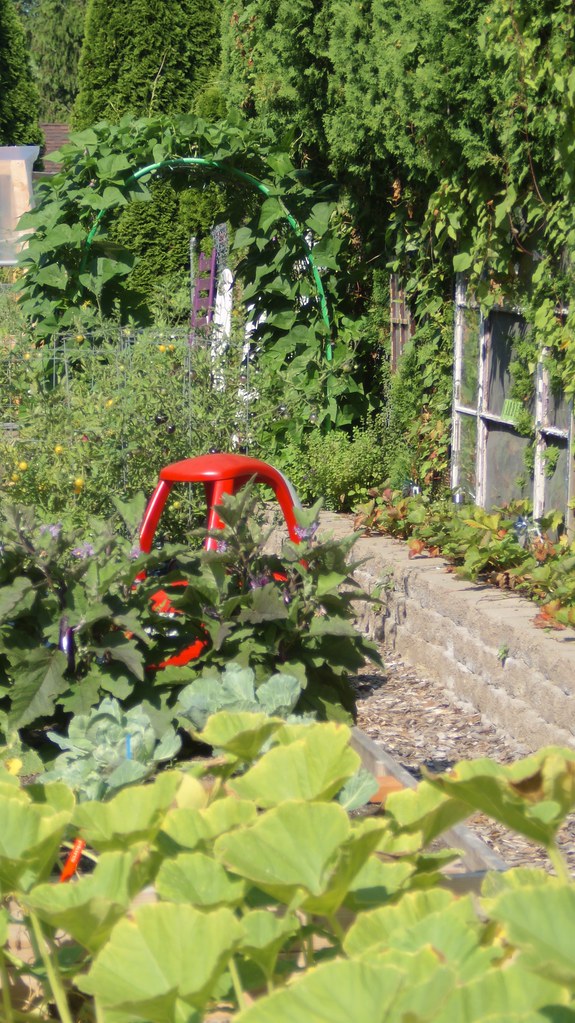
2014: The year of the jungle garden
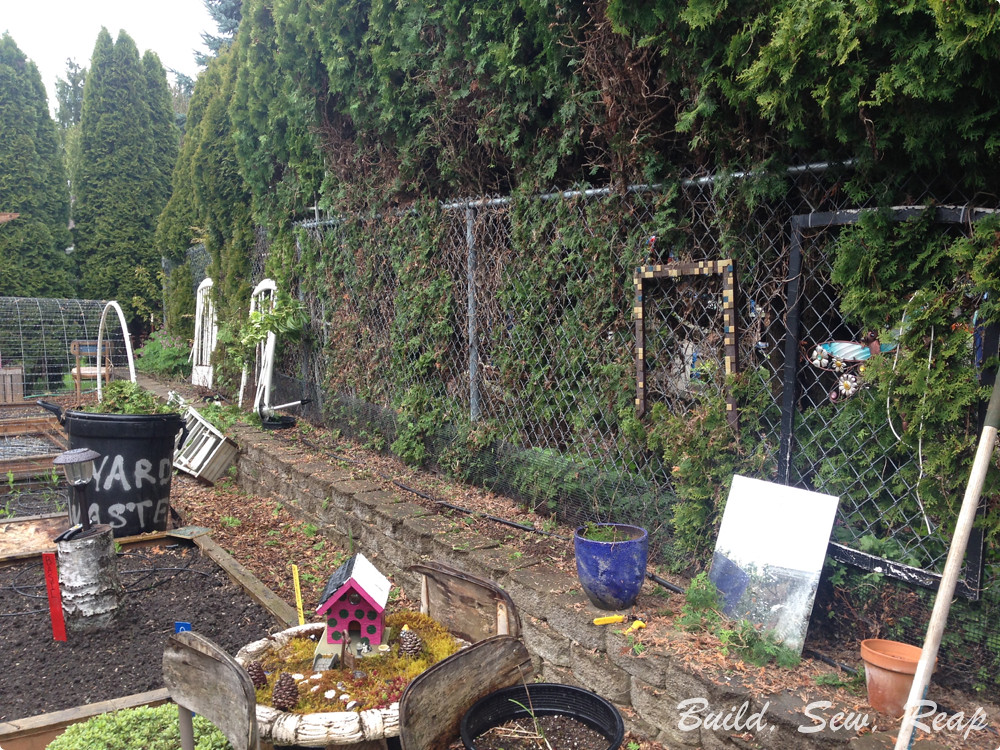
Sadly, this is what it looked like for 10 months of the year:

Well, that's ugly
I've befriended a local landscaper who has been kind enough to offer fence parts to those of us willing to show up at job sites to haul them away. It's a win-win since he can save some time and money hauling stuff away and I get free 4x4s. Even better, often times they're pressure treated 4x4s that have already leached out all their chemicals so they're sturdy AND garden-safe. I've read that 5+ years in our rainy environment will render pressure treated wood safe for organic vegetable gardens.
On Sunday, I set out to build a structure. I did my research on Pinterest but ultimately, I knew my design would be highly dependent upon what was out in my lumber pile so I had ideas but no set plan. First things first though, I had to clear the area and trim back those trees.
Ahhh, much better. A blank slate with so much potential!
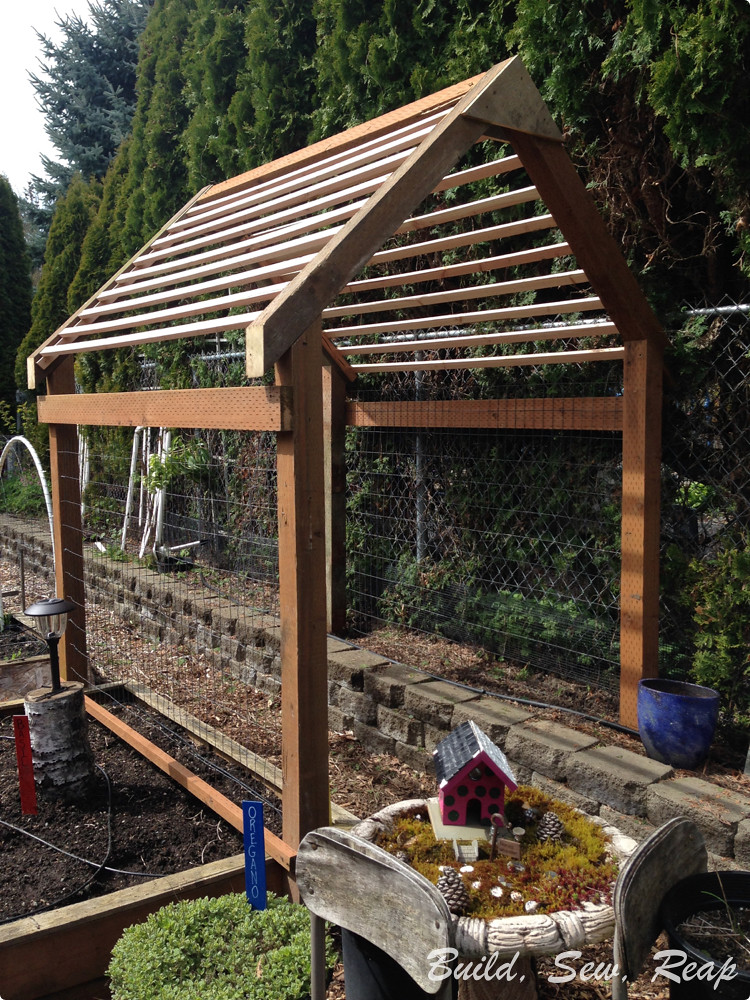
I started laying out the 2x4 pieces to determine what I had to work with and decided to go with a pretty basic house-shape building and I started to cut and screw stuff together. I have a bad back that doesn't allow me to lift heavy stuff so this was a bit of a challenge with the 4x4s. I had to figure out how to align, hold, screw, and balance each piece because building flat then raising it up wasn't really an option. I only had a couple of setbacks when I dropped stuff but ultimately, my structure is stronger for those mishaps since I had to reattach in a way that was sturdier.
I've gotta say, I picked a terrible day to get a building bug because it was GUSHING rain for most of the day. Seriously ridiculous amounts of rain dumping from the sky. I set up my handy 10' shelter to keep my tools dry but it wasn't super fun working in those conditions.
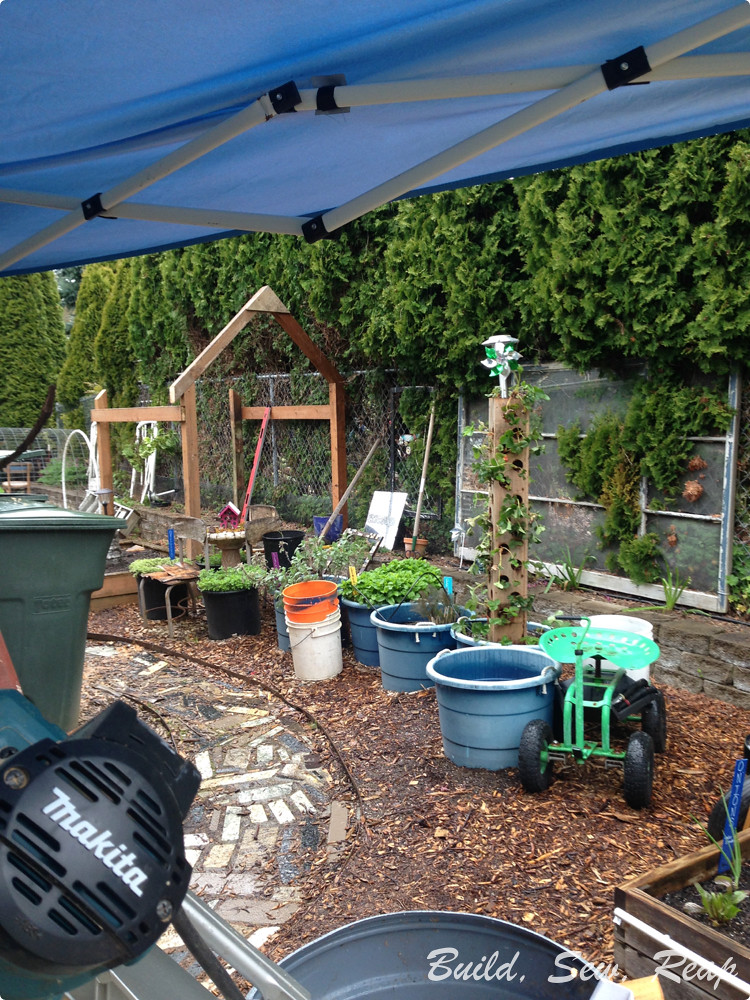
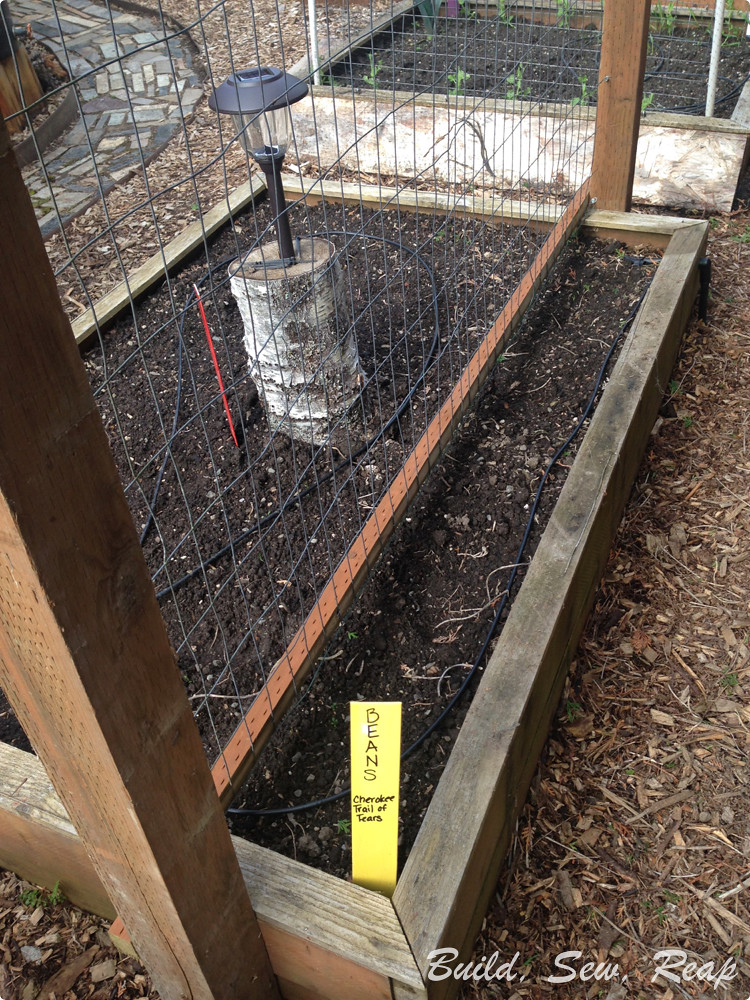
Instead of securing the 4x4s inside the raised bed, I put them on the outside edges and left room to plant the beans INSIDE the structure. I used to always struggle to get the seeds in beyond the wire fencing they were growing up before.
After about 4 hours of work, I was done done done with the crummy weather so I packed up my tools and headed inside. My rain coat is still hanging on the front porch today, on Tuesday, because it's still a bit damp. I was absolutely soaked to the bone and my hands were numb from being stuck in wet work gloves all day.
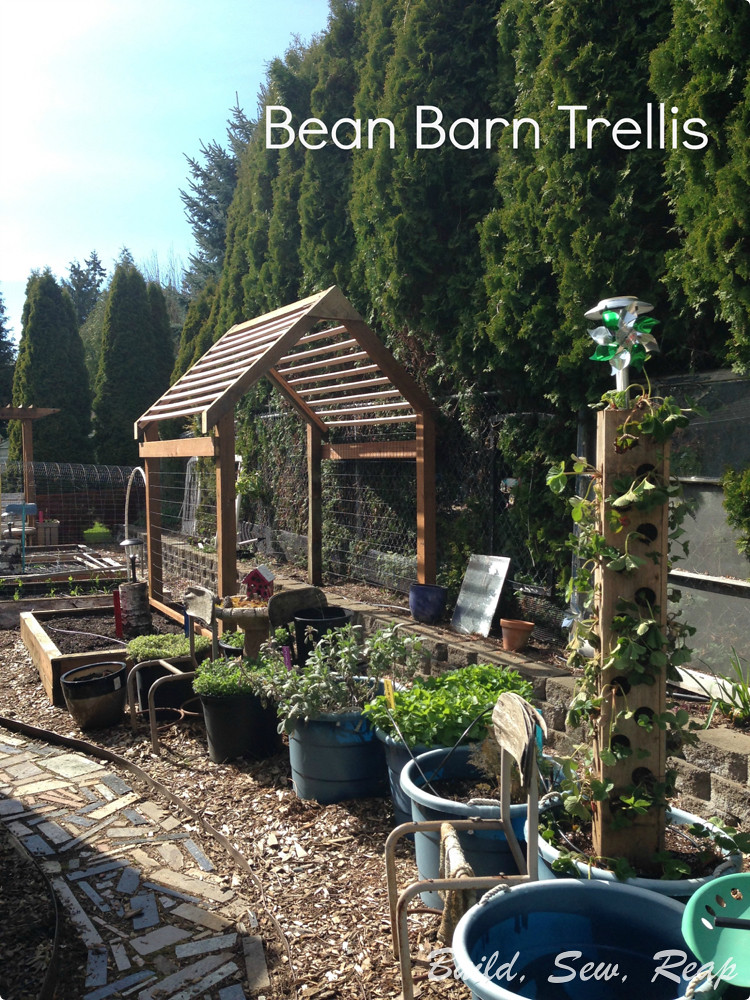
On Monday morning, after dropping the kids off at school, I headed to Home Depot to pick up some furring strips to make a slatted roof. I used 20 of them for my 43" long roof structure. I want the bean vines to be able to climb across them but to drop their beans through whenever possible but I also wanted it to look more like a shelter in the off season than it would with just a wire fence stapled from one side up and over the top and down the other side. I did use the wire fencing from the old trellis along the vertical sides though and I love how it turned out.
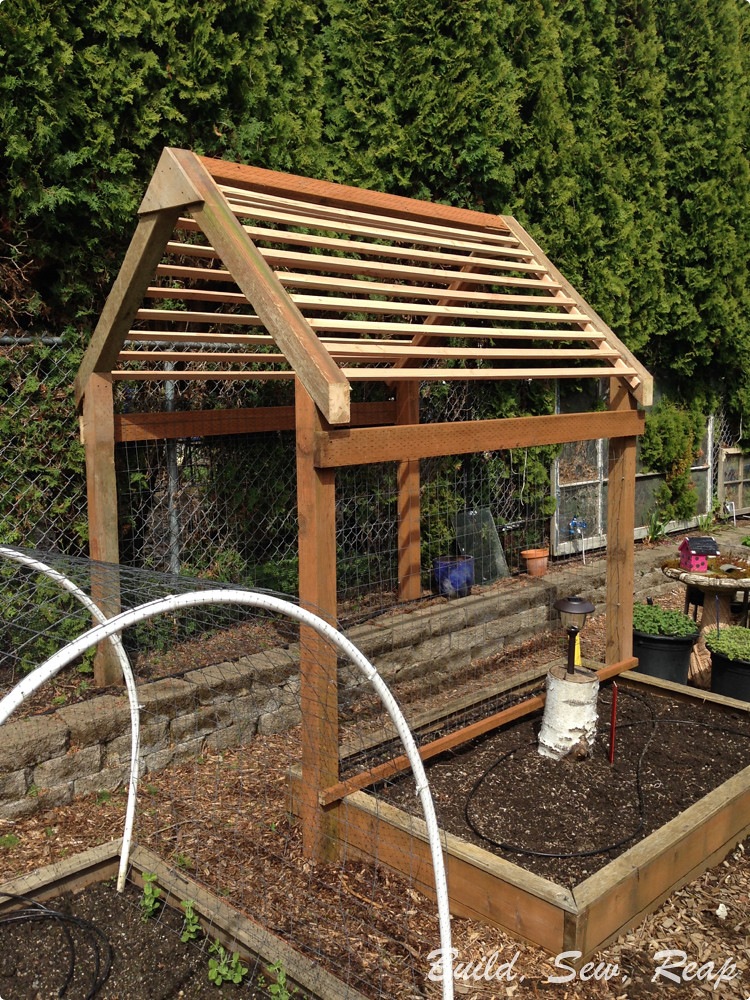
The structure barely wiggles when I give it a good shake and I think it'll hold a lot of bean vines. The nice thing with it being this tall is I can plant more than I have in the past. The variety I grow, Cherokee Trail of Tears, is a variety that will get up to 10' tall and provides both string beans to enjoy raw or steamed in the summer, then whatever is left can be left to dry on the vine and harvested to enjoy as black beans (hello Instant Pot bean rehydration!).
I can hardly wait to get growing!
Thank you for reading,
Julie


No comments:
Post a Comment