
I headed off to Home Depot with the little one and we were able to pick up the parts for two rain barrels for pretty cheap. Here's what I bought:

- 1 trash can with no wheels (the wheels will make it leak)
- 1 tube of silicone sealant - I got gutter stuff because I have a gutter project going on as well so I figured I could use it for both
- 1 2-1/2 inch boiler drain
- 2 metal washers that fit over the threading opposite the red handle on the drain
- 1 pack of 1/2 inch conduit locknuts (you'll need 2 of them)
Optional items:
- Mosquito screen (not pictured)
- Downspout extender
- Drill with 1/2 inch hole bit
- Pliers
- Staple gun
- Utility knife or Dremmel tool (I used my Dremmel Trio)
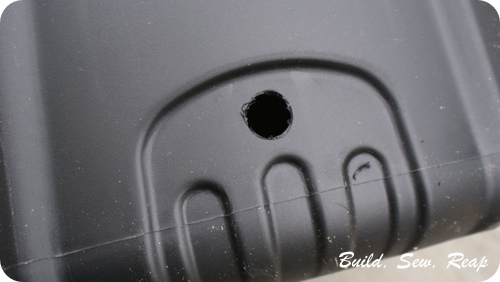
Drill a hole near the bottom of the trash can. You want it high enough that the spout doesn't scrape the ground but low enough so you don't waste a bunch of water that can't drain out. My placement wasn't ideal with the contours of the can but it worked out just fine.
Insert one metal washer on the boiler drain and screw the boiler drain through the hole you just made. It should be nice and snug. If you can't get it through, use the drill again and wiggle it a little to make the hole bigger.
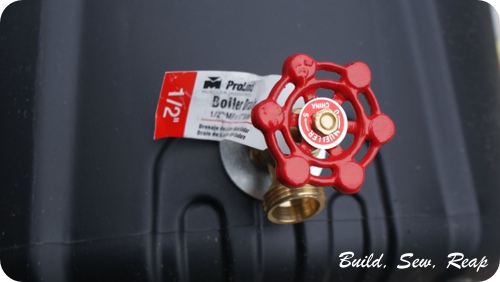
(outside view)
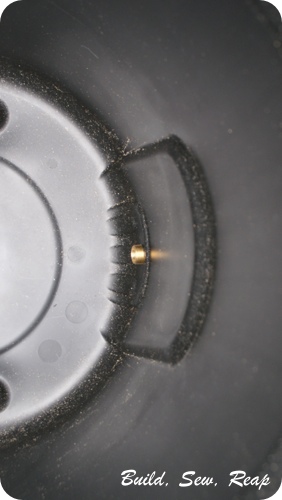
(inside view)
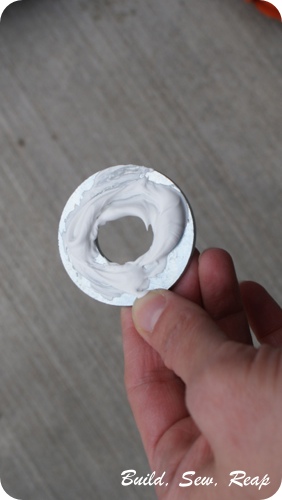
Now squeeze some of the sealant onto the other washer.
Slide the washer onto the drain post from the inside of the trash can.
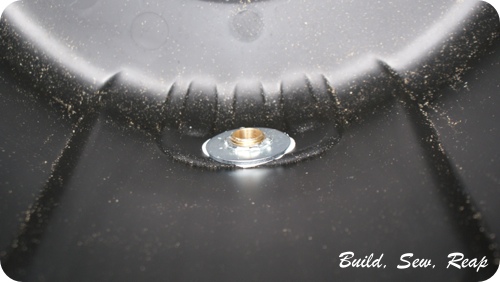
Finally, screw the locking washer onto the post. Use the pliers to get it tightened down nice and tight. Some of the sealant will squeeze out, you can either leave it or clean it up with a towel. I left mine, I figure it just makes the seal even better.
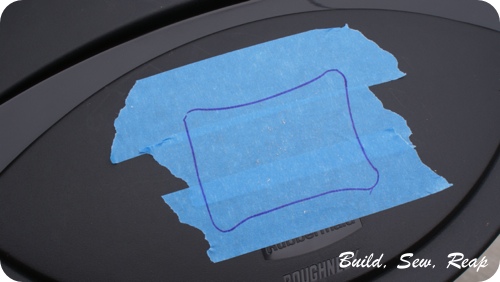
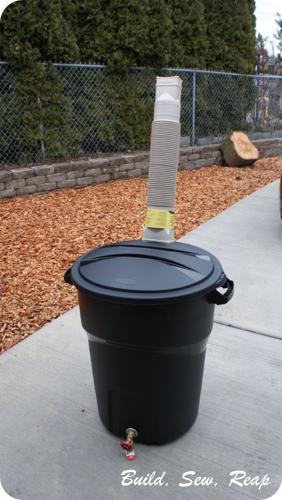
Now, moving on to the lid. I chose to connect mine to the gutter using a flexible downspout connector. I wanted to do this because I didn't want debris landing in the barrel. First I figured out which end was going to fit on my gutter then I traced the other end onto the lid. You could either mark directly on your lid or do what I did and put some tape down first.
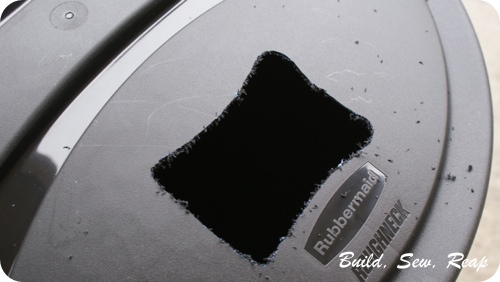
Now use your blade (I used my Dremmel Trio) to cut out the shape.
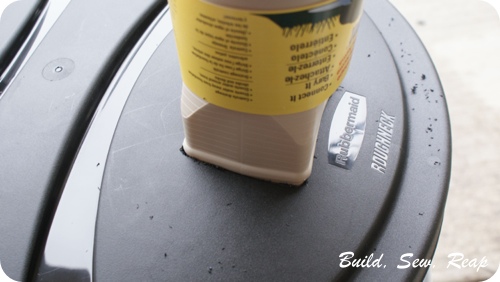
Now test it out.
I haven't really thought through what we're going to do about overflow. I don't anticipate this particular one will overflow as it'll just be gathering rain from the new shed roof. I figure if it gets too high, it'll just start leaking out the top and that's fine. If you're concerned about this, you have several options:
- Drill some holes in the side and back them with mosquito-proof screening (if that's a concern) before you put the screen on the top.
- Install another drain valve near the top.
- Install a length of hose that leads to another barrel next to the first so the overflow is also captured and saved.
This last bit is optional but I highly recommend it. If you don't want mosquitos taking up residence in your nice warm barrel of water, you'll need to add a screen.
First, wipe out the inside of the barrel to remove any bits of plastic or debris. Don't wash it out unless the seal around your spout has dried fully (don't ask me why I know this). Now, place the screen on the top and use a staple gun to staple all around.
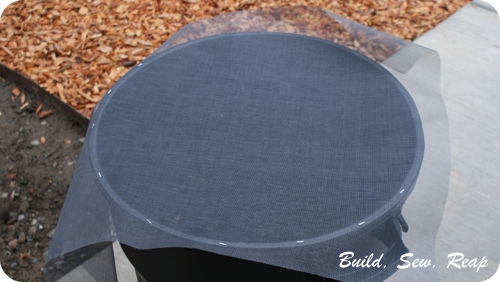
Trim the excess, snap on the lid and you've got yourself a rain barrel!!
Now I've just got to install 13 feet of gutter on that darn shed roof. Sigh ... the projects never end!
Thank you for reading,
Julie


Hey! I fully agree with every word of this topic, so thank you for sharing this needful information! But I'm really happy that my classmate adviced me the place like this college essay service, where I can buy essays online and read cool topics. Gorgeous grades for my assignments means that you, writers, did an outstanding essay. I'm so proud of being the best learner of the year thanks to their paper work!
ReplyDelete