
Here's how I did it:
1) I started by cleaning the countertops using a deglosser to ensure all grime was removed. This product also takes the place of sanding when you're starting a project like this.
(the clip is there to give my camera something to focus on)
2) Next, I primed the countertop with Kilz primer. I use the one with the green on the label because it is low voc and low odor.
3) Then I started sponging on the colors I had chosen. I used containers of paint from other projects throughout the house. I liked the idea of keeping the colors consistent with the rest of our decor. I even used the left over cabinet paint as my light color.

I'll admit, I stood back at this and wondered what I had started. It looked a whole lot like baby poop sponge painted on a counter. I decided to walk away from it to let it dry so I didn't mix the colors together any further.
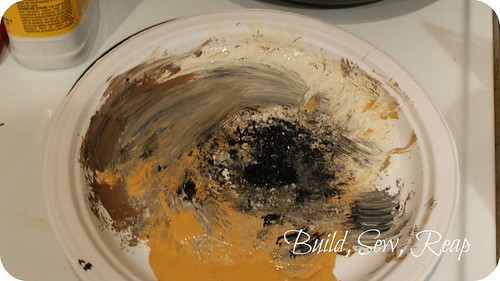
4) I returned and put a blob of each color I was using onto one paper plate then resumed the sponge painting.
Here's what the paper plate looked like after awhile:
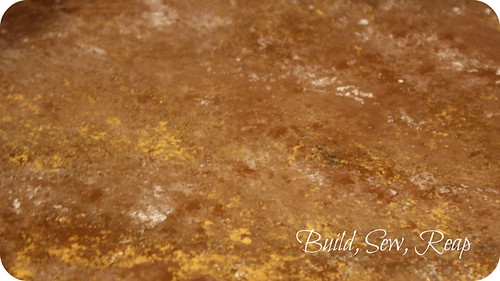
And here's what the counter looked like:
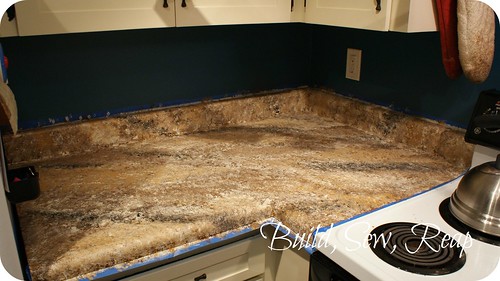
That's much better!!
5) I let that dry over night, added a little veining here and there then brushed on a light coat of Minwax Polyacrylic glossy clear topcoat. I allowed that to dry for 2 hours then sanded it with 220 grit sandpaper. I repeated this process about 8 times as the sponge painted layers were more textured than I wanted them to be so I had to even out the top coat. In the end, I was thrilled with the final result.
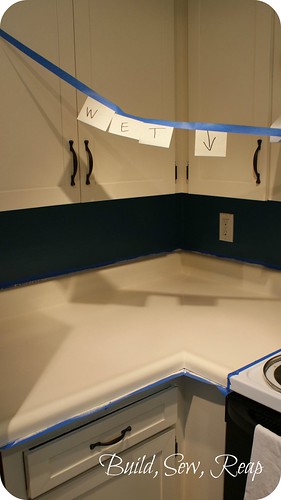
Here it is without a bunch of shadows (a bit dark but the shine photographs better with the light coming from the next room rather than overhead):
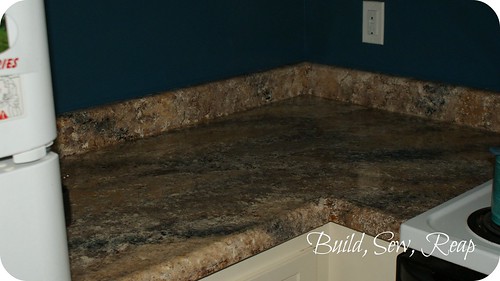
Following the advice of a friend who refinishes furniture, I'm going to allow the poly topcoat a week to dry before we put stuff back on the counter. Once this counter is functional again, I'll attack the other side of the kitchen which holds three times this much counter space (it's a tiny kitchen but still lots to paint). I'm beyond excited to have updated counters and love how this finish turned out.
Thank you for reading,
Julie
I'm sharing at the following parties:


looks absolutely amazing!!
ReplyDeleteThank you. I'm absolutely chomping at the bit to do the rest of the counters but I feel like the glossy topcoat still isn't as hard as it could be so we can't move the microwave and other items that belong on that part off the unpainted parts just yet. I'm so excited to finish off the kitchen, this has been a loooooonnggg project but worth the wait.
ReplyDeleteYahoo! I can comment on your blog now! Well, to make up for all the past times I wanted to comment and couldn't... I think you are majorly talented and I love your style!! You are the bee's knees! Granite Countertops Lynnwood
ReplyDeleteThanks Joseph. I wonder why you couldn't comment before. At any rate, I'm glad you stopped by and that you like my style. Have a great day!
DeleteI read that post and got it fine and informative. Please share more like that. Marble countertop
ReplyDeleteGreat post! I am actually getting ready to across this information, is very helpful my friend. 온라인카지노
ReplyDelete